
It has been awhile since I published an article, but I wanted to share how my organization is exploring using AI to help users get better benefit related information or other aspects related to the workplace.
Awhile back, prior to Microsoft Copilot, I setup OpenAI to use an Azure serverless function and then integrated that that into MS Teams. It worked using the OpenAI API and was triggered by a new message in the channel using a keyword. It was a way to control access to AI since we blocked OpenAI at the network level to reducing cheating, but allowed Azure to jump between OpenAI and our organization and then control who had access via MS Teams.
I was excited that we could even do that and wrote an article on it, but technology is always advancing fast and I never got around to publishing it. Regardless, the attempt worked, but the latency involved hurt the user experience.
Fast forward and Microsoft has made their own AI via Copilot and has really been pushed out aggressively. Our current implementation uses an Azure Enterprise App to authenticate the user to a SharePoint site. The permissions are governed by the permissions that the user has in the tenant. Additionally, we have added in PDFs and modified the flow and instructions to respond mildly based on some keywords.
For the purposes of this article, I will show you how it looks and then tell you how it is setup.
SHOW (HOW Microsoft CoPilot looks and works):
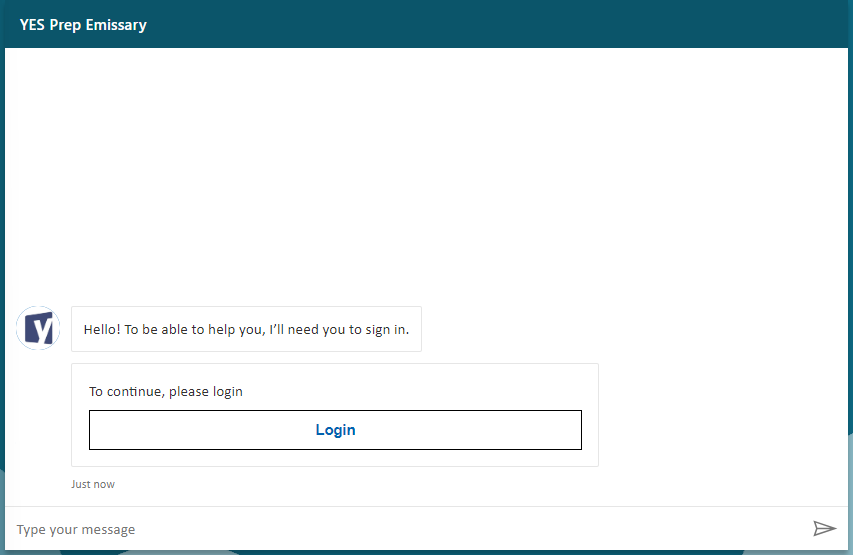
To experience the magic we must first login.

If you are already signed into your organization then it will automatically use those credentials. It will then open a new window with a 6 digit MFA code. Copy that and then go back to the main chat window and paste that in.
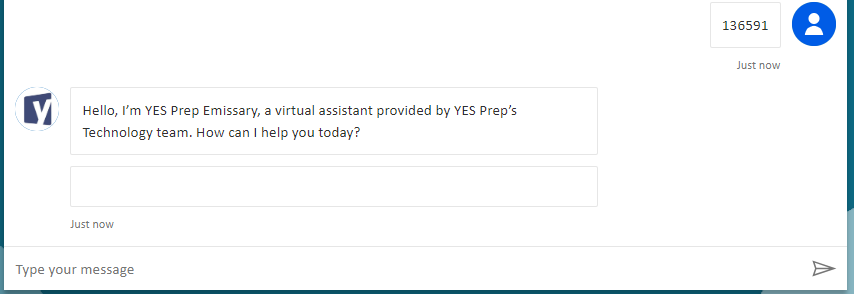
From there, the greeting starts.
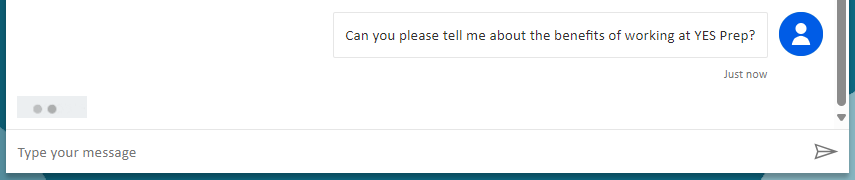
Let’s ask our first question.
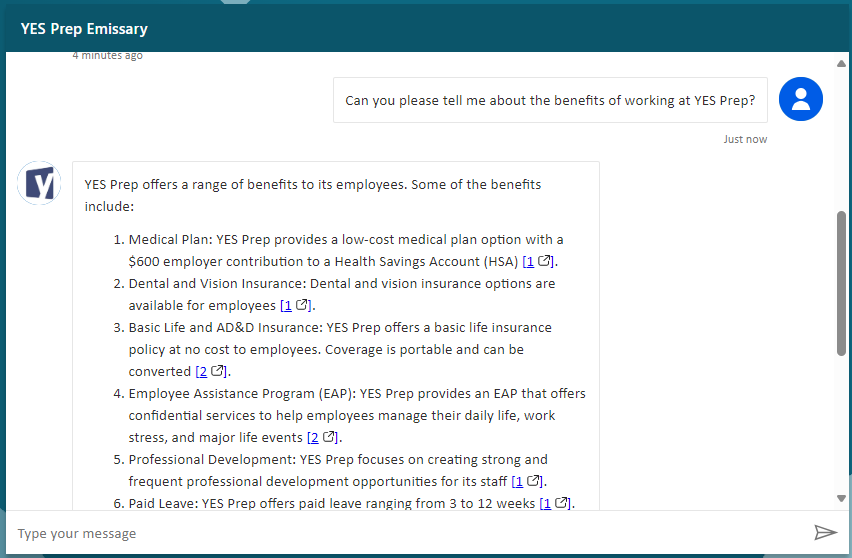
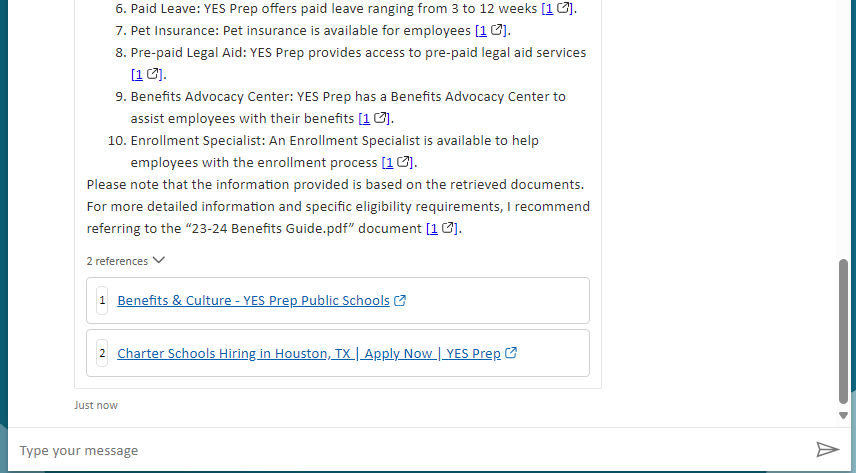
The Copilot responds with a list of benefits and citations that can be referenced by simply clicking on the links.
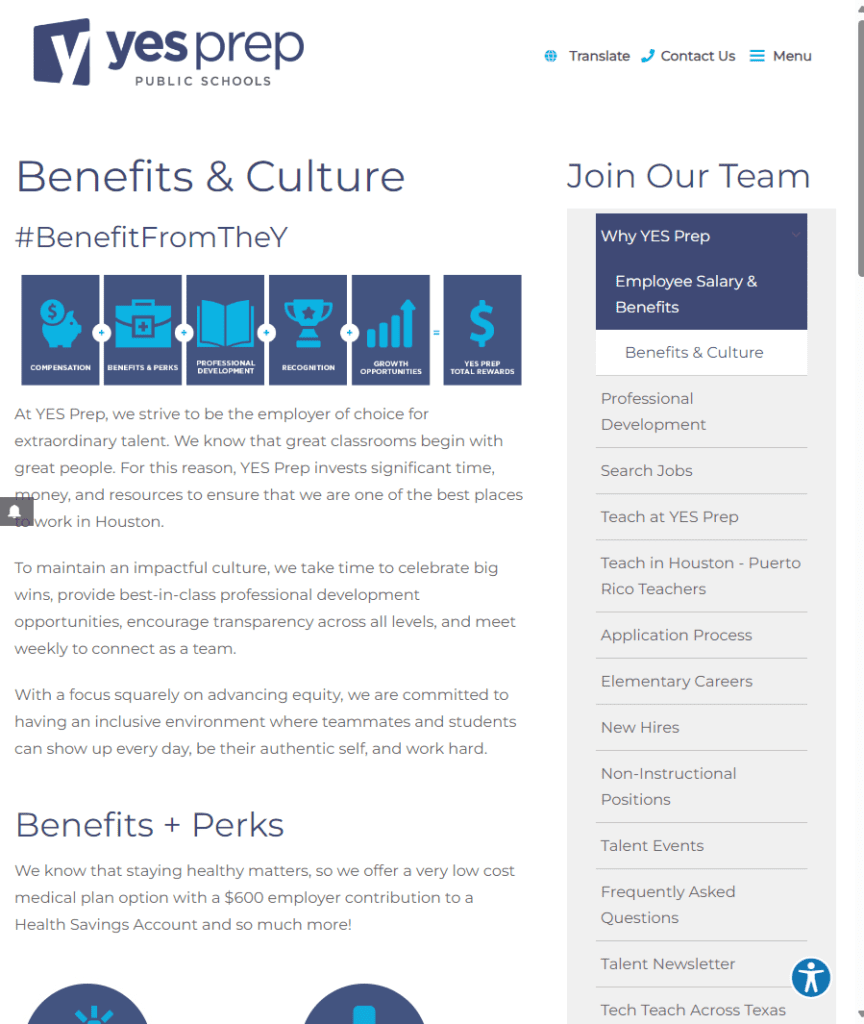
Clicking the first reference link takes us to the public facing Talent (aka Human Resources) website. Note, you can reference and link a variety of different types of data. Now let’s try asking some more specific questions.

Asking about health insurance options gives us a myriad of choices and even includes the cost per paycheck.

It also includes a reference link for further information.
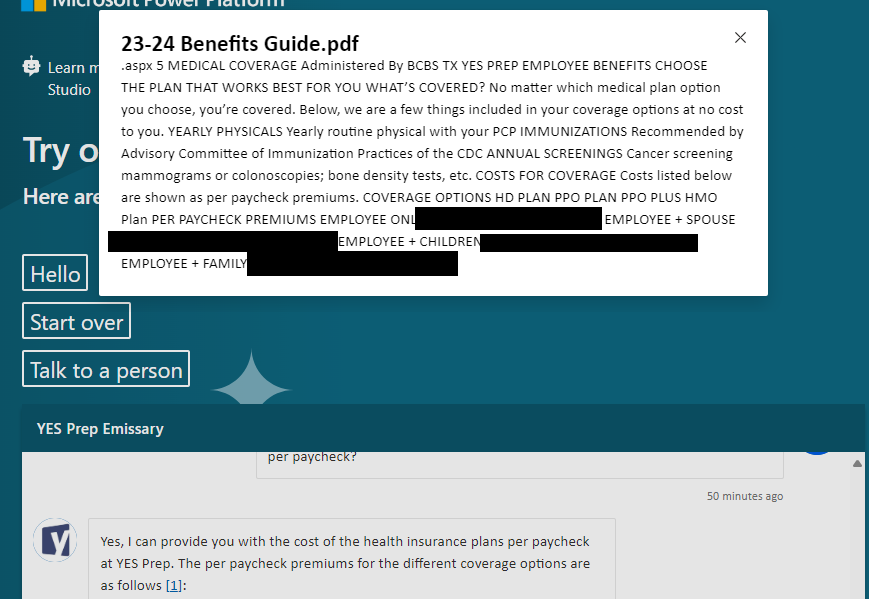
Notice that this reference link shows up as a pop up window rather than opening up in a new tab. This particular data type is a PDF compared to our earlier example which was simply HTML.
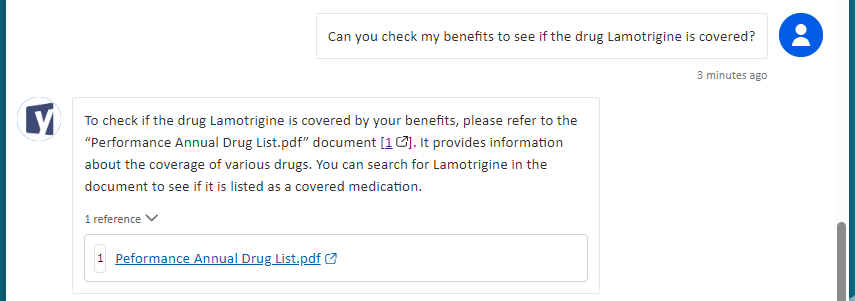
Next, let’s try even more specific questions. In this example, I am asking about a prescribed drug for epilepsy, Lamotrigine.
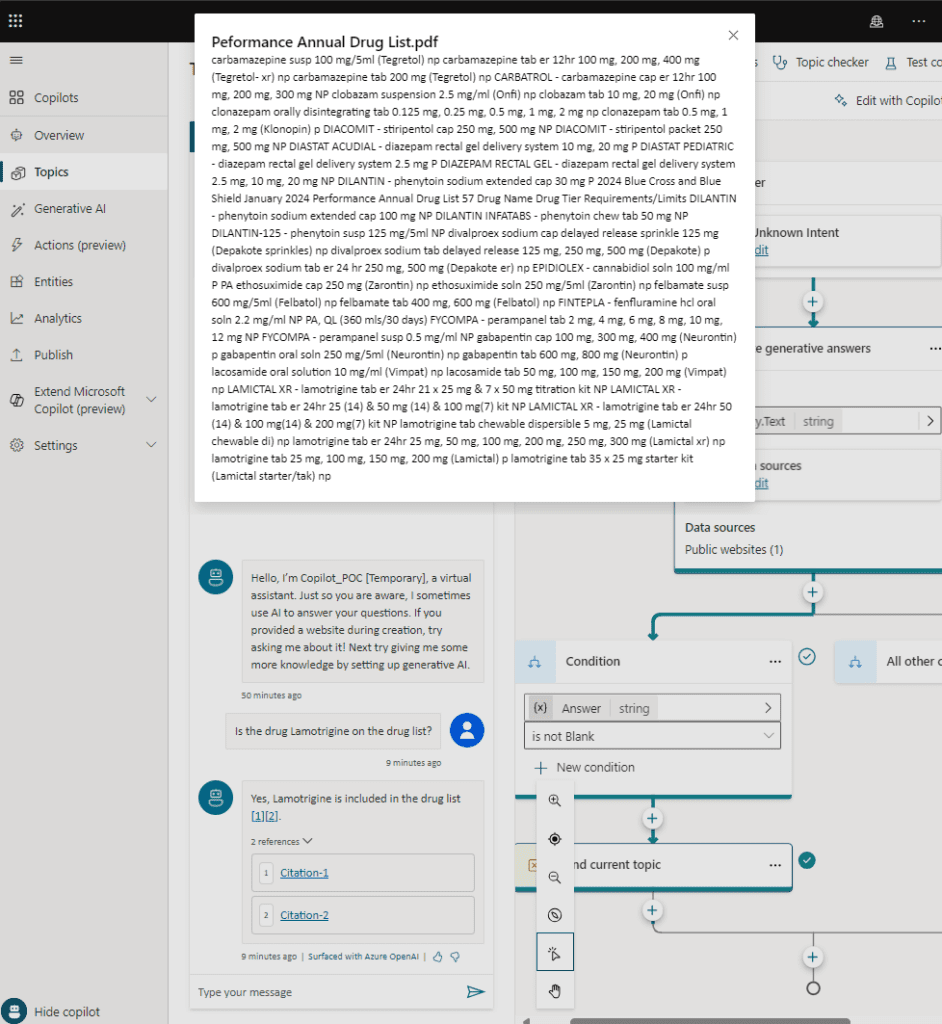
Clicking the link that was referenced takes us to a rather lengthy PDF.
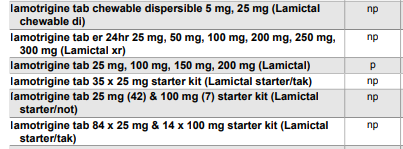
Using CTRL-F to find Lamotrigine does indeed show it on the list.
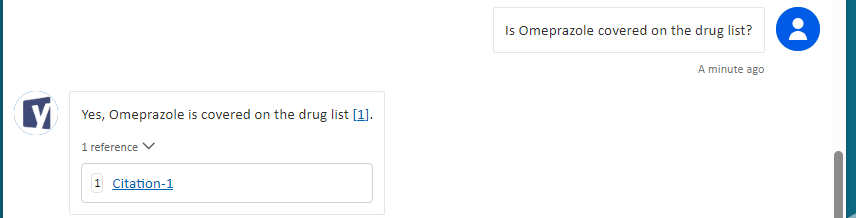
Let’s try another prescribed medication, Omeprazole, which is a proton pump inhibitor.
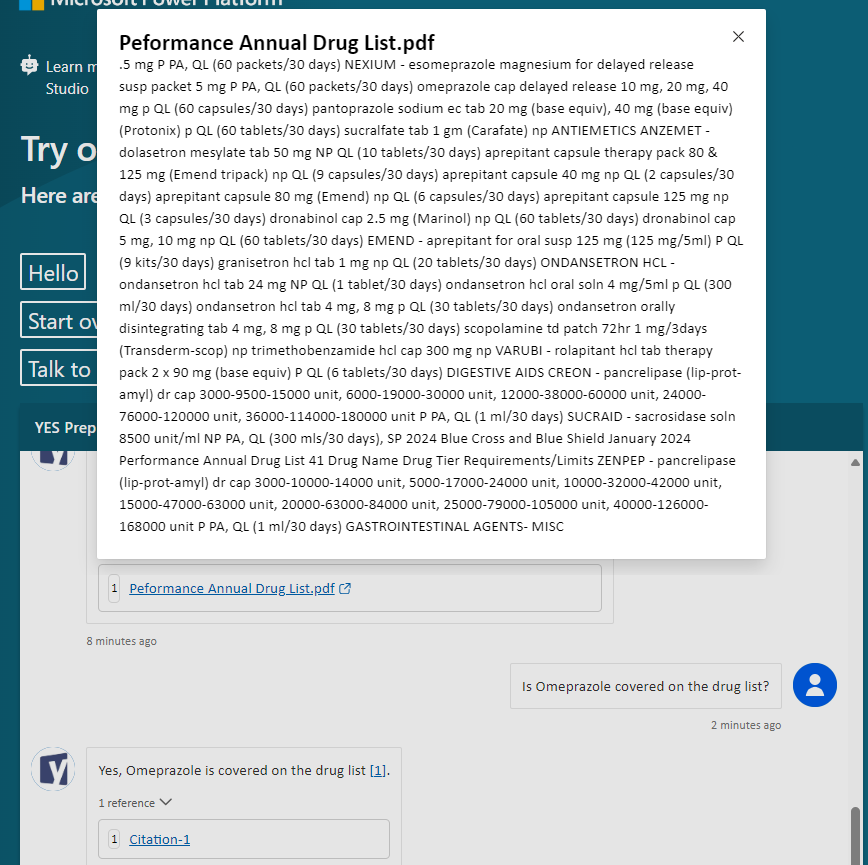
Sure enough, it is covered.
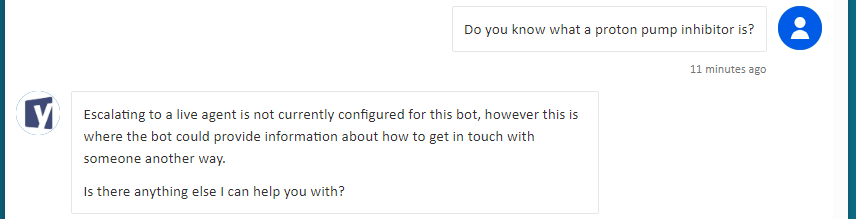
However, there are some limitations to what the Copilot can do. It only has access to the data that we give it access to and the training data used for it does not include all scenarios. In this case, it is not aware of what a proton pump inhibitor is. If you are curious, it is a class of medication that reduces the acid in the stomach and is commonly used for people with stomach ulcers, GERD, etc.
TELL (HOW Microsoft Copilot is configured)
Copilot requires a few different things:
- Copilot Studio license – License to use the Copilot Studio portal and create a chatbot
- App Registration/ Enterprise App – Used for Single Sign On and to govern permissions for what the chatbot has access to
- Copilot Studio AI chatbot – The actual chatbot along with any specific data or documents that are relevant to the organization
The license needed is a Copilot Studio (business) or Copilot for Microsoft 365 (education) license. Note that this license is different from the regular Copilot license. In the case of the former, it is $30 per user per month. However, not everyone needs the license. The license is only needed by the author/creator of the AI chatbot and anyone that will have the ability to modify it.

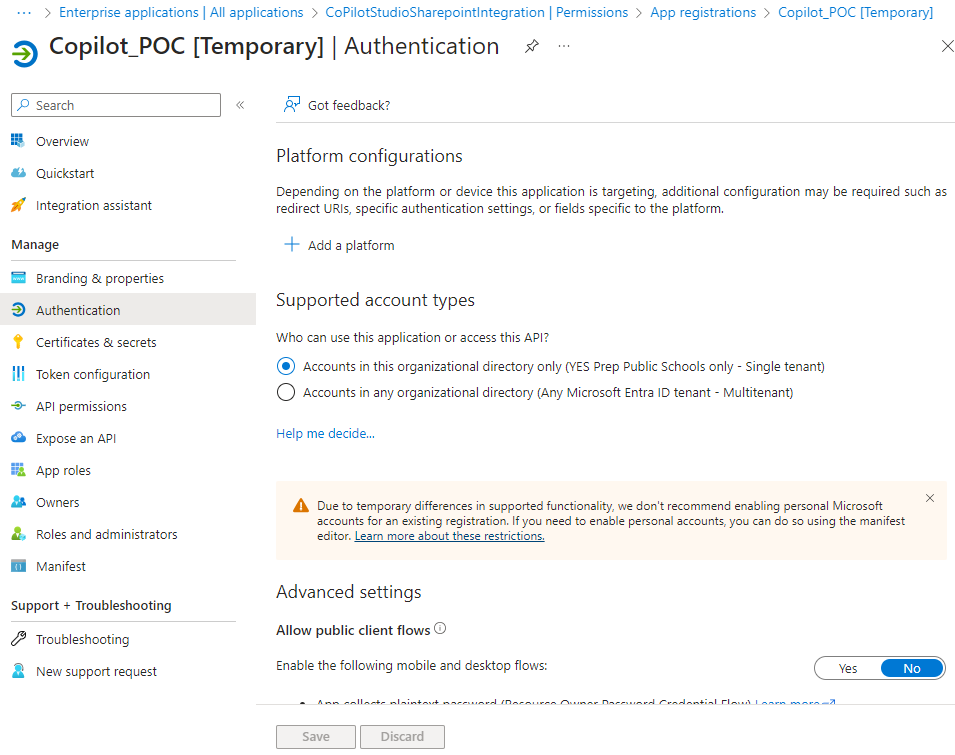
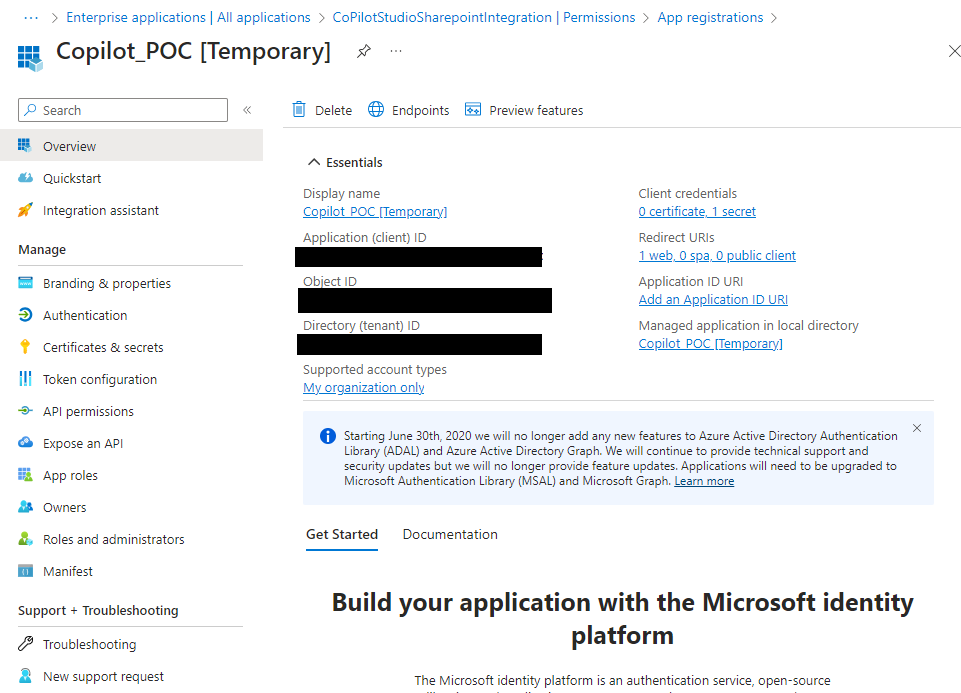
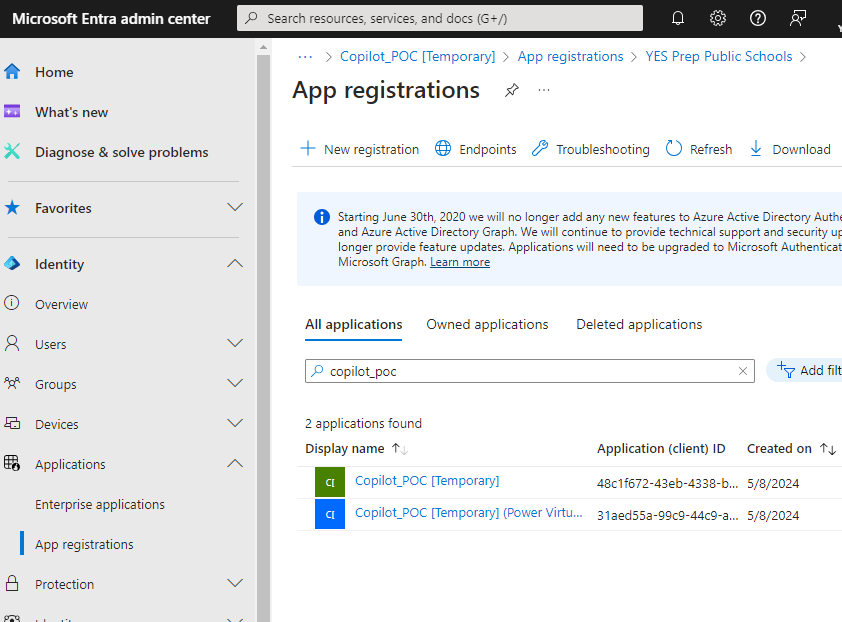
The next important aspect is Single Sign On. To do this, we need to create an Enterprise App. To start, go to entra.microsoft.com and then navigate to Applications and App registrations.
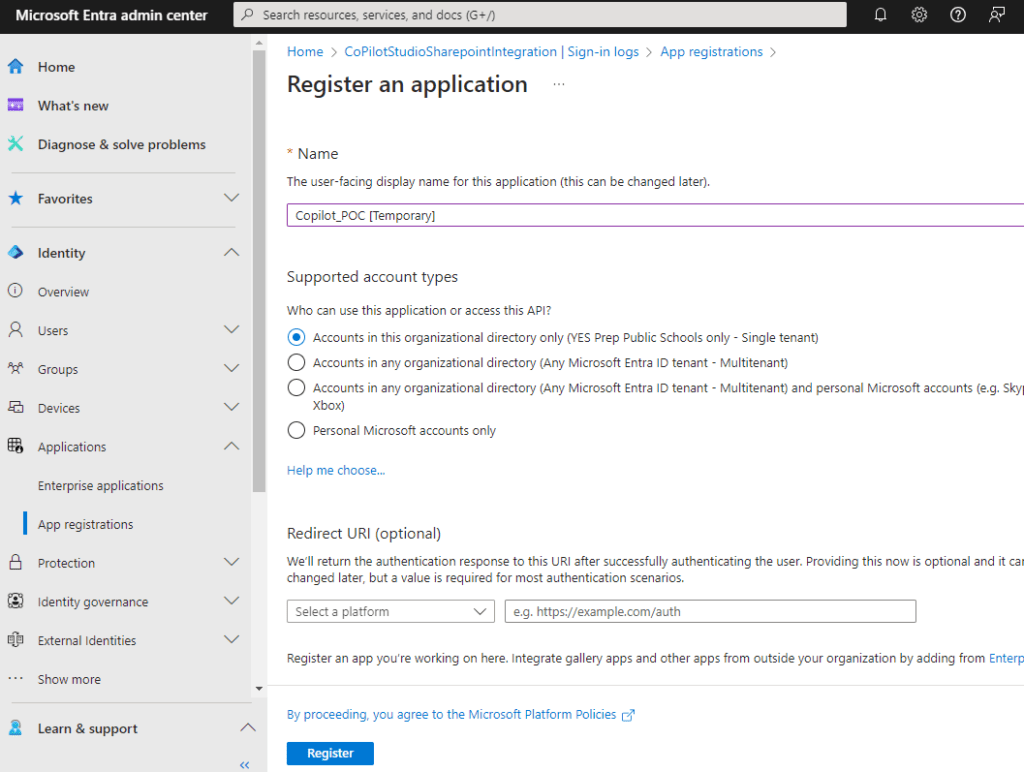
Choose a name and your account type. If only users in your organization are going to sign in or have access then leave it at the default Single tenant. Click Register when done.
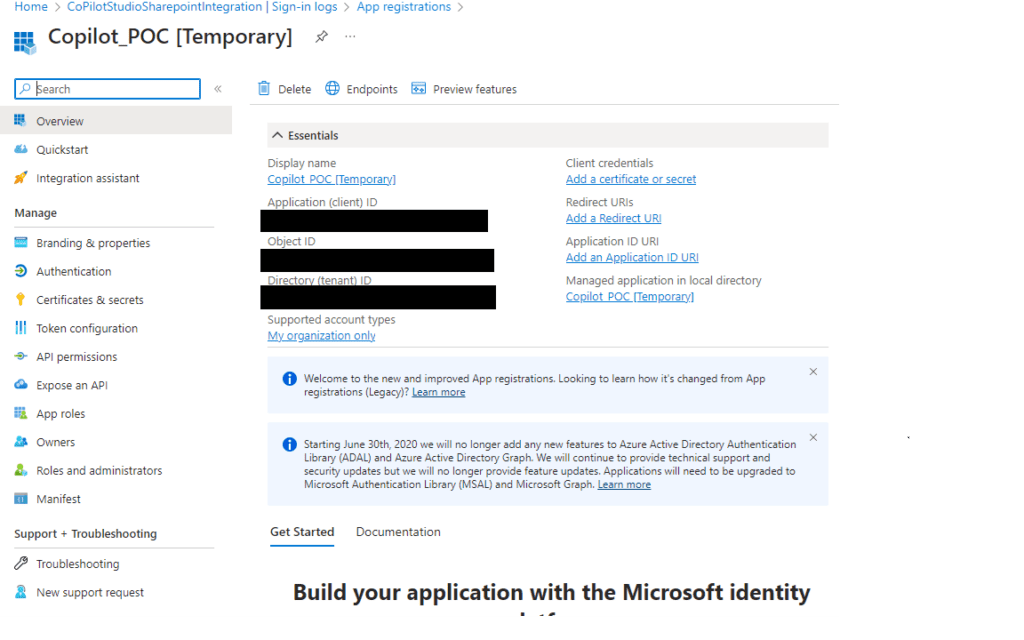
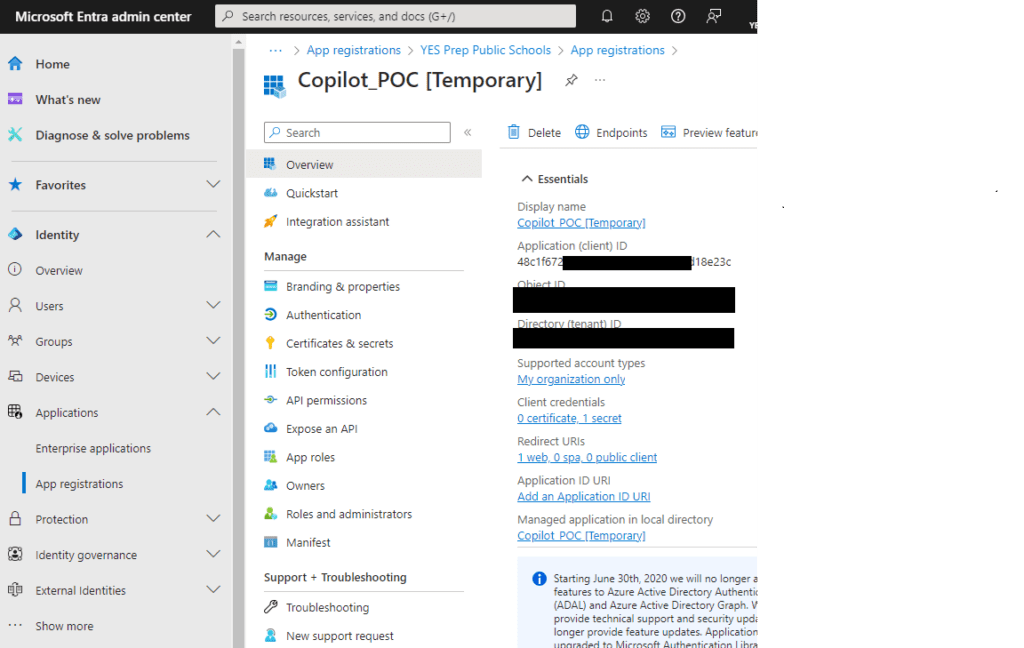
Now, we need to start tweaking it. Take note of the Application (client) ID and save that for later as you will need it for configuring the SSO inside Copilot.
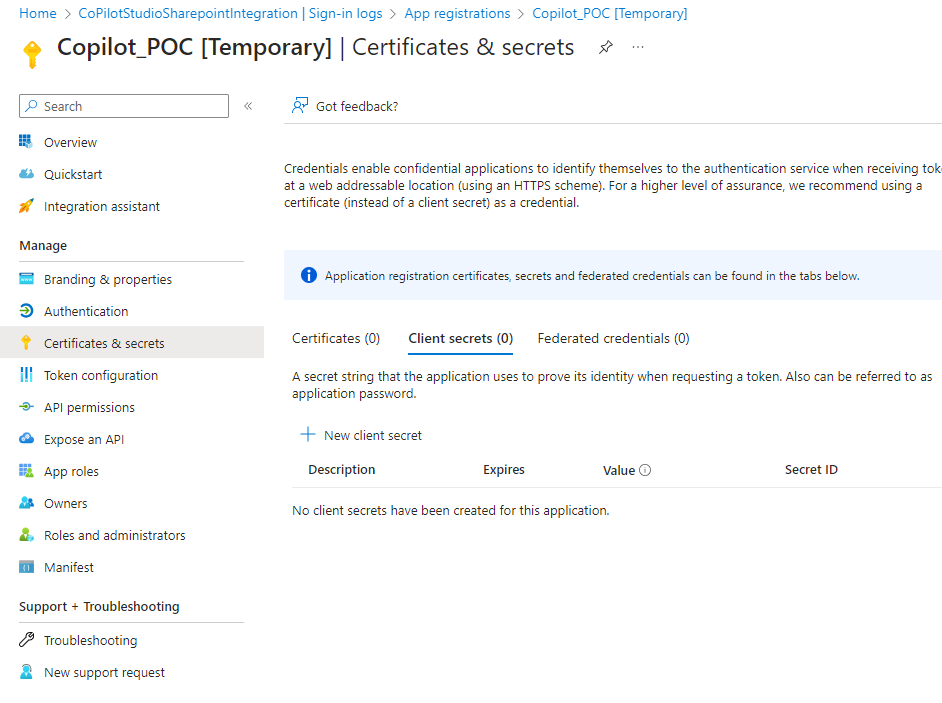
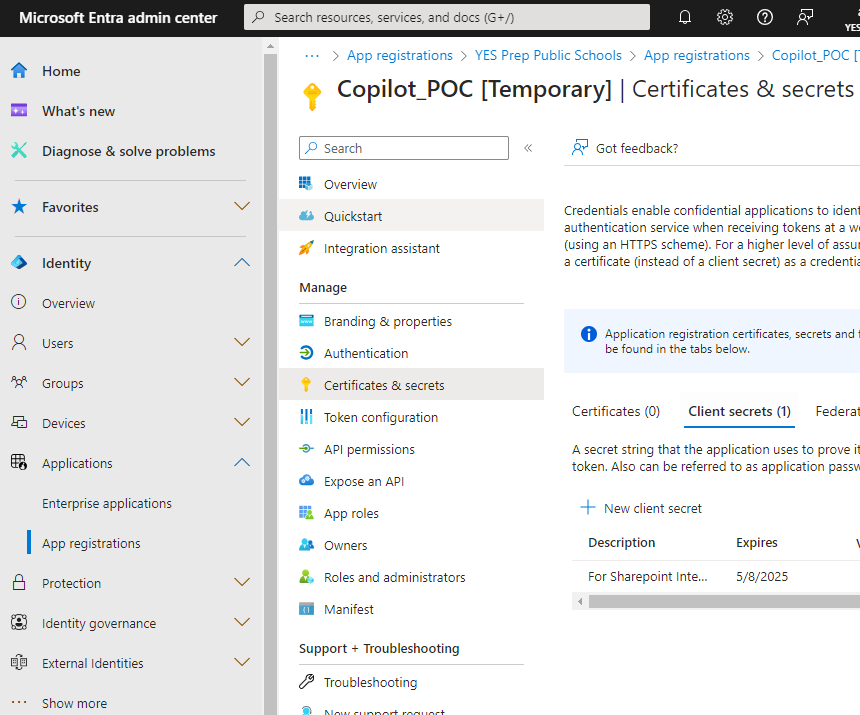
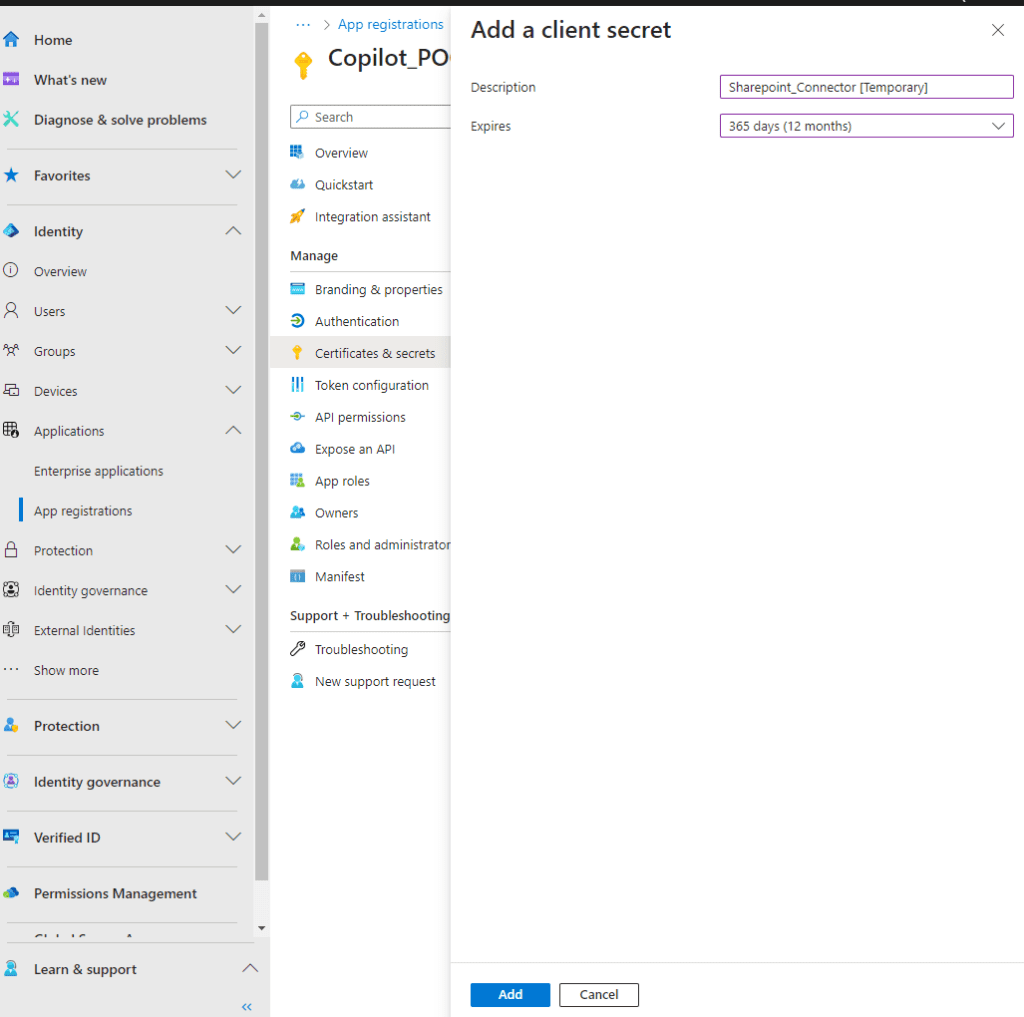
On the left pane, click Certificates & secrets. Click New client secret.
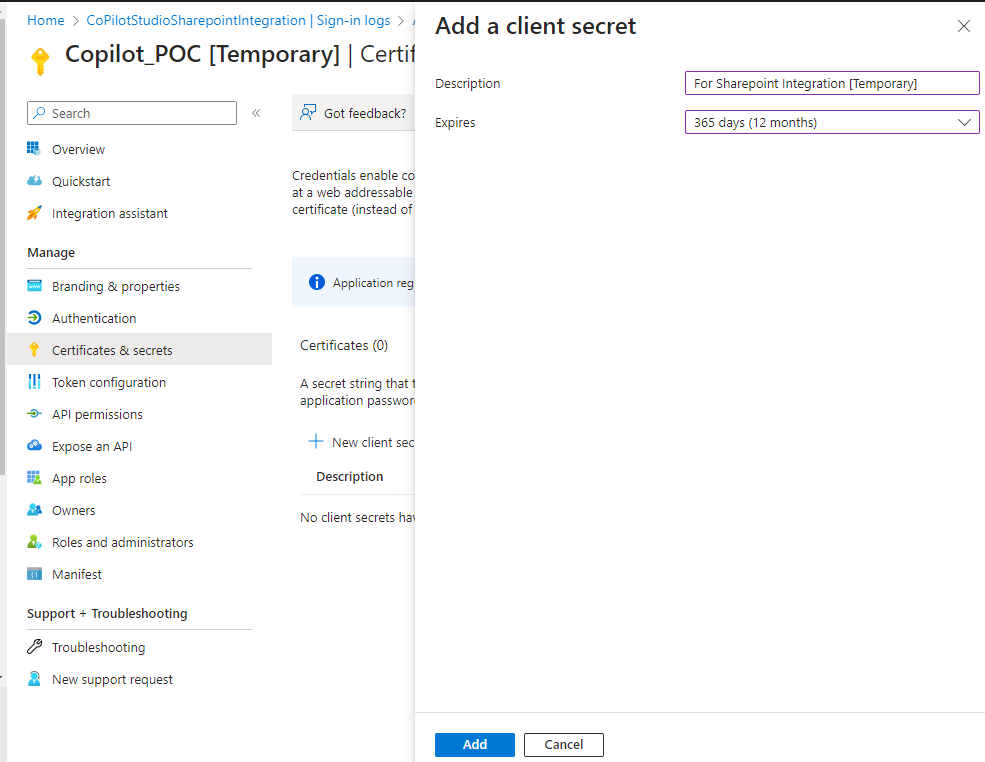
Enter in a Description and an Expiration date. Note, add this event to a shared calendar with a reminder to make sure that you do not forget about it later on.

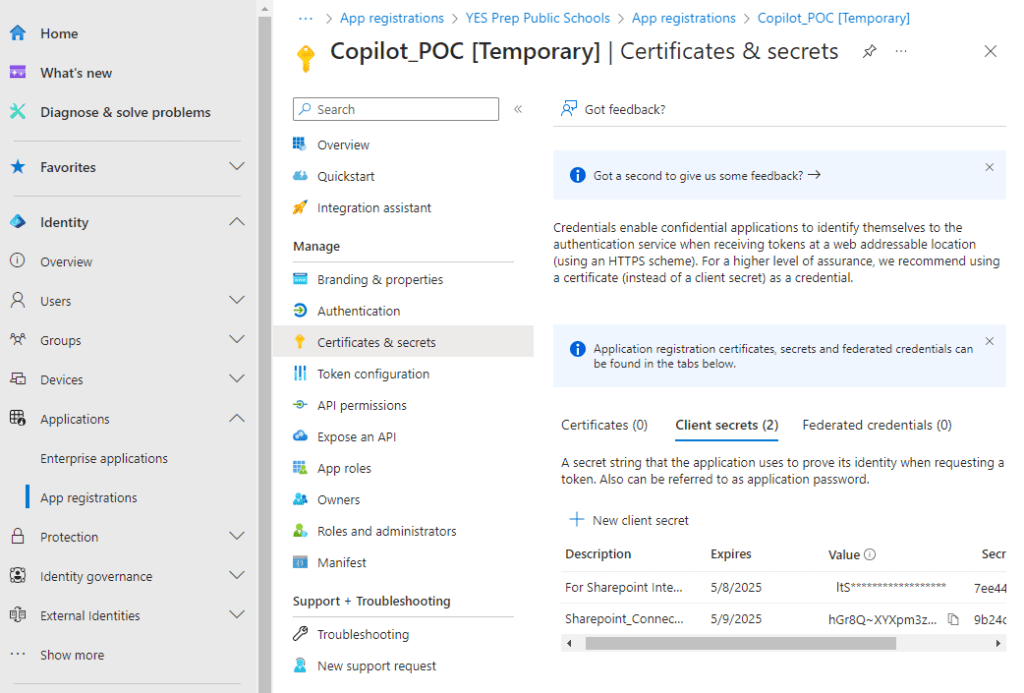
Now you can go ahead and copy the Value field (not the Secret ID) and use that later for the Copilot configuration along with the Application (client) ID.

We need to setup the permissions that the Enterprise App and our users will be able to have. Navigate to API permissions on the left pane and click Add a permission.
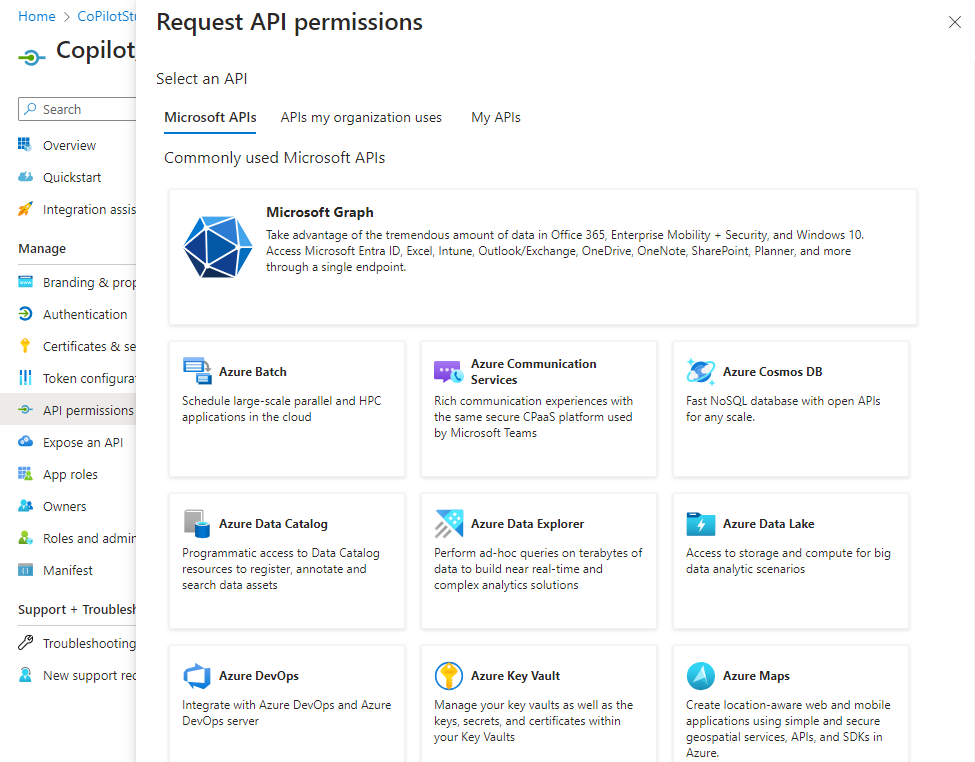
You can use a variety of types. For this article, click Microsoft Graph.
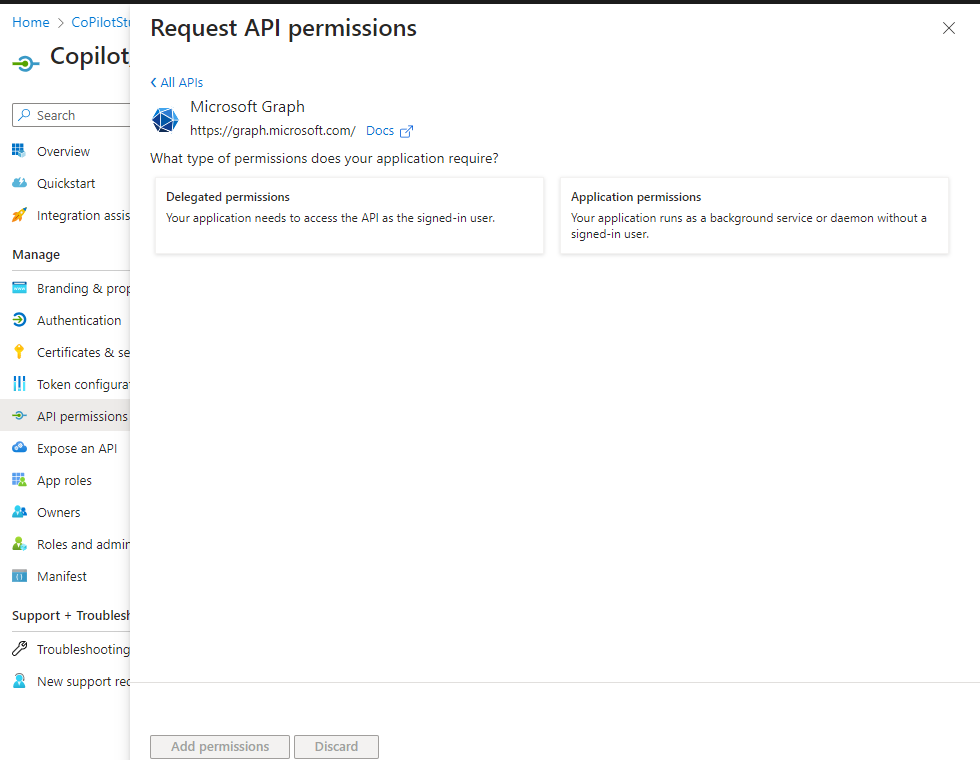
Choose Delegated permissions.
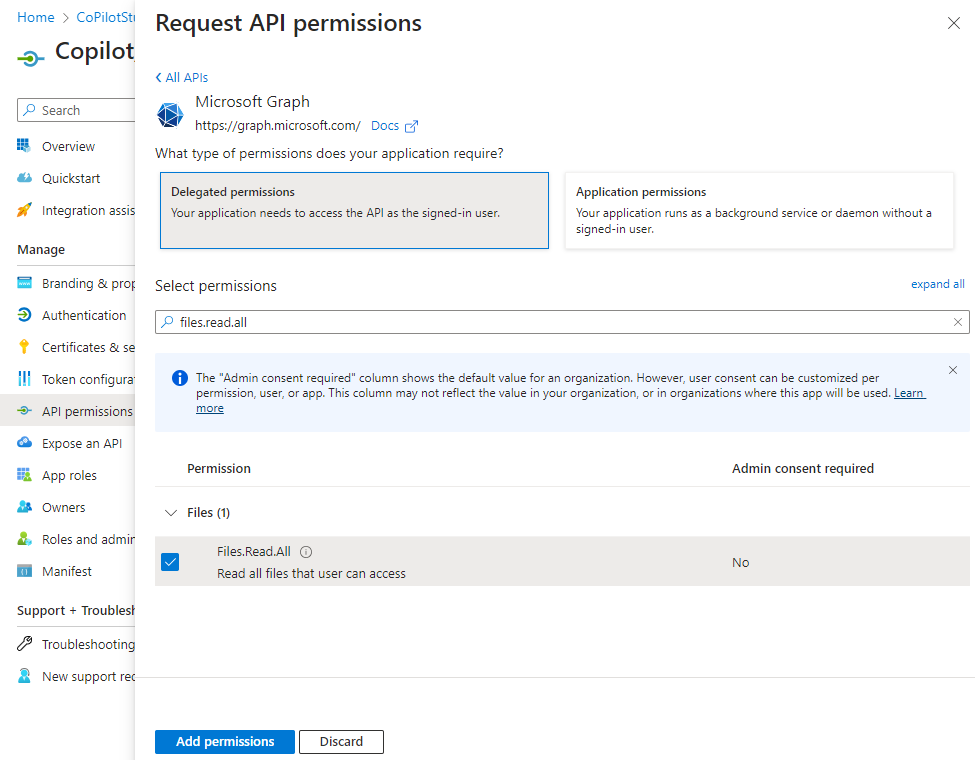
For Select permissions you can filter down to what you need. In this case, we want Files.Read.All. Checkmark it and then also find and get Sites.Read.All. Click Add permissions when done.
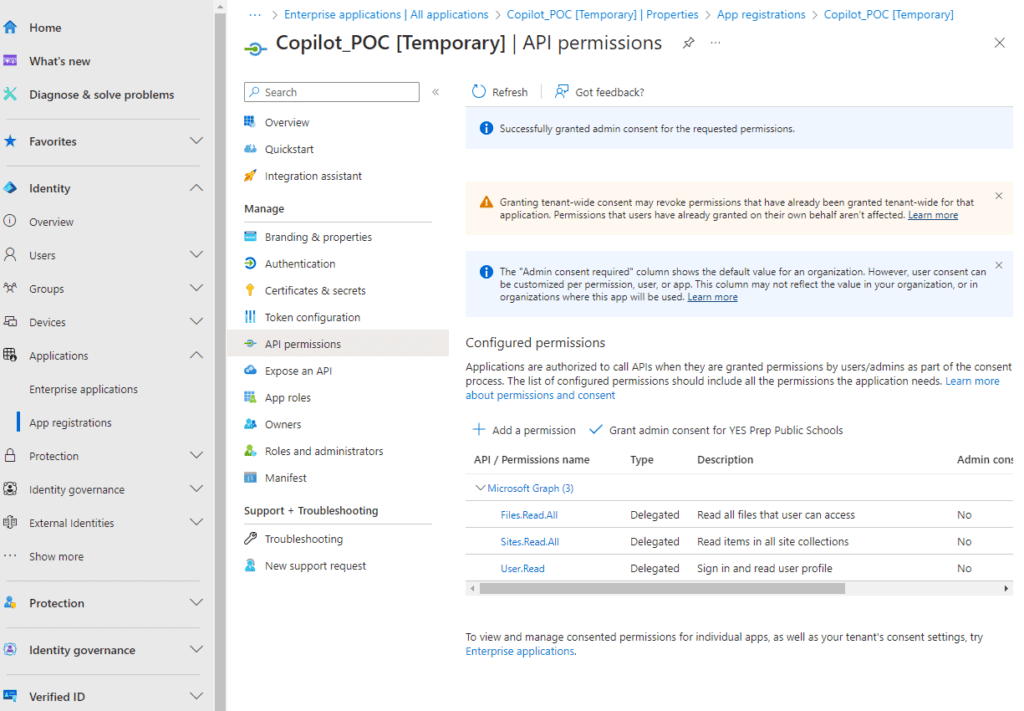
Your API permissions should look similar to the one in the picture above. Next, we need to approve those permissions. To do that, click the Grant admin consent button.
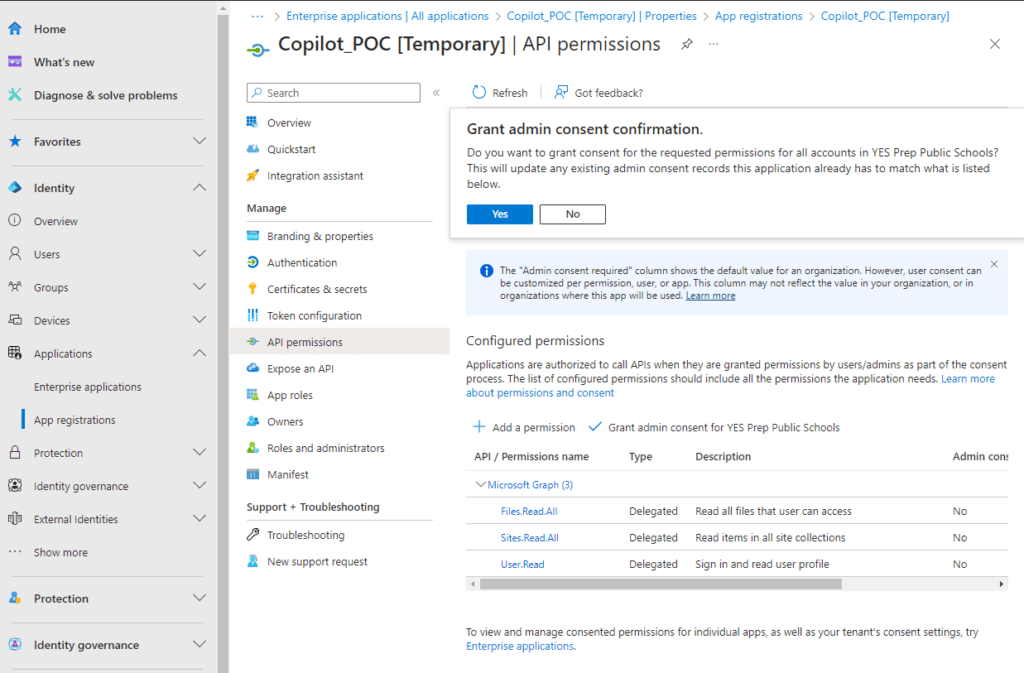
A confirmation window will appear. Click Yes. Good job, you have created a new Enterprise App. Now, we need to go to Enterprise applications and search for the App we just made.
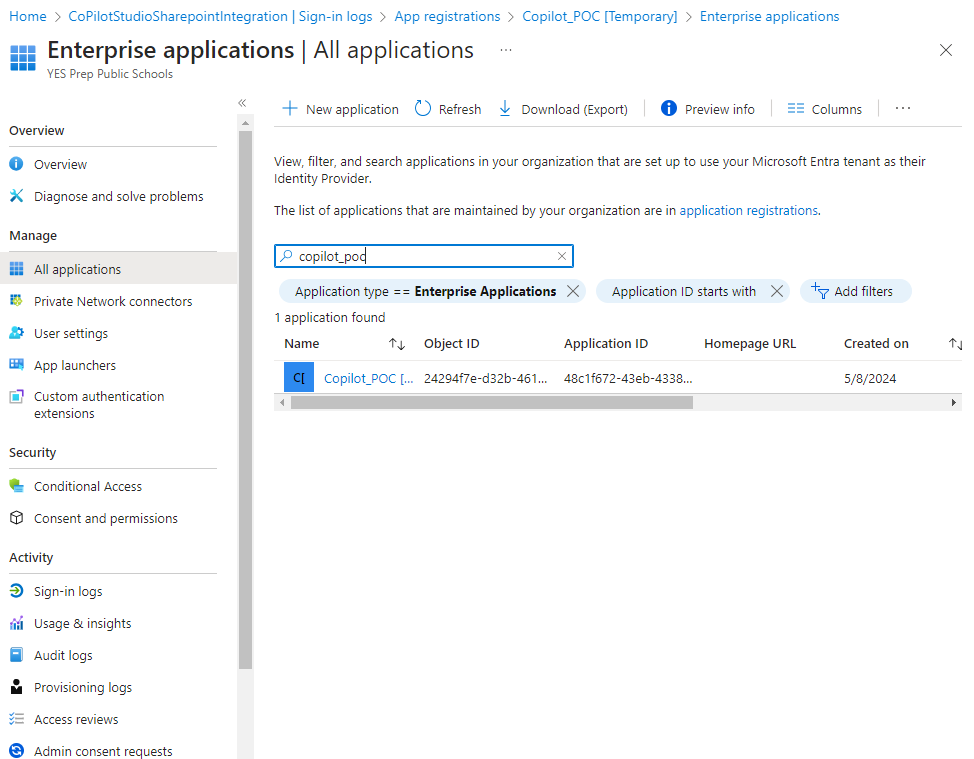
Part of making this work is to modify the redirect. To get there, start by clicking the Enterprise application you want to modify.
Click Add a platform.
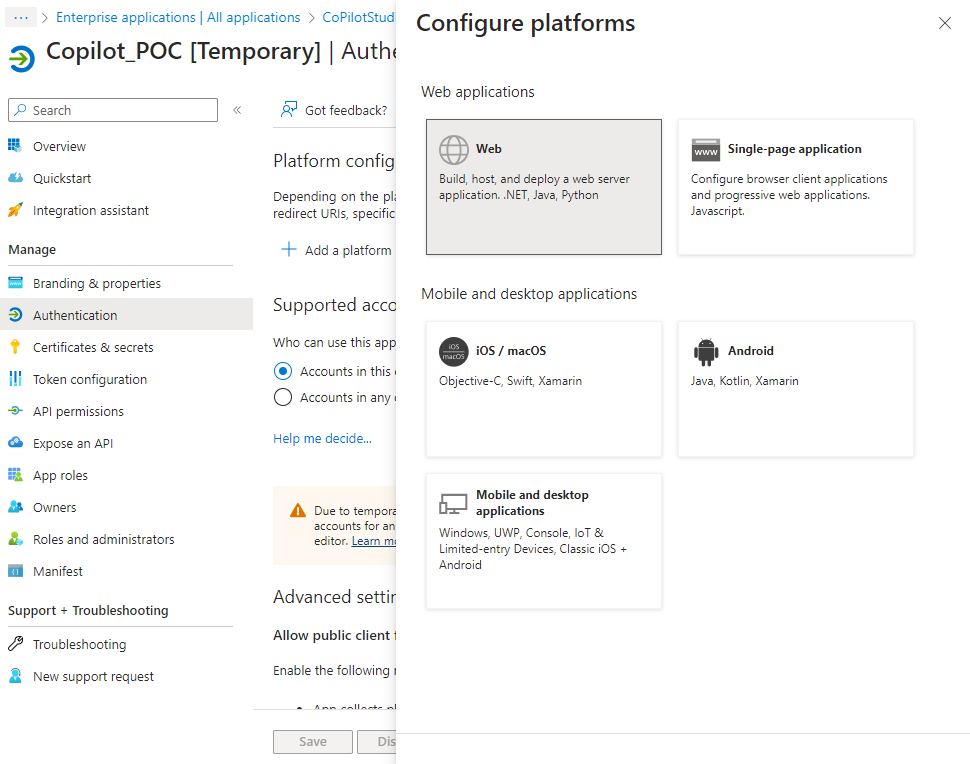
Select Web.
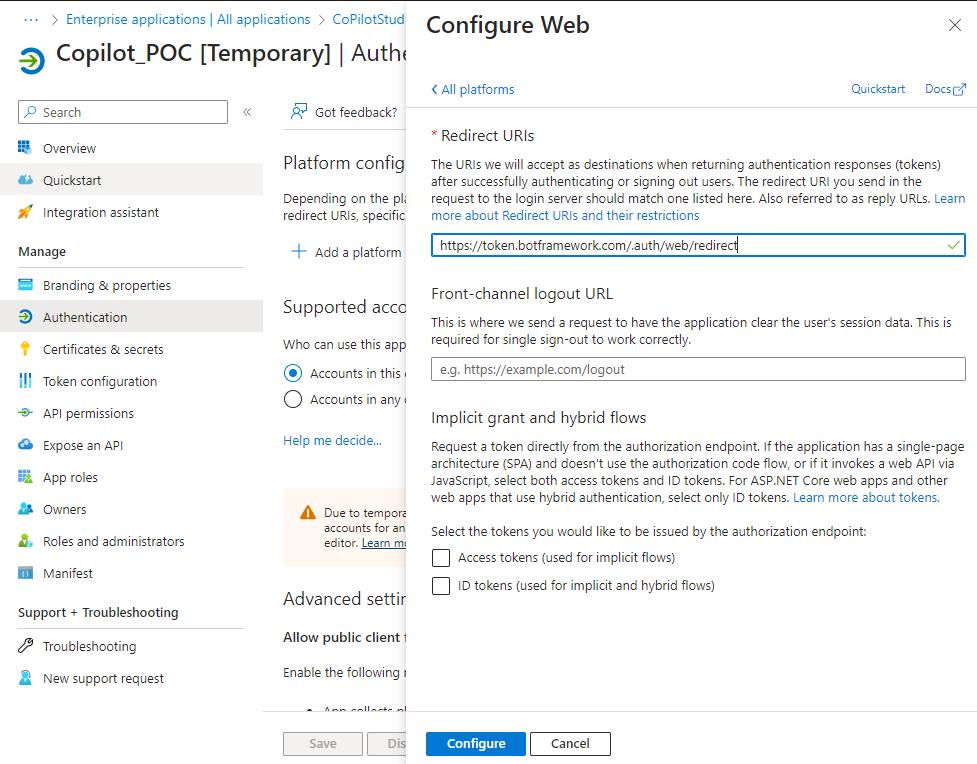
Next, we can update the redirect string. Enter the Redirect URI as seen above, https://token.botframework.com/.auth/web/redirect. Click configure when done. Note, we will need to checkmark the two options above, but over the years I have learned that it is better to modify settings one at a time to ensure that they are properly saved and configured. We will get those checkmarks in the next steps.
Now we need to setup the authorization checkmarks. On the right pane, scroll down.
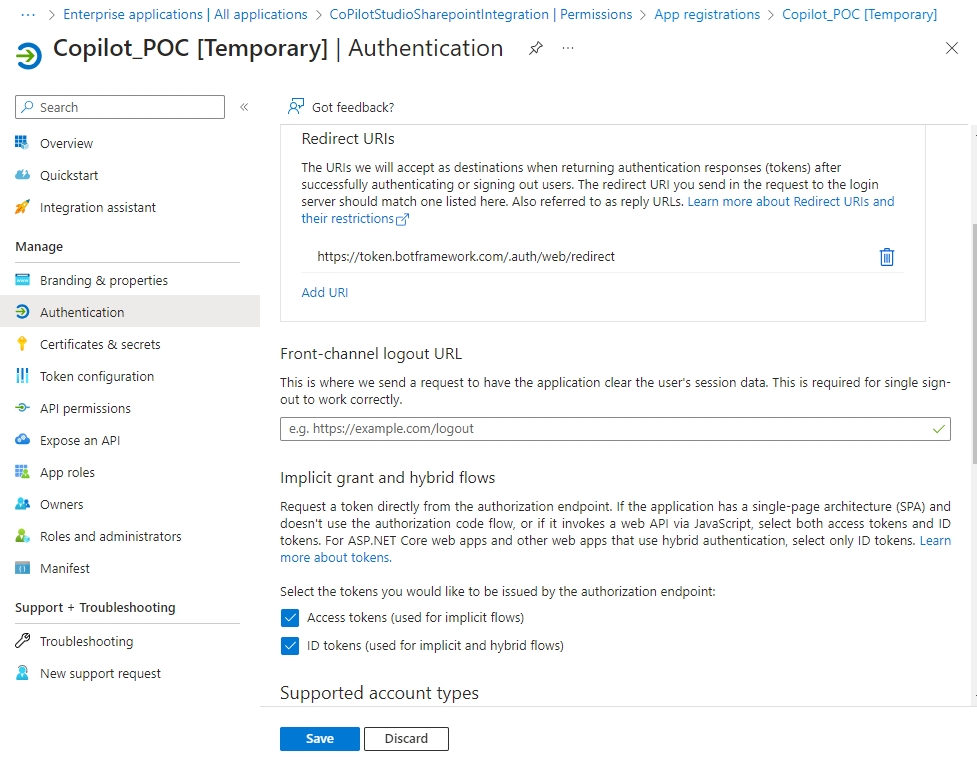
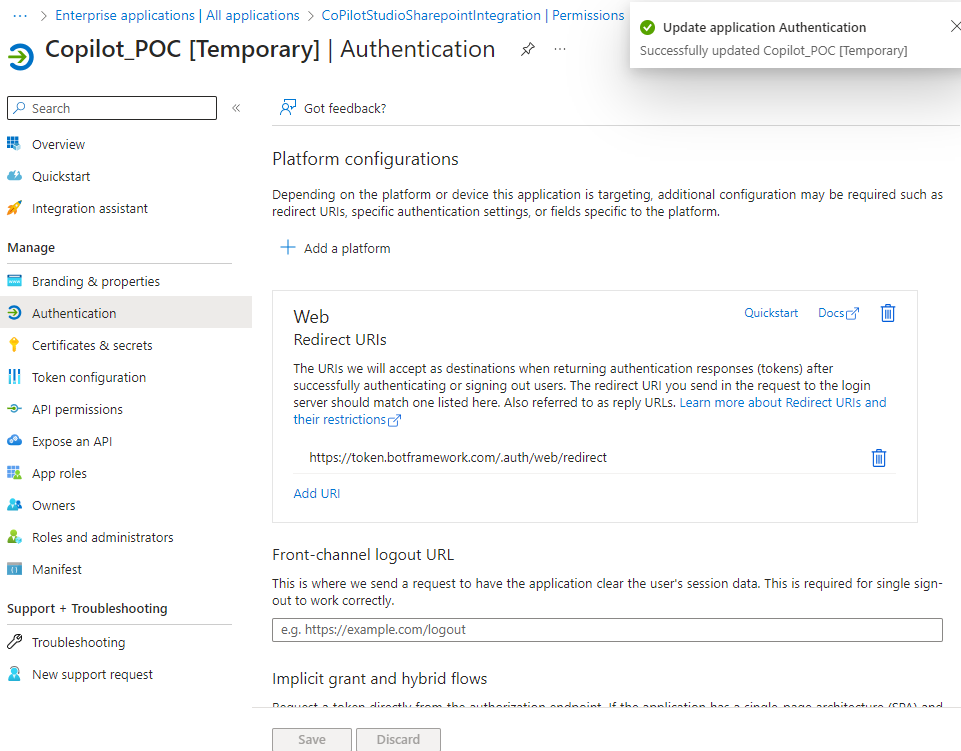
Go ahead and checkmark those two options, access tokens and ID tokens, and click the Save button. You should now have redirection and authorization setup.
Now that we have two of the core elements, it is time to setup our AI chatbot. For that, we need to go to https://copilotstudio.microsoft.com and login.
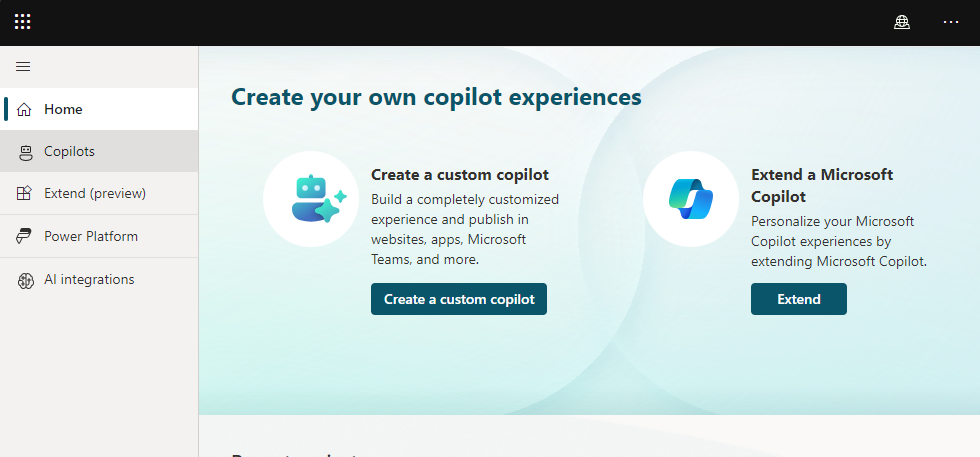
We are going to make out first Copilot. Click Copilots on the left pane.
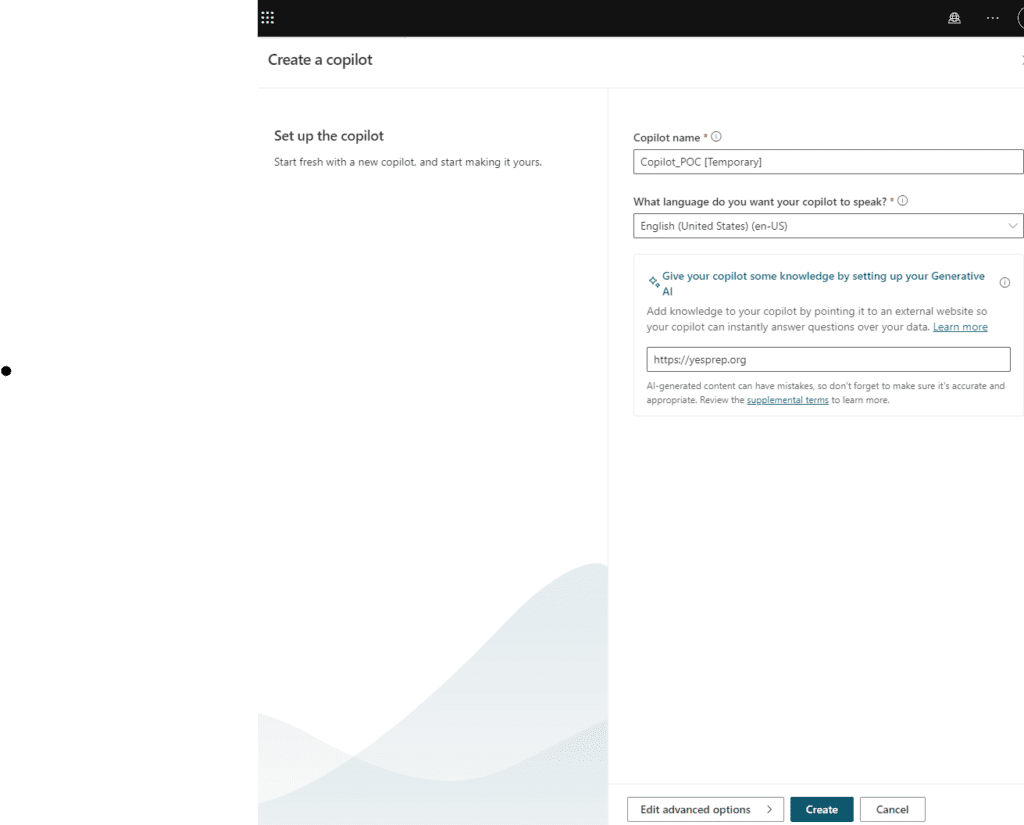
Back in the Altiris/Symantec days I learned to always name your tasks task and your jobs job so that you can find them later. I would suggest that you name the Copilot a relevant name to the project or task that you are trying to accomplish and abstain from names such as Greek gods, locations, etc. For this Copilot we will use English as the default language, but there is a language option within Copilot that will allow you to modify or add additional languages. The trick is that you will download an XML of the different interactions: greeting, goodbye, etc and then need to convert that into the language that is desired. Additionally, I have found that if your data source is in a different language it does not work as well as possible. Example, if your website is in English, but you add Spanish as a language option and convert the XML from English to Spanish then the interactions with the chatbot are not as efficient as they could be and sometimes the interactions are not as good as desired.
One other thing, you can use advanced options if you want to modify some additional options such as the icon, but you can return here later too.
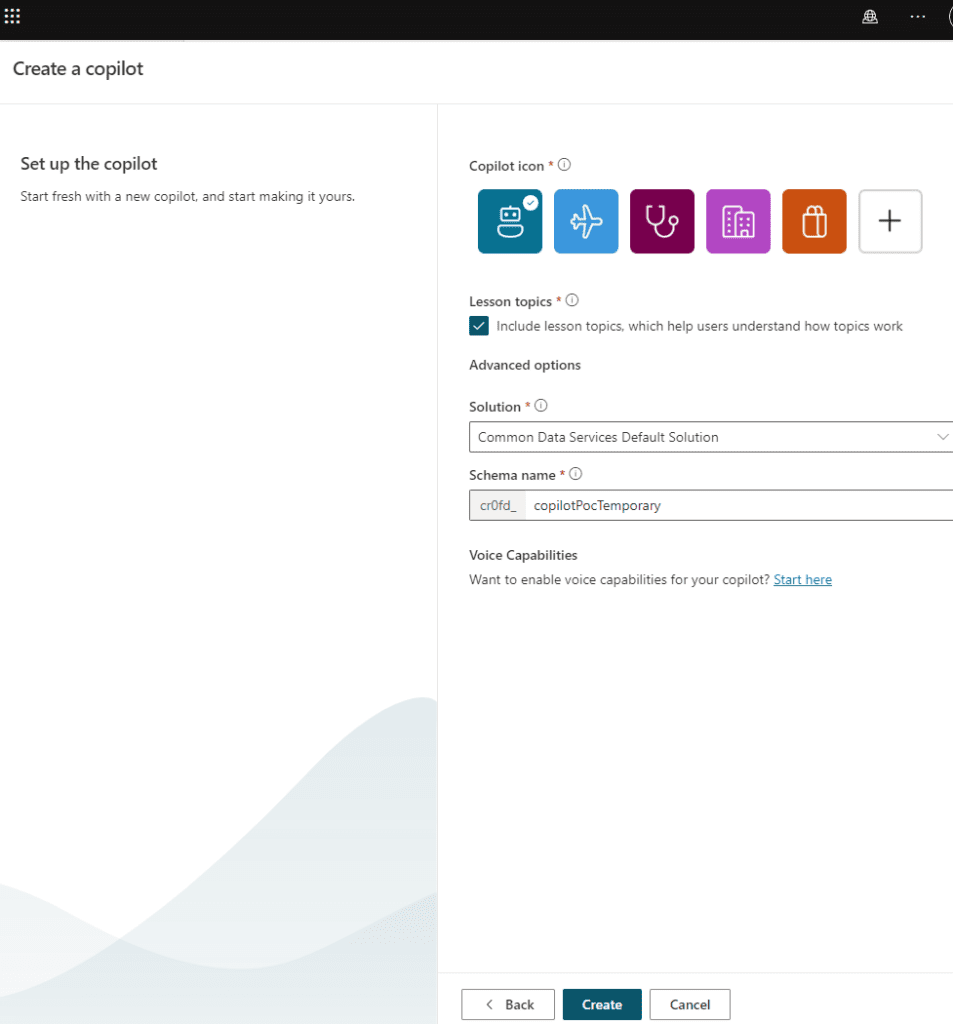
This is what the advanced options look like. That’s it. Now we wait.

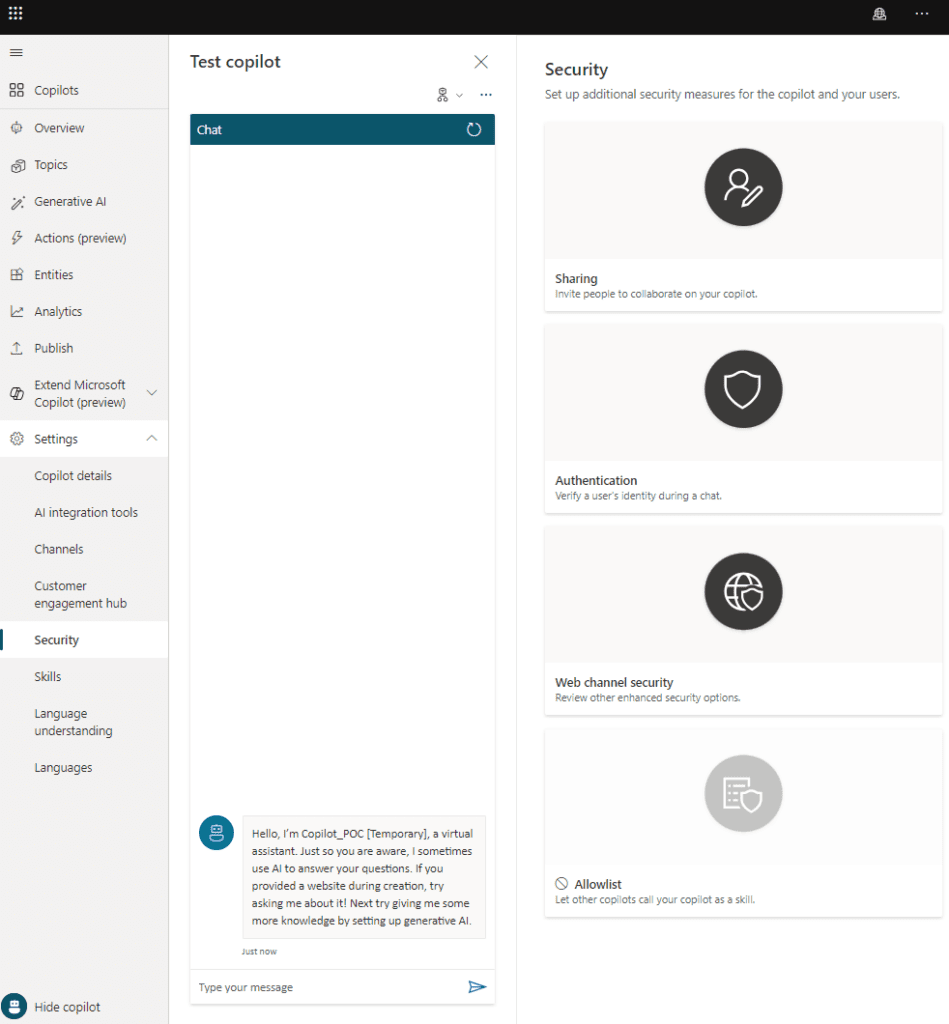
Eventually, the untweaked chatbot will be created. We still need to connect it to other sites for authentication and upload any additional data or documents.

Congratulations, you have an initial chatbot built and can start conversing with it. However, it is like a newborn baby and has limited knowledge so we need to feed it some things so that it can grow up some more.
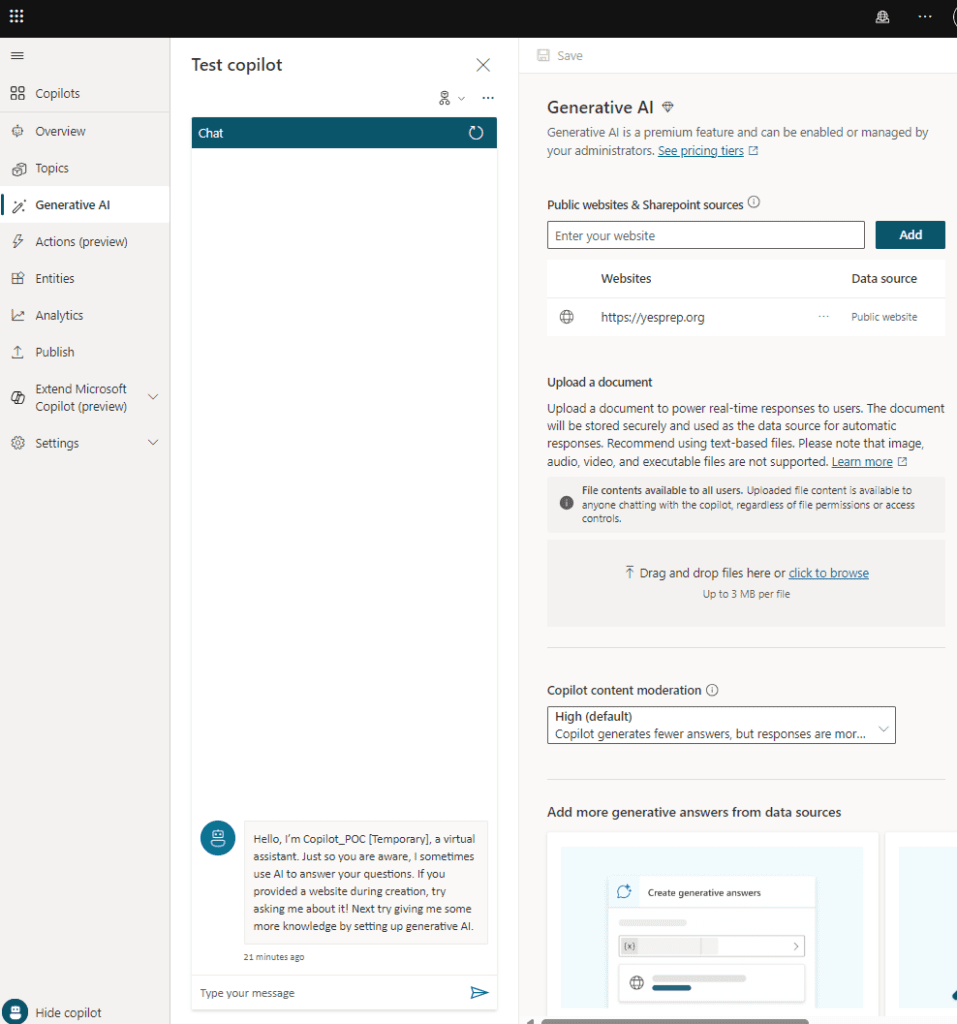
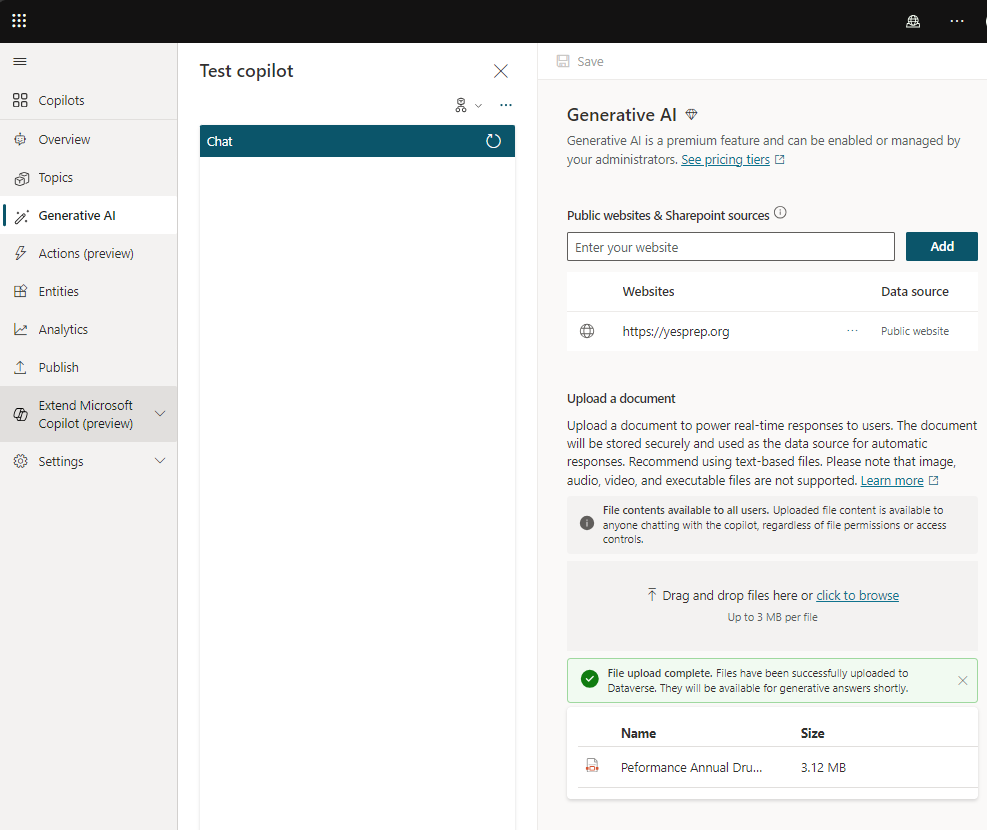
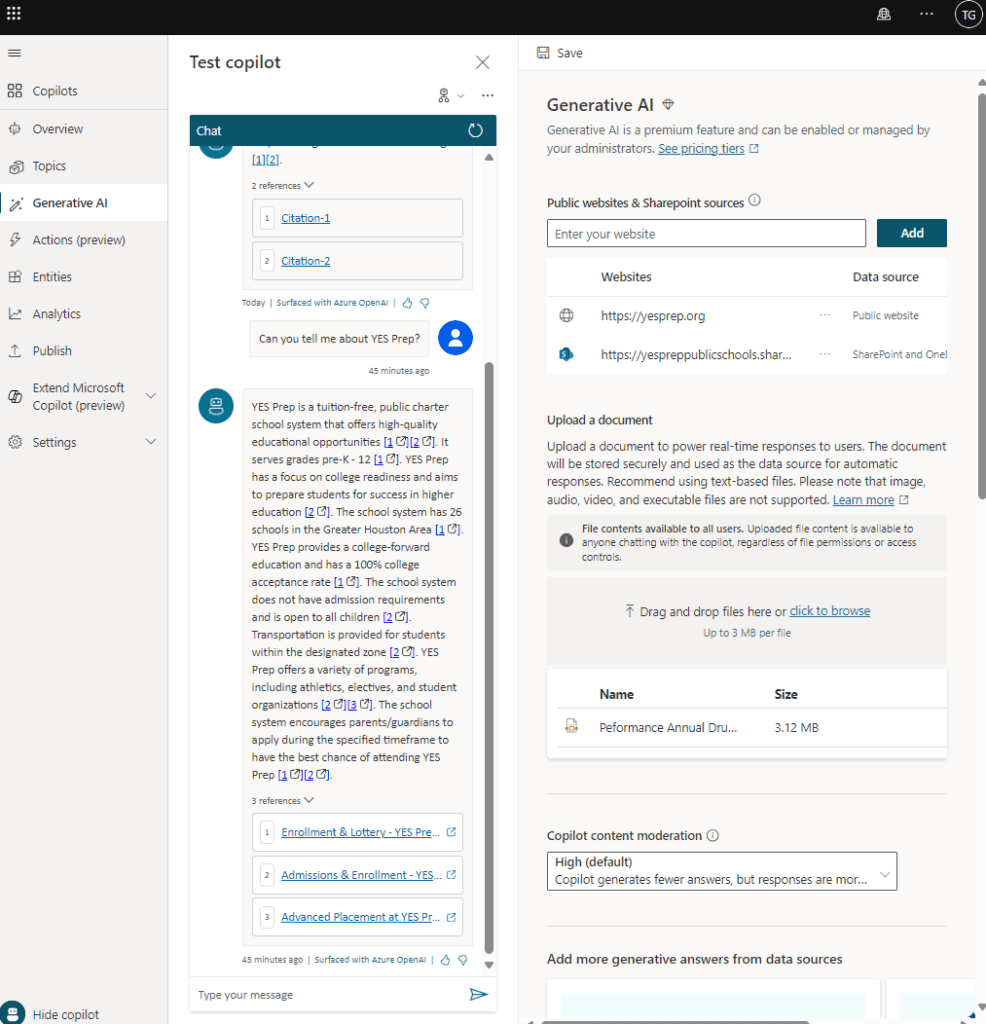
In addition to the website that we specified you have the option to add additional data files that you want. You can simply drag and drop them into the gray area above or click browse and navigate to them. In this case, I used a PDF of the drug formularies from my organization’s insurance provider.
At this point, if you want you want to test it out, you can ask questions about the document that was uploaded, but the chatbot is not published yet for outside of this private Copilot Studio area. There is also the matter of authentication that we still need to configure.
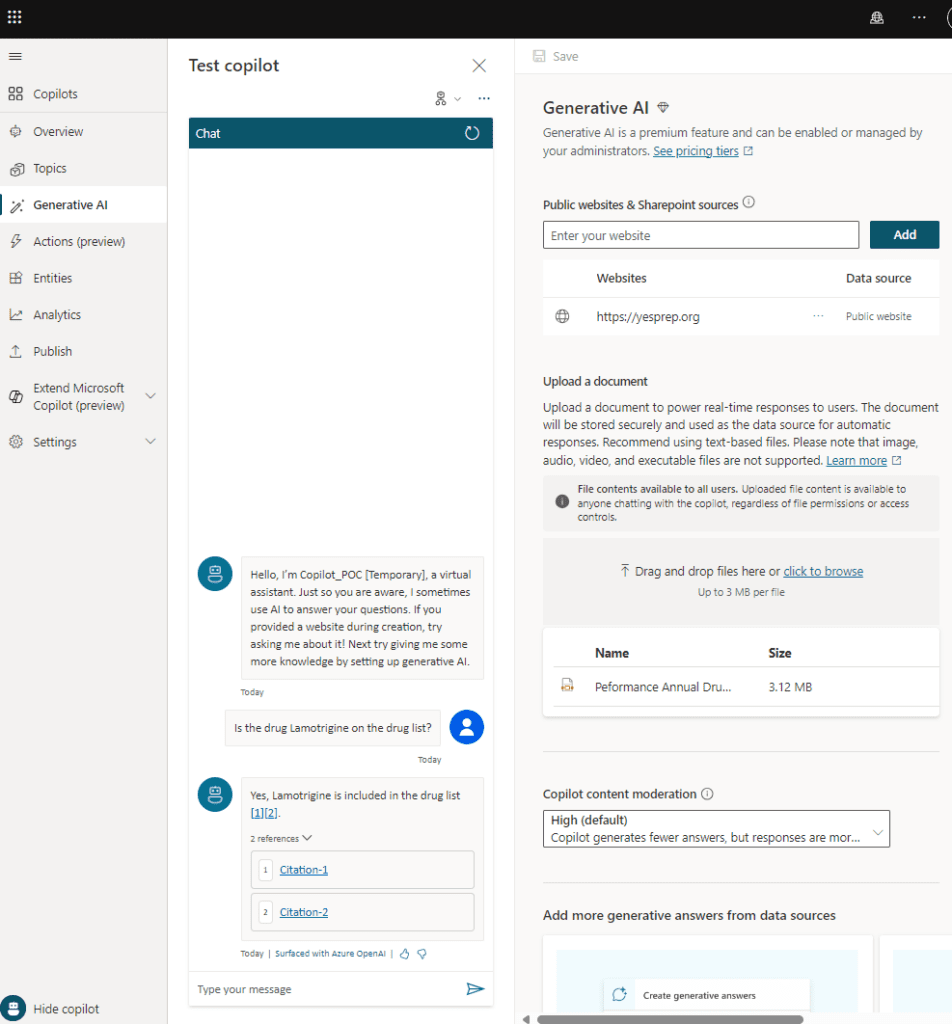
An interesting point is that even in this area, the citations are clickable.
The chatbot can already converse based on the website that we entered in too. Additionally, if you pay attention to the right you will see that there is a power automate flow that shows us the conditional statements and allows us to modify as desired.

Asking questions about our website works. You can also add in a SharePoint website in case your organization has additional data there. Just make sure to click the Save button at the top. Note, the SharePoint source does not allow you to set it at the root level. You need to choose a subfolder underneath. One other additional note is that there is currently a limit of 4 SharePoint sites that you can add.
After waiting a few minutes you will be able to ask questions on the SharePoint site. Notice below.
If you scroll down on the right pane, you can go to an Instructions area. This is where you define the behavior of the bot. Think of it like roleplaying and how to perform their specific task or job.
I like to break things down into their basic philosophical terms of WHO, WHAT, WHERE, WHEN, WHY, and HOW. Using those options I entered in the following:
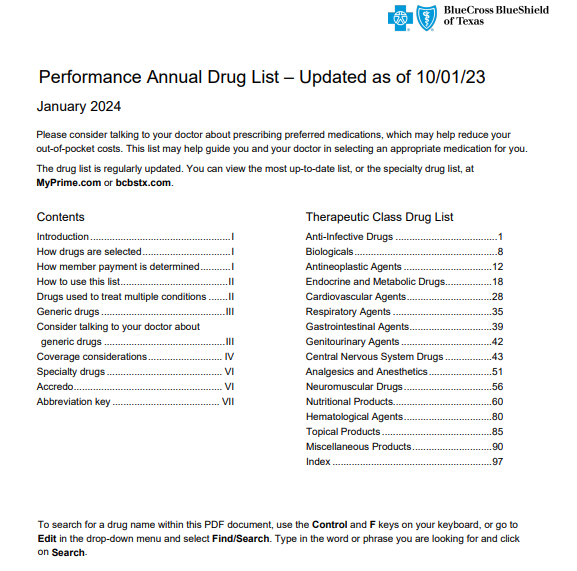
You are a representative of YES Prep that is knowledgeable about HR related benefits. You are able to use the attached documents to search for answers to questions such as health insurance plans, health insurance costs, dental plans, dental costs, drugs and medications covered. For questions about drugs and medication coverage, check the attachment “Performance Annual Drug List.pdf.” For questions regarding health insurance or dental insurance check the attachments “23-24 Benefits Guide.pdf” and “January 2024 Medical Plan Changes.pdf”

Make sure to click the Save button.
Now let’s setup authentication. Click the button for it.

Now we need to setup authentication and permissions. For that, we need to use the Enterprise App Client ID and Client Secret we created earlier. If you don’t remember or did not write it down, go back to https://entra.microsoft.com and navigate back to the Enterprise Apps area. Search for the Enterprise App you made and click it.
You can copy the Application (client) ID to use in the Copilot Studio authentication area.
However, once you create a secret you can never see it again so you will need to generate a new client secret so click Certificates & secrets. Then, click New client secret.
Add a description relevant to what your organization is using it for and add the desired date. Note, I recommended adding a calendar event for a few days prior to the expiration date so that you are aware that the Client secret is expiring and will need to be updated.
Now you can copy the Value of the New client secret you made.
Going back to Copilot Studio and inside the authentication area your App should look similar to the following.
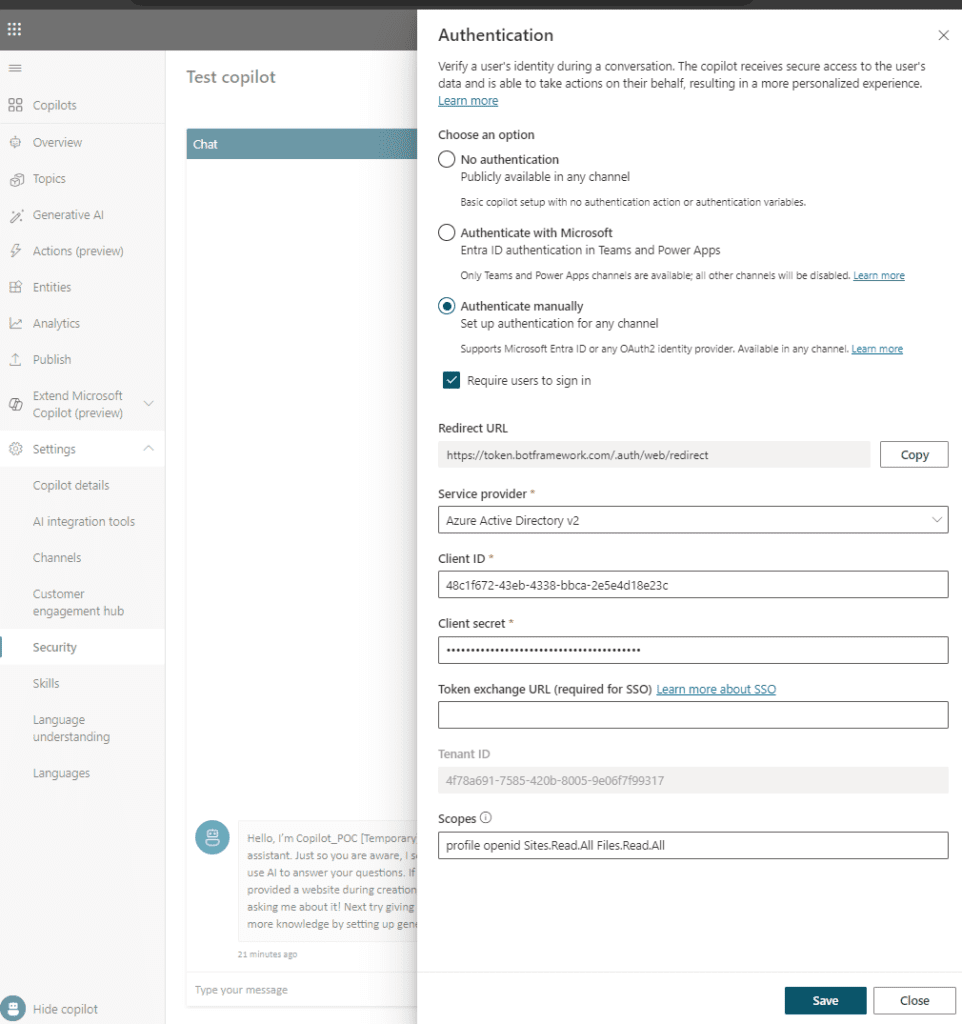
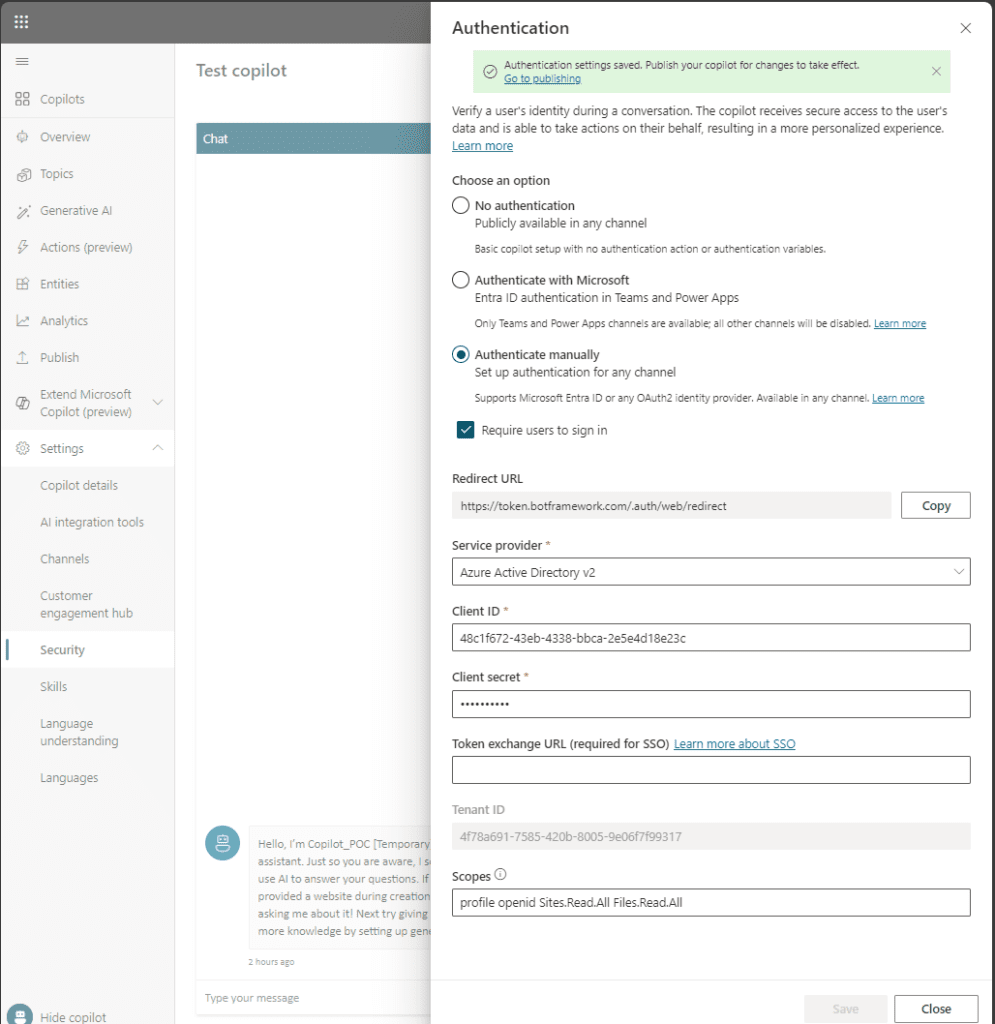
Notice that we modified the authentication to manual, made sure that there was a redirect URL, added in a Client ID and Client secret, and even updated the Scopes.
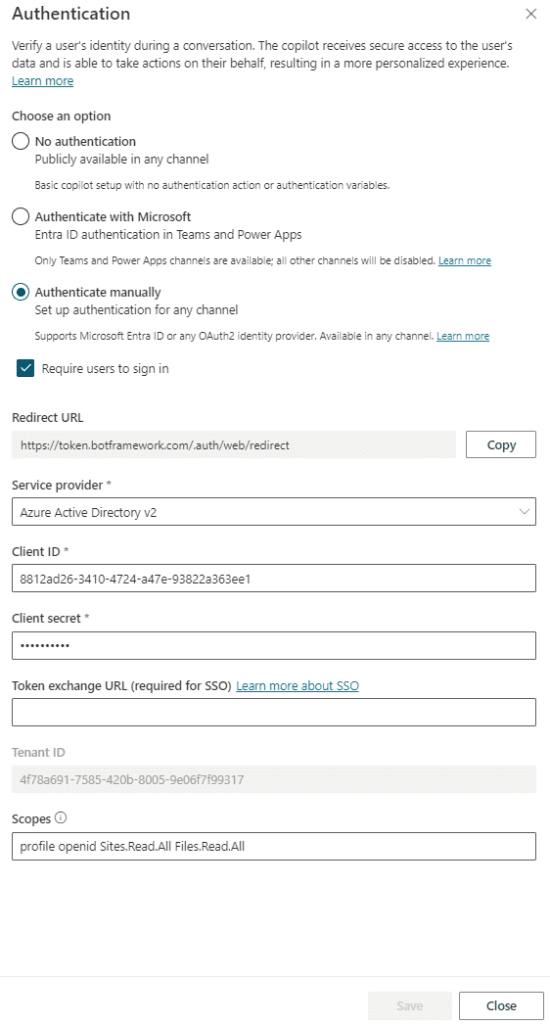
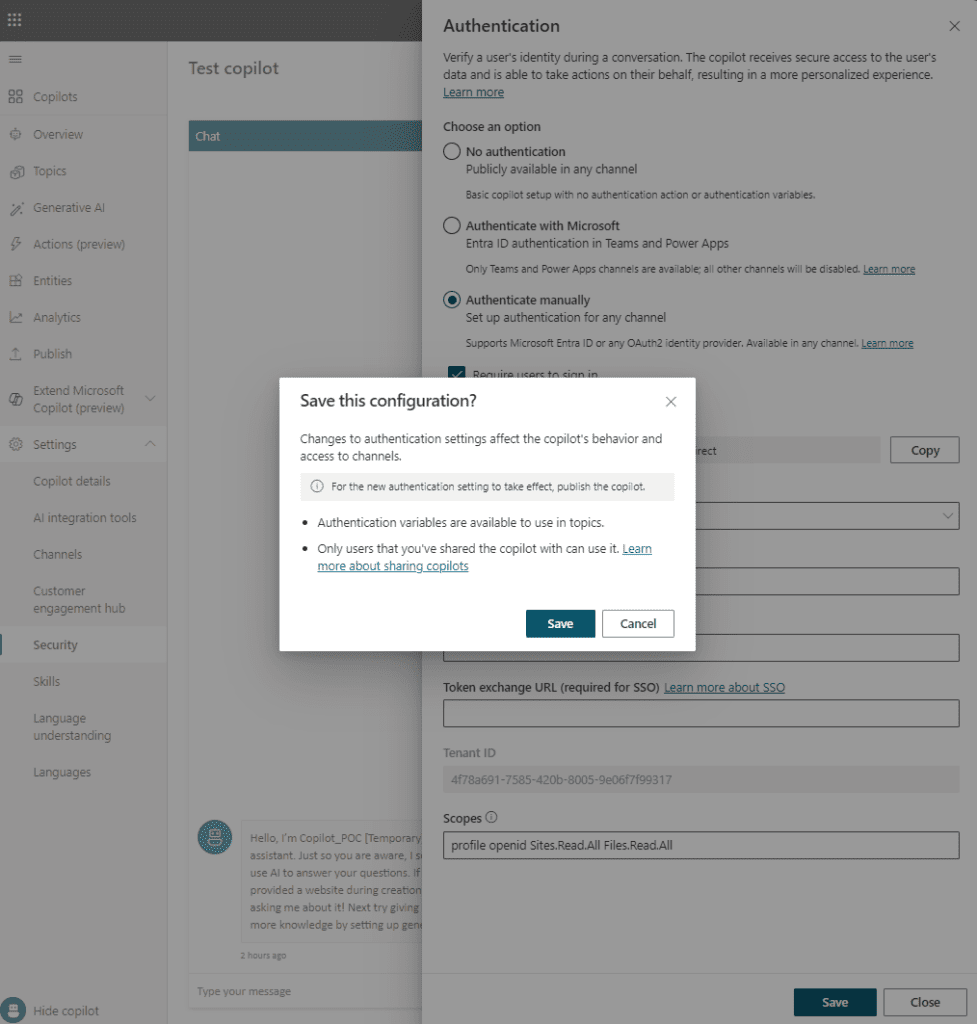
Make sure to click Save.
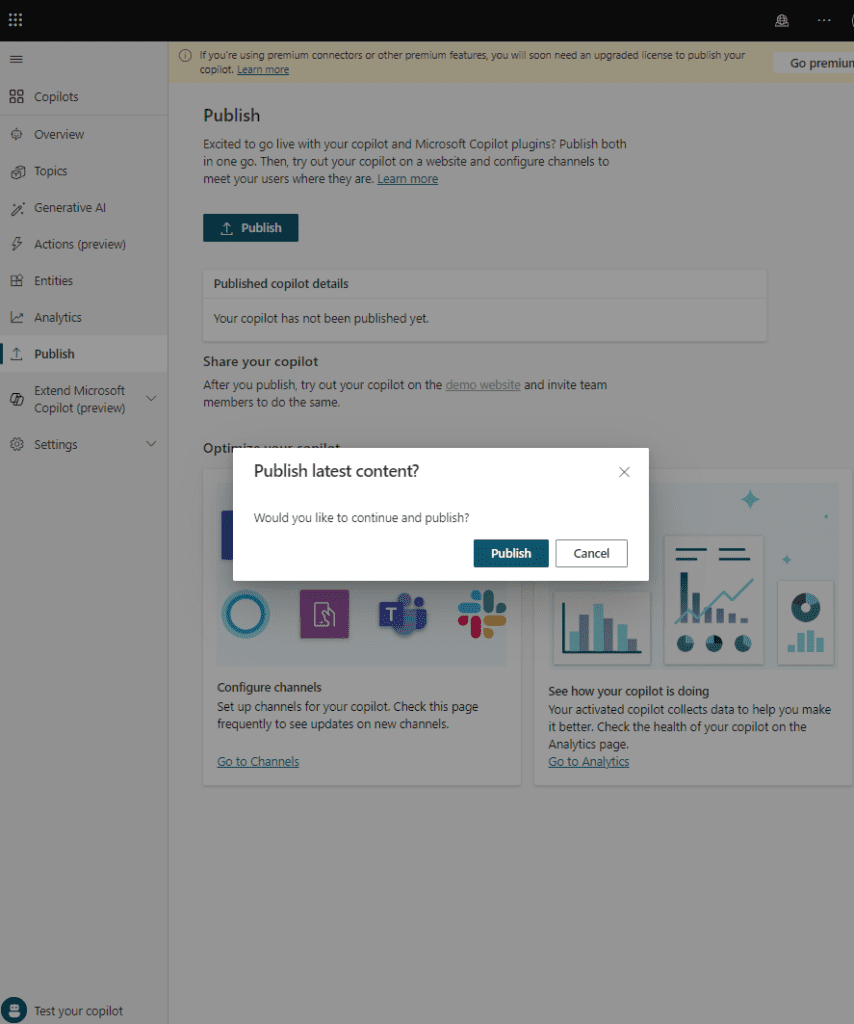
Now we are ready to publish the chatbot. Close out of this window and click Publish on the left pane.
Next, click the Publish button.
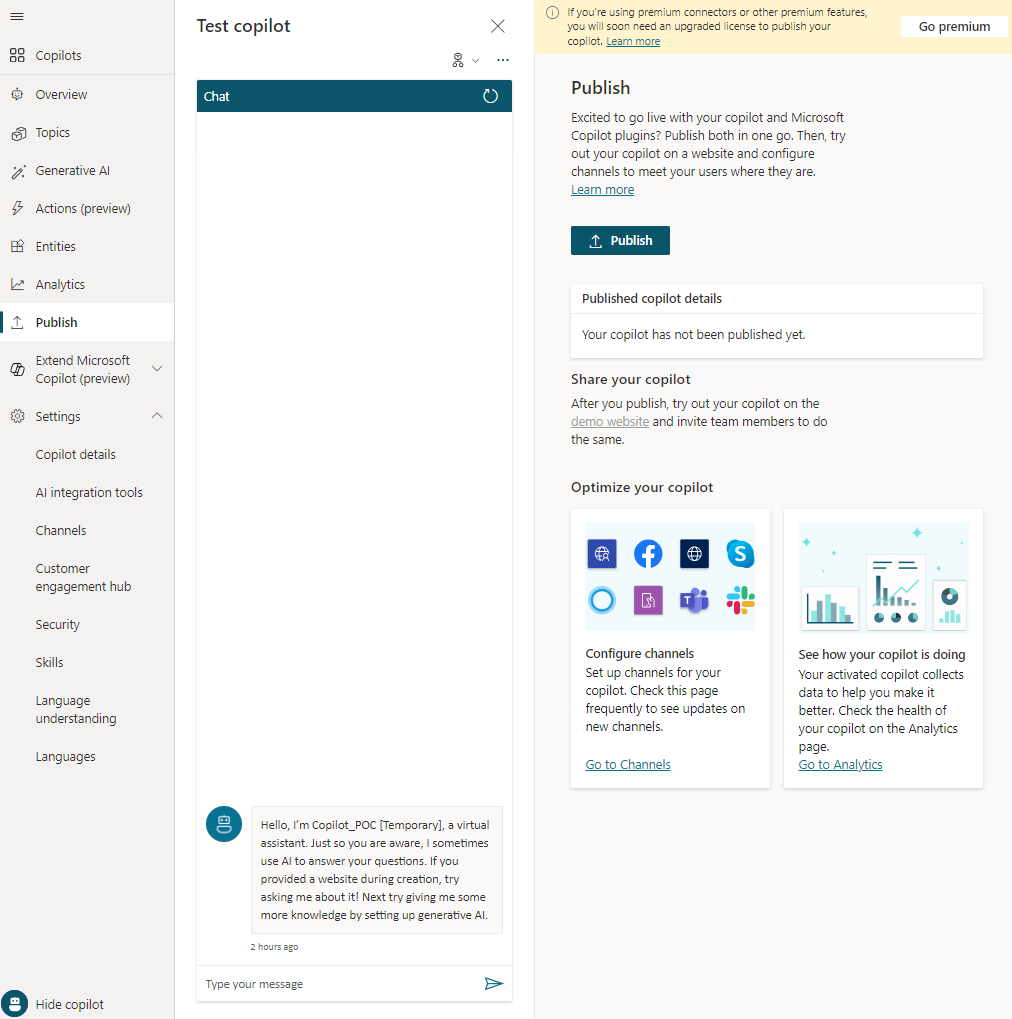
Go ahead and confirm by hitting Publish again. Note, every time you update your chatbot whether it be the messages, attached documents, or even authentication, you must Publish the bot again so that those settings are then encapsuled and saved together.
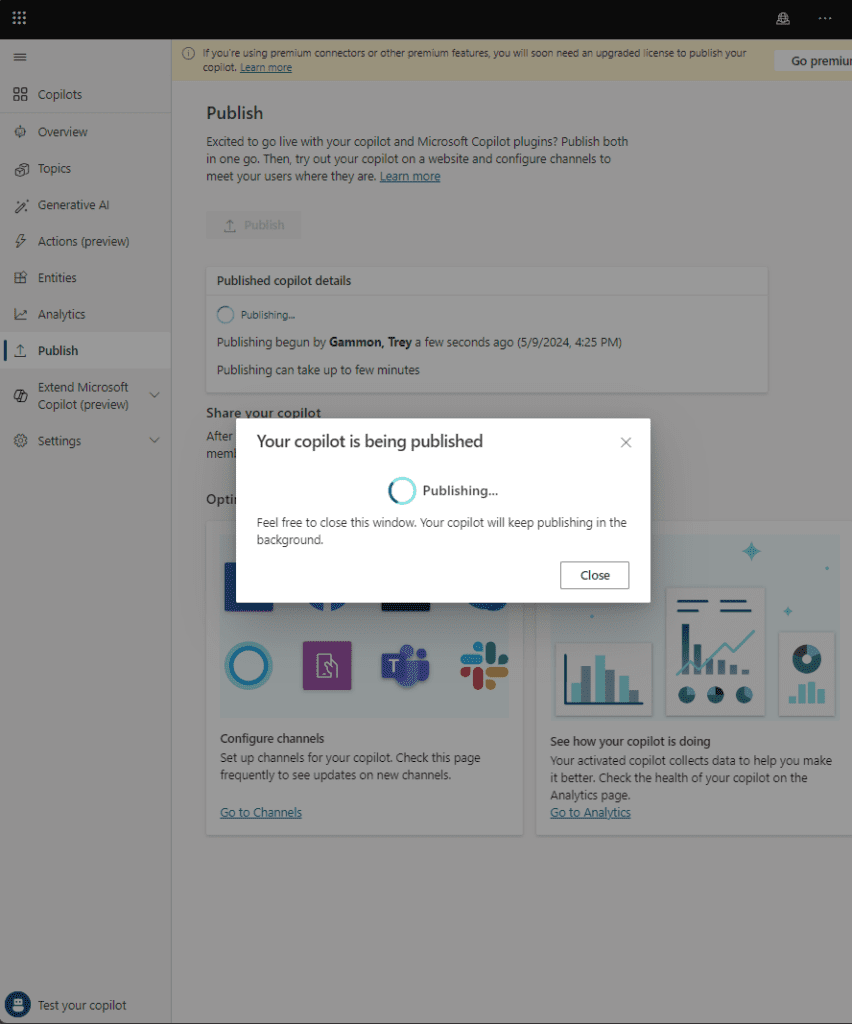
And now, we wait. It reminds me of being a SysAdmin in that most of our job is looking at status bars.
It has now been published and is ready to go.
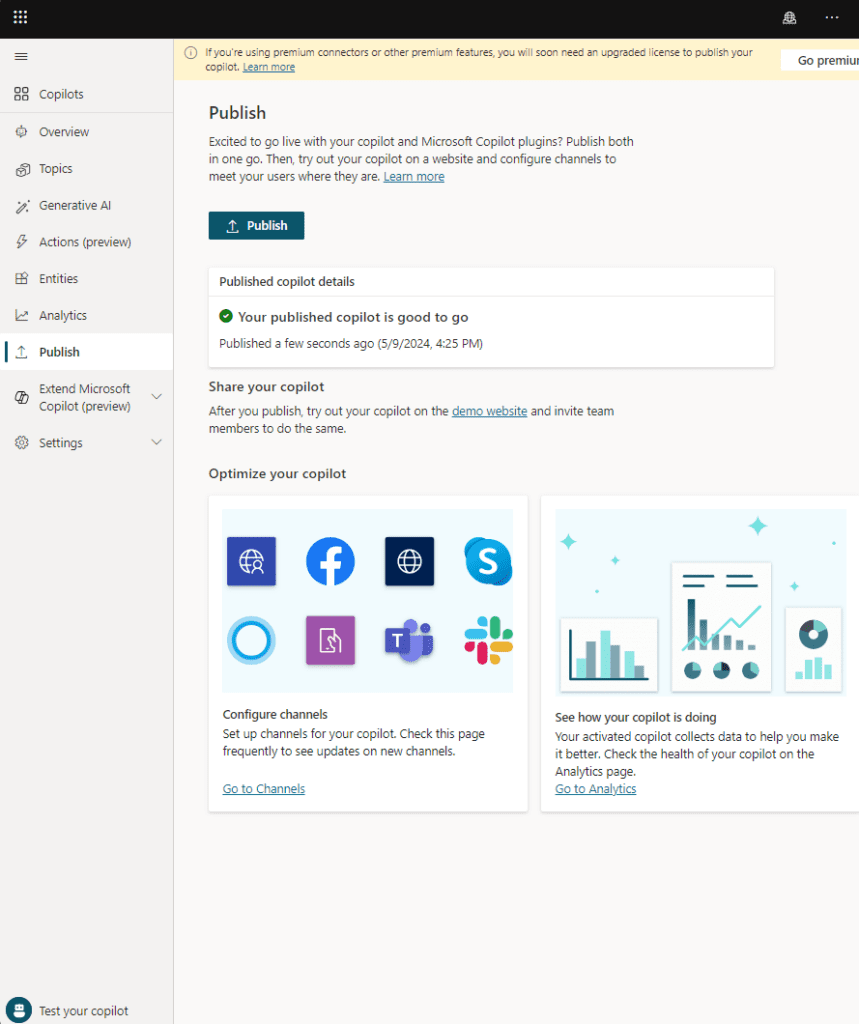
Eureka! Now we have a test site setup. Let’s check it out. Click the link that says demo website and give it a try.
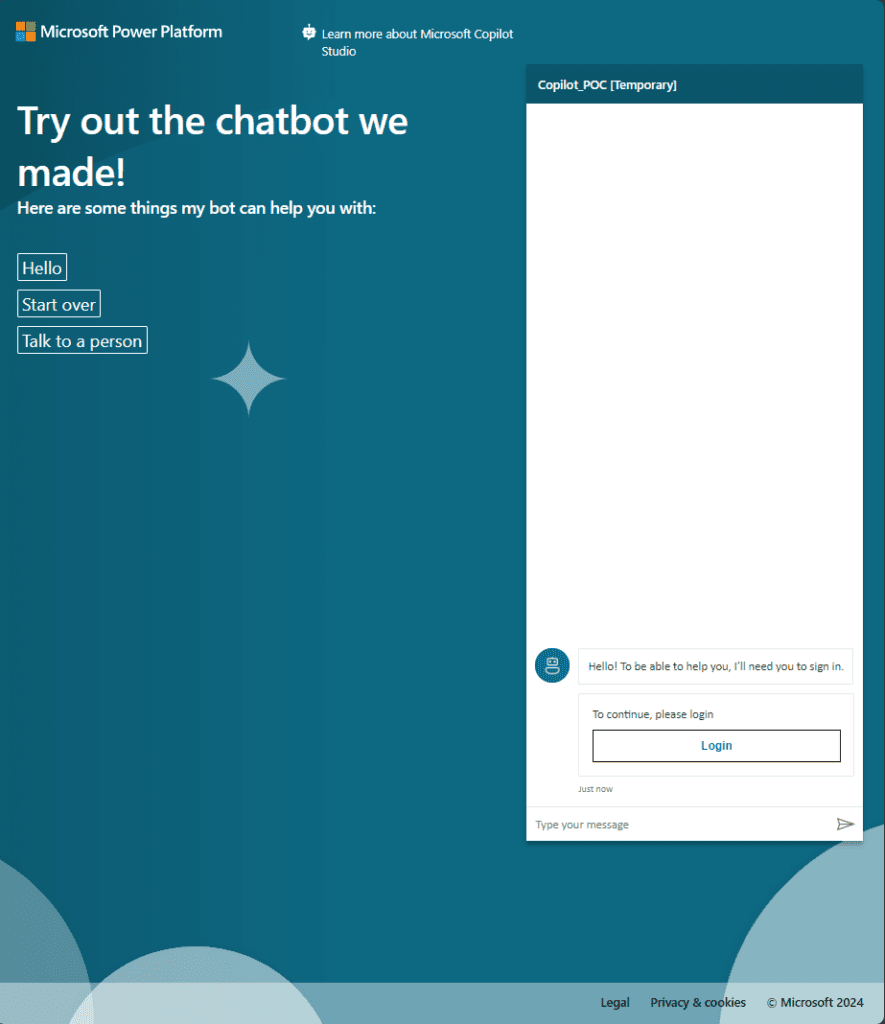
Click Login.
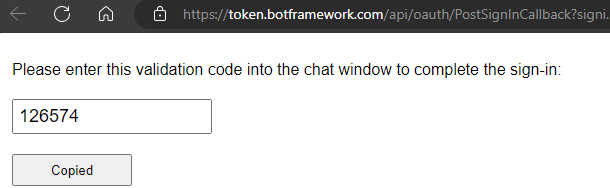
Copy your MFA code.
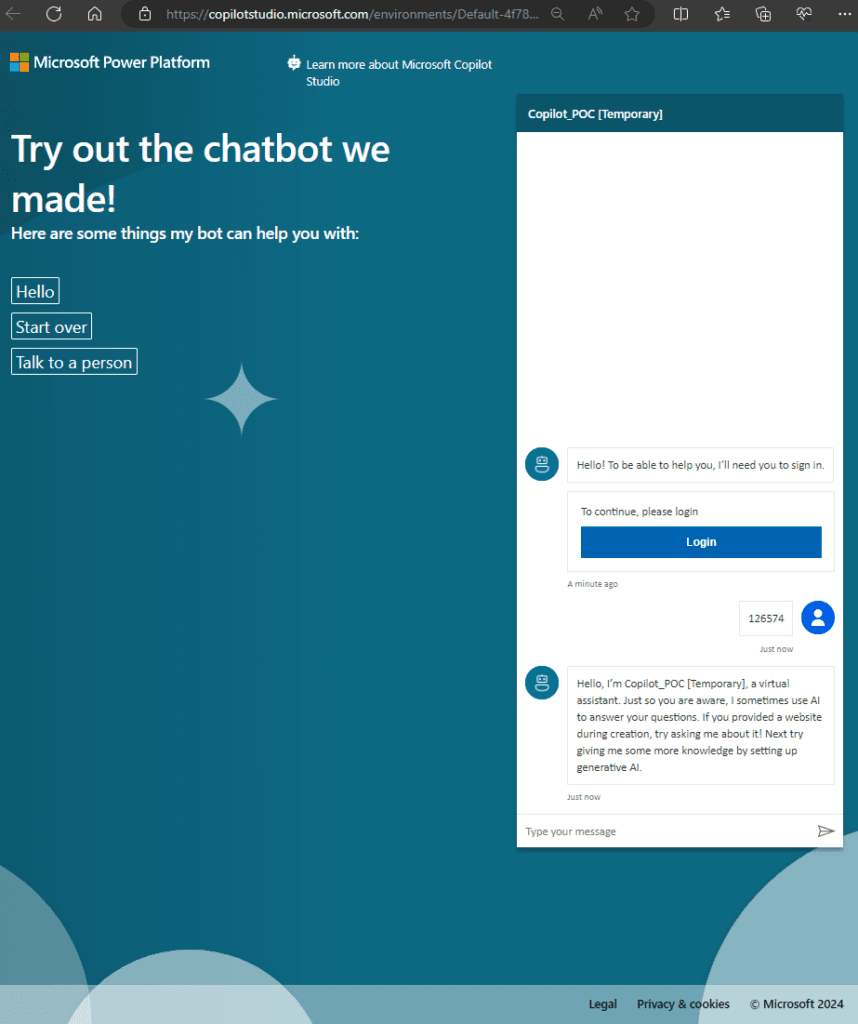
Enter in the MFA code and see if it works. At this point you should be ready to rock for your own organization’s needs and helping your users to better use AI to become more efficient and find the answers they are looking for while also reducing ticket counts and service calls.
Closing Thoughts:
If you made it all the way here, great work! So that’s the process of how to setup Copilot Studio to create your own custom AI chatbot complete with authentication and MFA. If you followed along you should now be able to setup your own Copilot chatbot and Enterprise App. Have fun!