
TL;DR In continuing our free multi-cloud build out, we will setup free backups using Google Drive, install our WordPress website, migrate an existing WordPress website, and setup SSH keys to make logging in easier.
Building further upon the last article, we analyzed and setup two servers on two different cloud providers. We setup a domain, configured DNS, and enabled replication between the servers on different clouds. However, there are more things to do. We still need to get our website going. Also, what are we going to do about backups?
Configuring SSH and SSH Keys
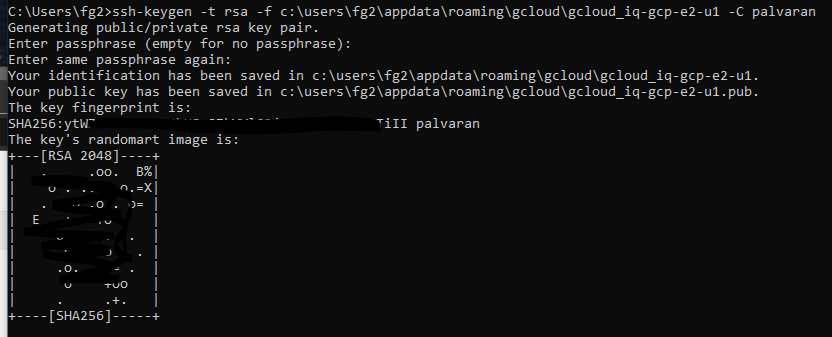
First, to make it easier to connect to our VM instances, we can use SSH via PuTTY instead of using GCP. We need to do a few things before we can though. Following the steps at stackoverflow, let’s create an SSH key so that we can SSH in. Using a command prompt in Windows, navigate to your gcloud directory and run the following line:
“ssh-keygen -t rsa -f ~/.ssh/gcloud_instance1 -C varunon9” where gcloud_instance1 is name of key file and varunon9 is username. See below.
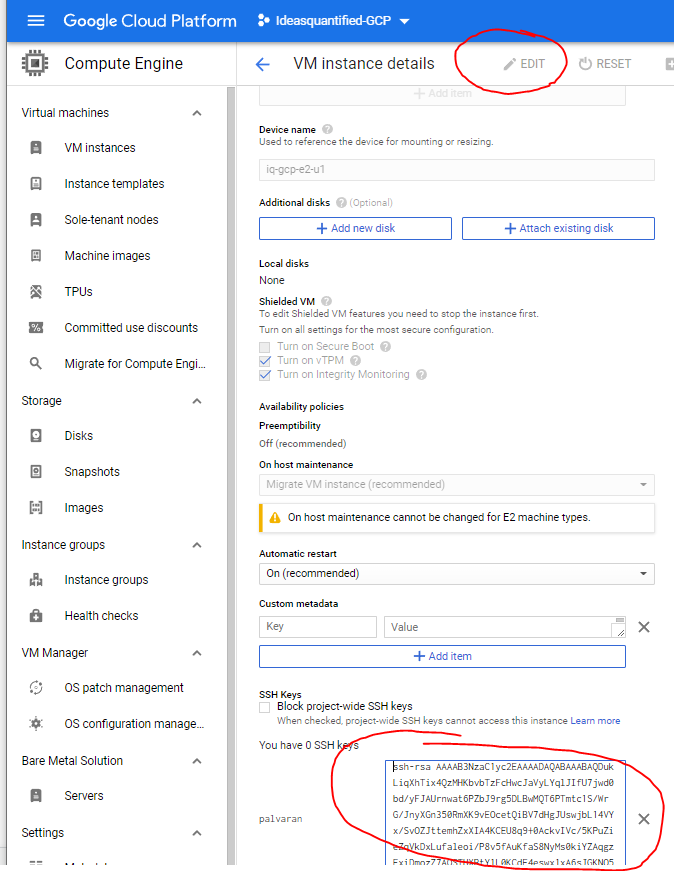
If you open up the .pub file your RSA key looks like the following.

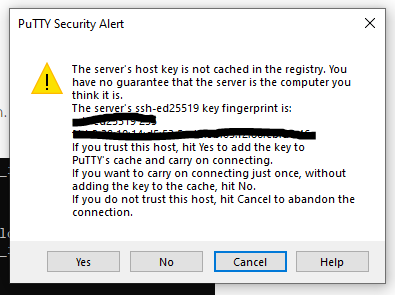
Now copy and paste that line into your GCP instance.
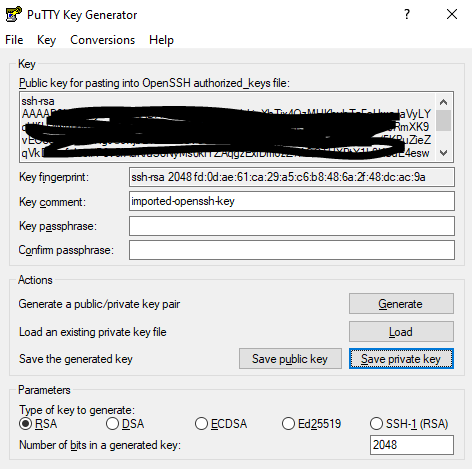
Next, we need to convert the key into a PuTTY compatible file. Open PuTTY Ken Generator. Click Save Private Key.
Now you need to link to the file inside PuTTY.
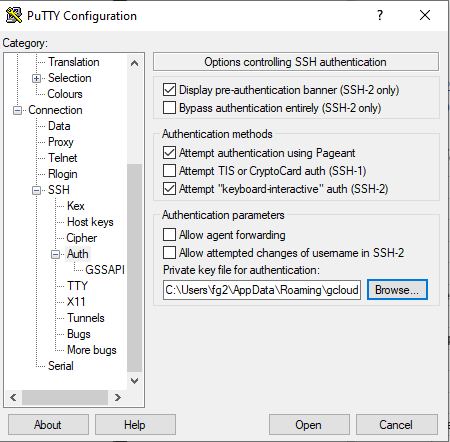
Now we can click open and you should be able to connect. Just remember to click session and save if you want to reuse this link.
Tada! Using PuTTY is way faster than using GCP’s SSH connection.
Creating Backups (Using Google Drive)
Let’s make sure our backups are more redundant. For this demonstration we will use Google Drive as it gives every user 15 GB which is sufficient for a backup.

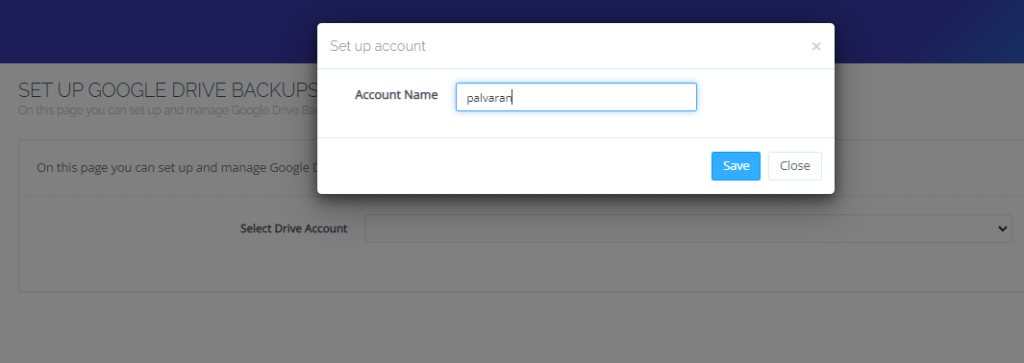
Click Setup New Account and enter in a name.
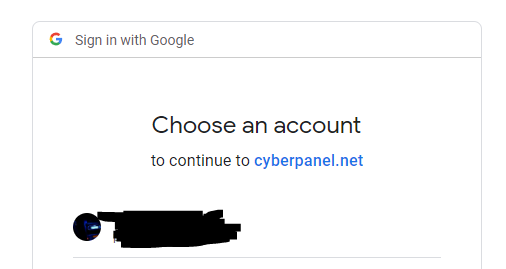
Choose an account.
Click Continue.

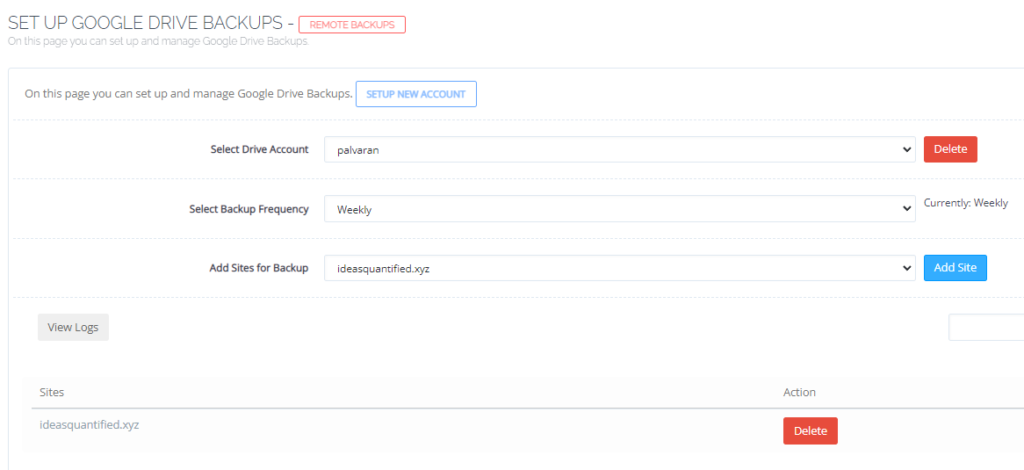
Choose your drive, backup frequency, and site to backup. Hit Add Site when done.
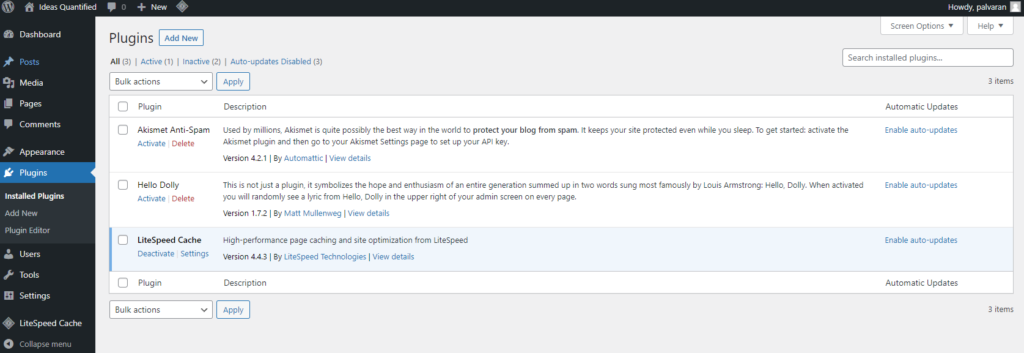
Installing WordPress
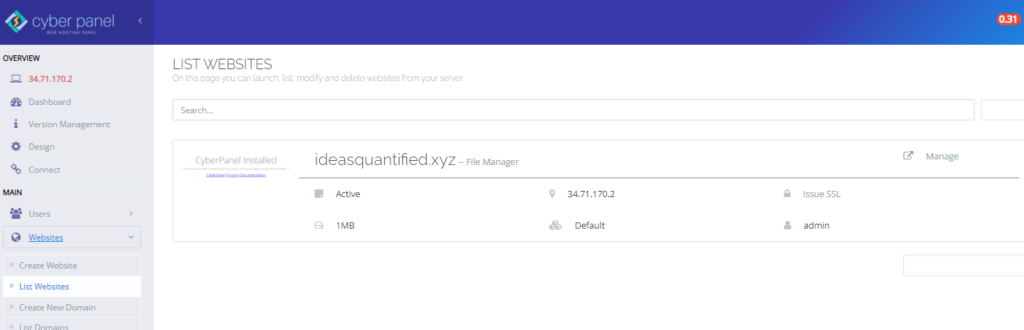
Now let’s get WordPress installed. First, go to Websites and then List Websites on the left hand menu.
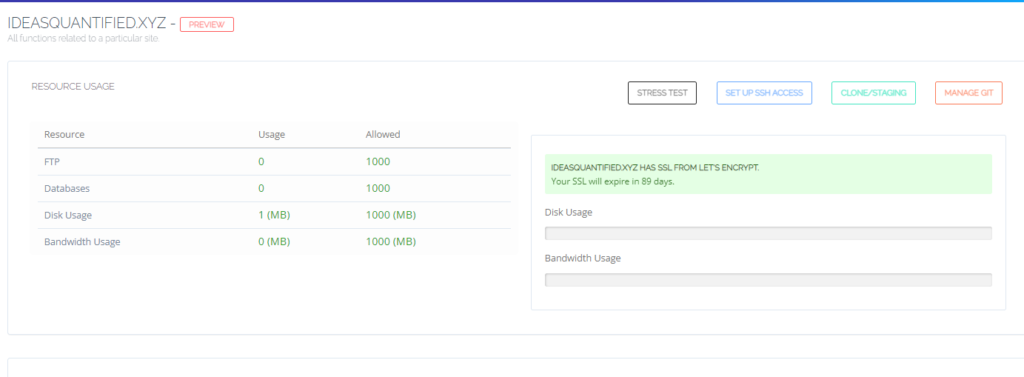
Click Manage and it will take you to a new page that lists a slew of options.
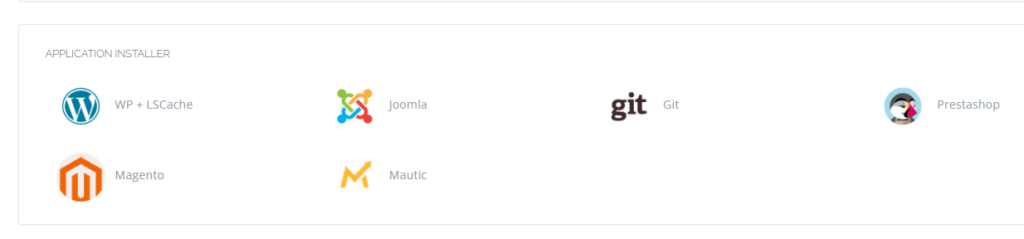
Scroll to the bottom and click WP + LSCache. LSCache speeds up the loading of your website and is done at the server level.
Now go ahead and fill out the information. If you are wondering about the user, you are creating a new one and not using an existing one.
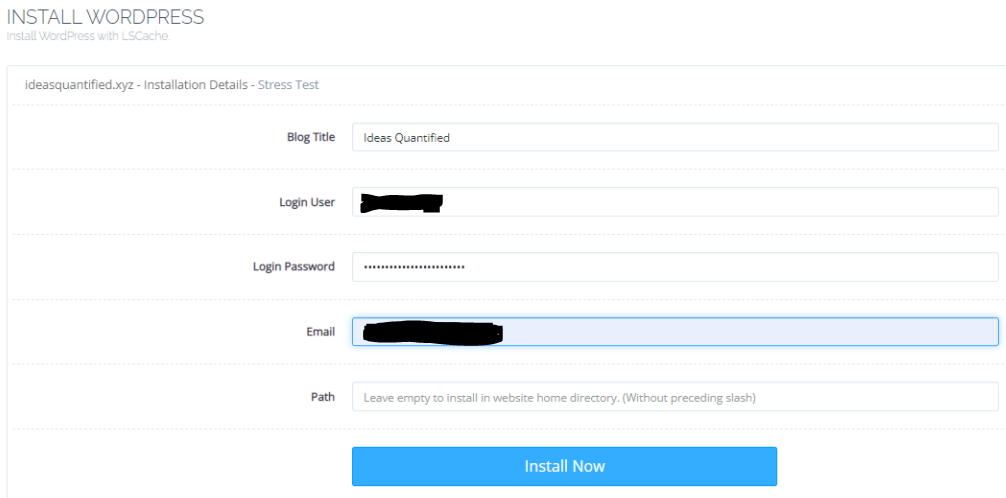
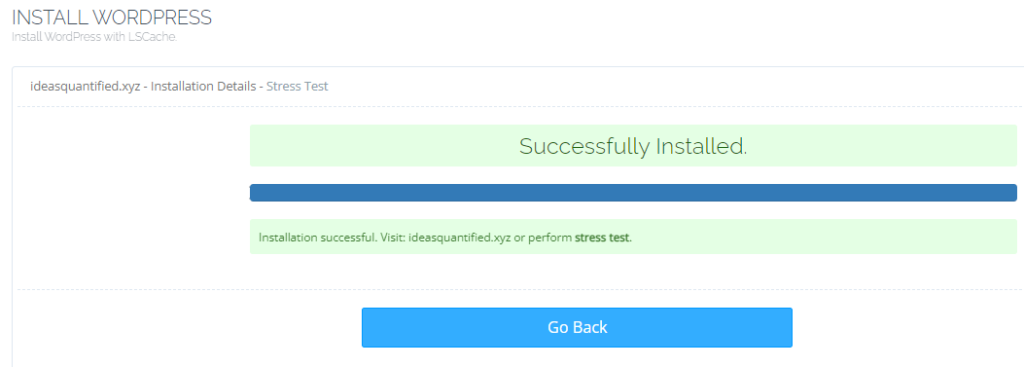
After you hit Install Now it should take a minute and then you have a WordPress site!
To access your shiny new website, go to https://domain-name/wp-login.php/ or if you have not configured SSL yet go to http://domain-name/wp-login.php/
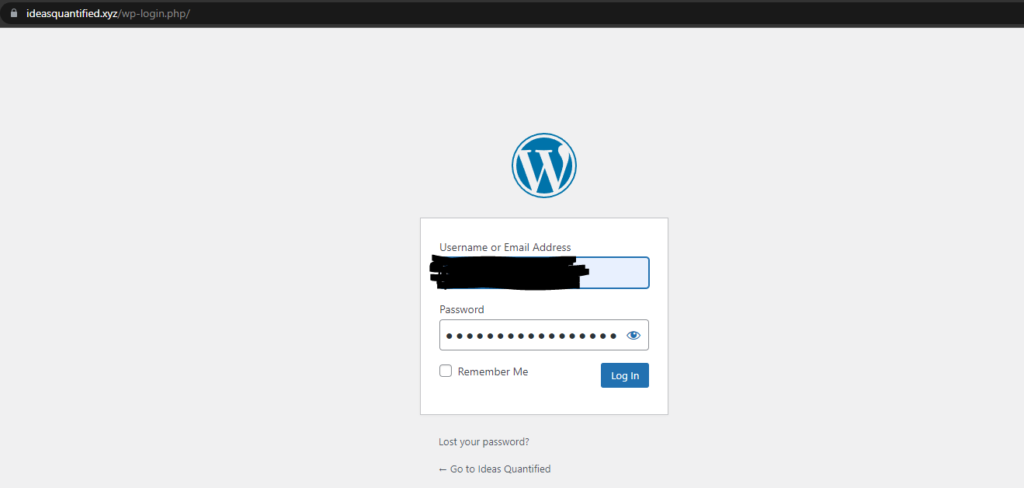
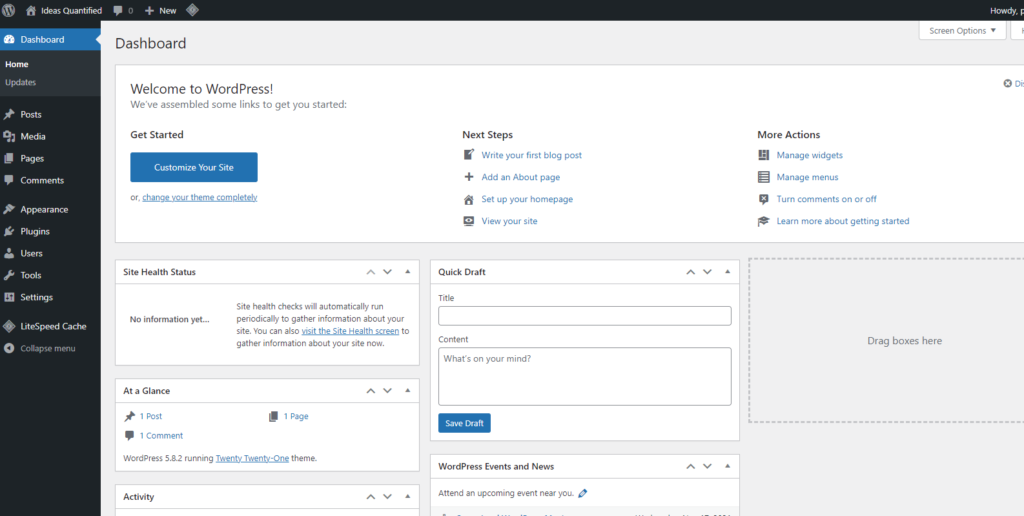
Once you enter in your credentials you are ready to build some content!
Migrating WordPress (From Old to New Server)
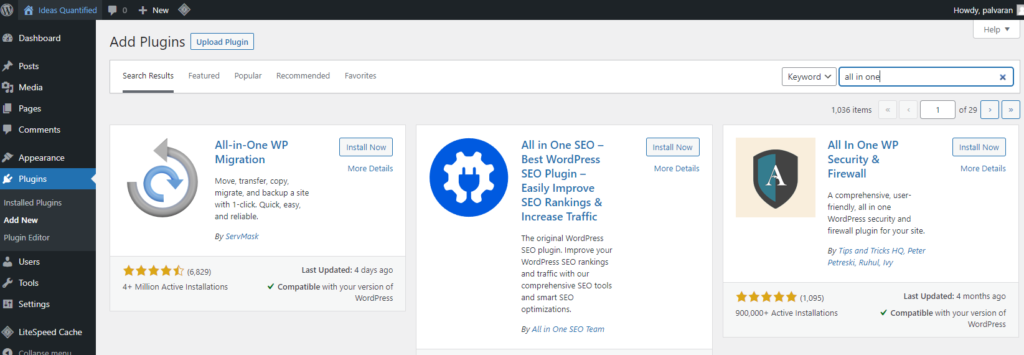
Let’s see about importing some of our existing content from our existing WordPress site. If you are not migrating, you can still use this process to backup your entire WP site. To do that, we will need to get some Plugins so let’s head over there.
Click Add New at the top and enter in All-in-One WP Migration.
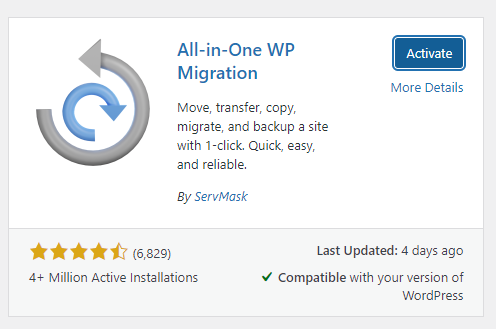
Hit Install. Then Activate.
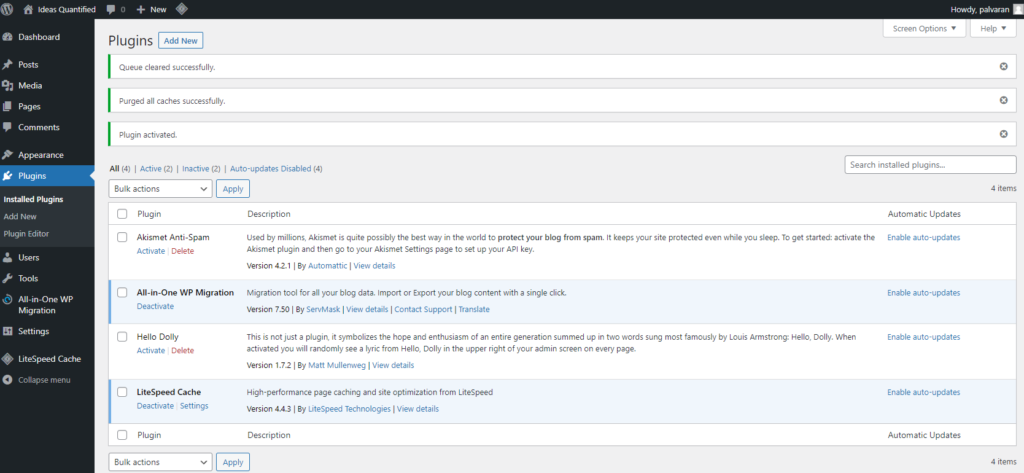
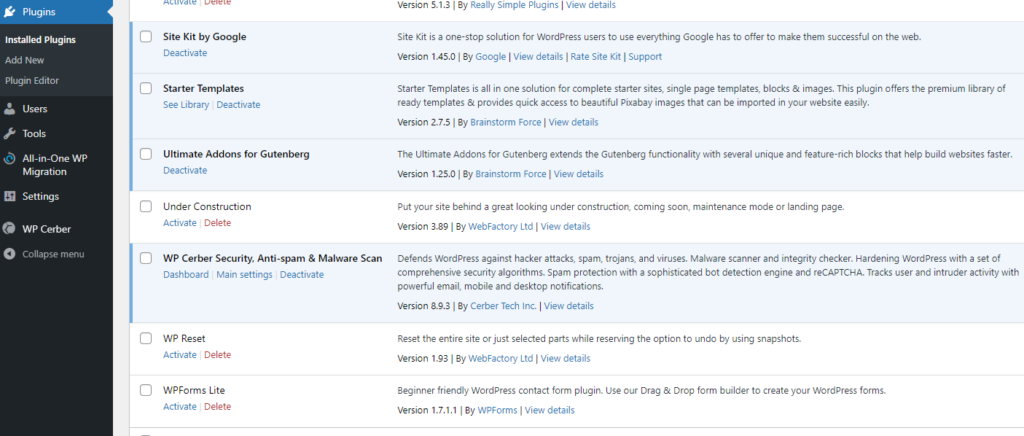
It will take you back to the Plugins page. You will notice a new listing showed up on the left hand side for All-in-One WP Migration. You can use this menu to backup and save your entire WP site. For the next steps I will show what the migration process looks like.
To migrate, go ahead and login to your existing WordPress site’s Admin page. Repeat the above process to get All-in-One WP Migration. When you are ready to migrate from your old server to your new one, click All-in-One WP Migration on the left hand side and click Export.
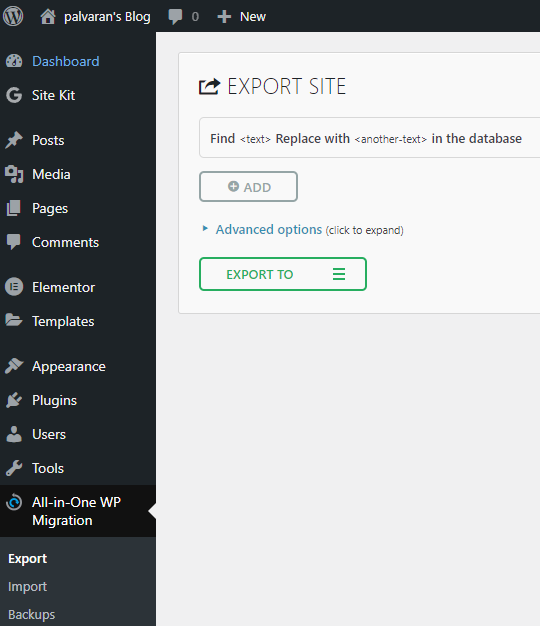
Now click Export To.
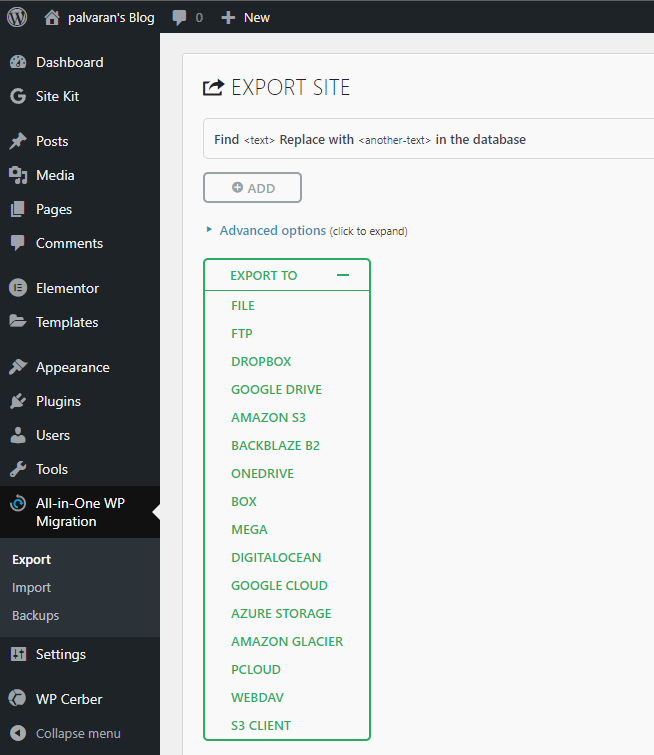
If you click File it will save through your web browser to your computer rather than to a local directory on the server.
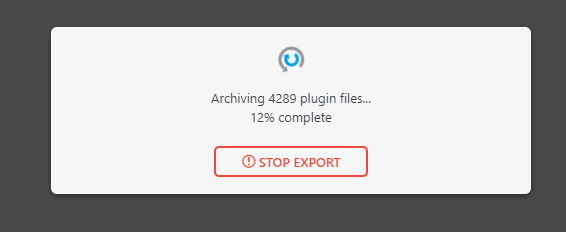
When it finishes it will say something similar.
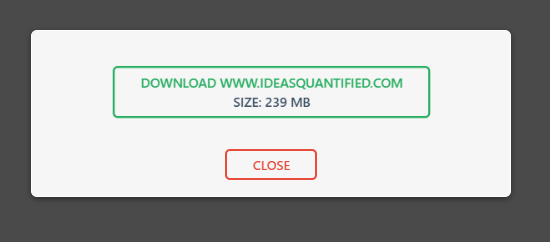
Click the link and choose where to save.

Before we can import to our new server, we need to modify the php.ini file to increase the upload size. If you notice it says 2 MB. That is super small.

To fix that, login to your WP server and make sure you change to the root user using “sudo su -“. Then navigate to the following directory. Make sure to replace the 8.0 with whatever version of PHP you are using for your WP site.

Using CTRL-W do a search for upload.
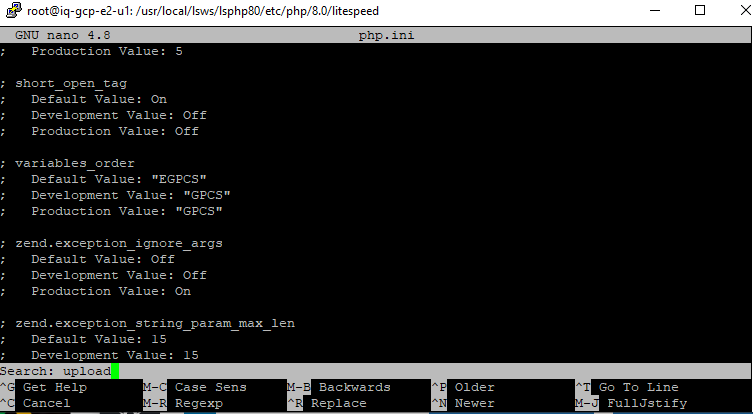
Notice it takes you to where the upload section is.
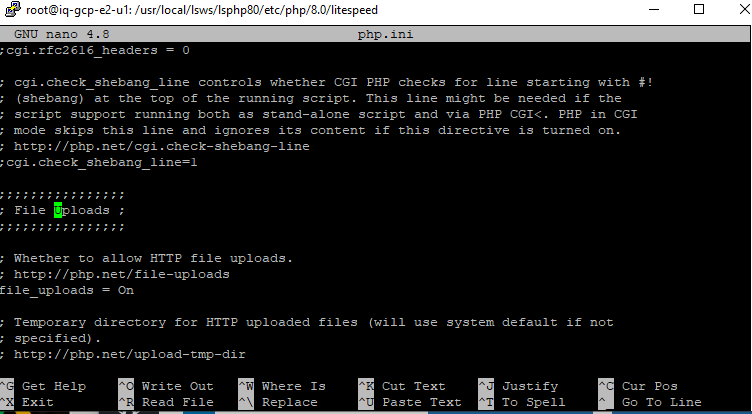
See how the value for upload says 2M?
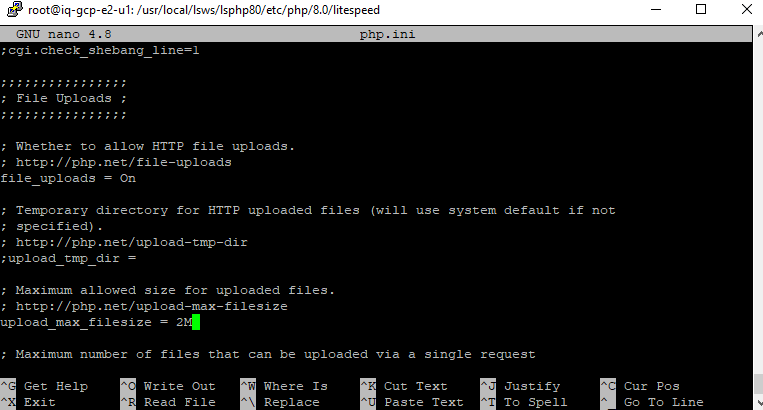
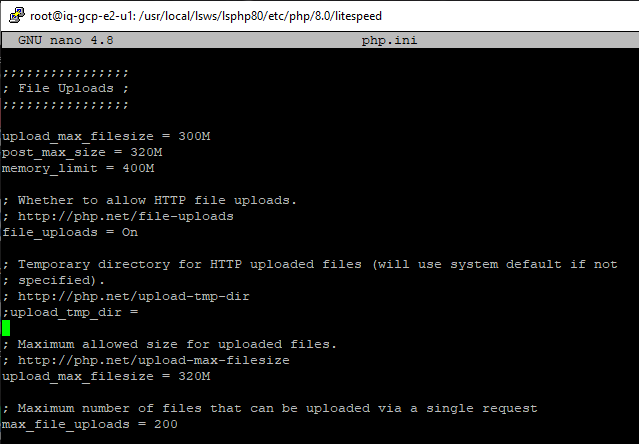
Now increase that to a number that is bigger than your backup that you want to restore. In my case, my backups are about 256M so I will just go ahead and go to 300M. Here is how I modified the File Uploads portion of my php.ini.
Hit CTRL-O to save and CTRL-X to exit.
Notice the size has increased.
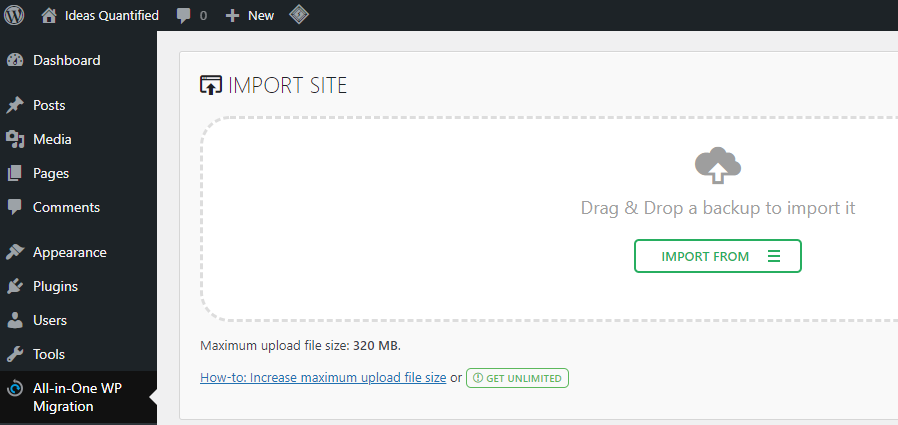
Now go back to your new WP site and click All-in-One WP Migration and Import and File.
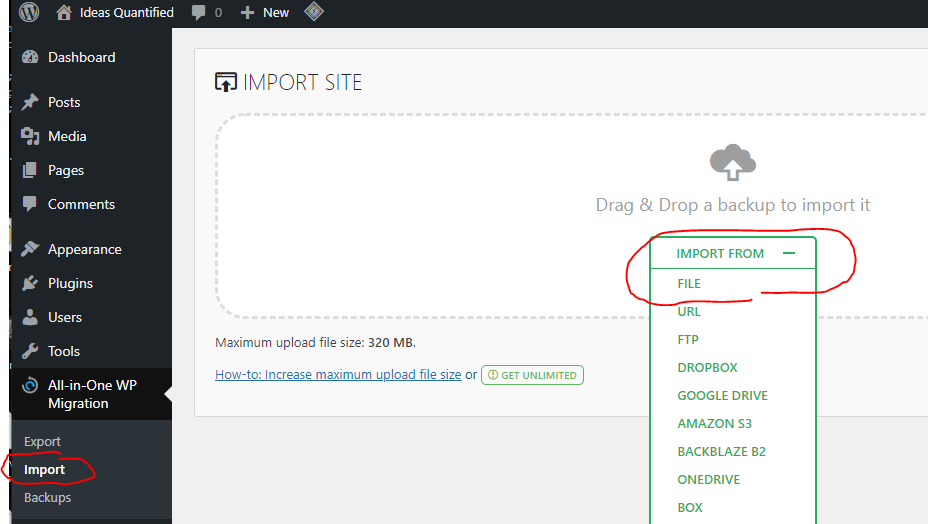
Navigate to your file and click open.

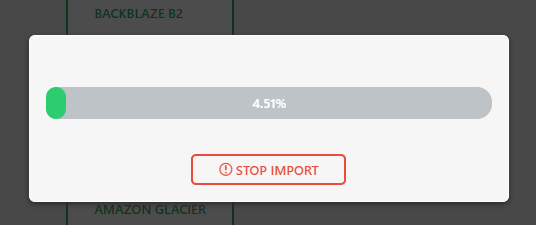
You will see the process is starting.
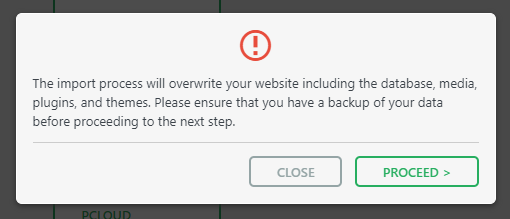
Hit proceed to continue.
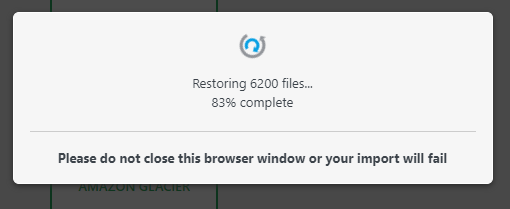
Here we go. It is now restoring your website to the new server.
Just click Finish.
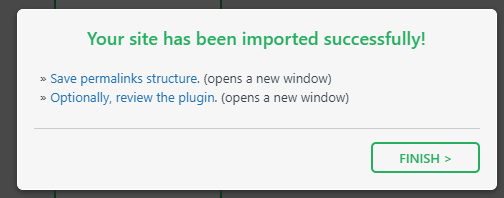
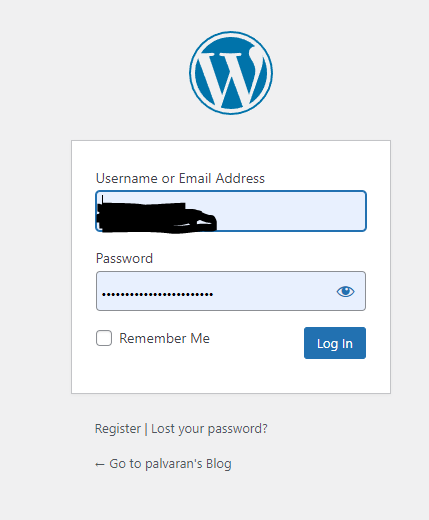
Great Job. Now let’s go check it out. Hit F5 or refresh your browser. Go ahead and log back in.
Woot! If you click Posts you should see all of your blogs.
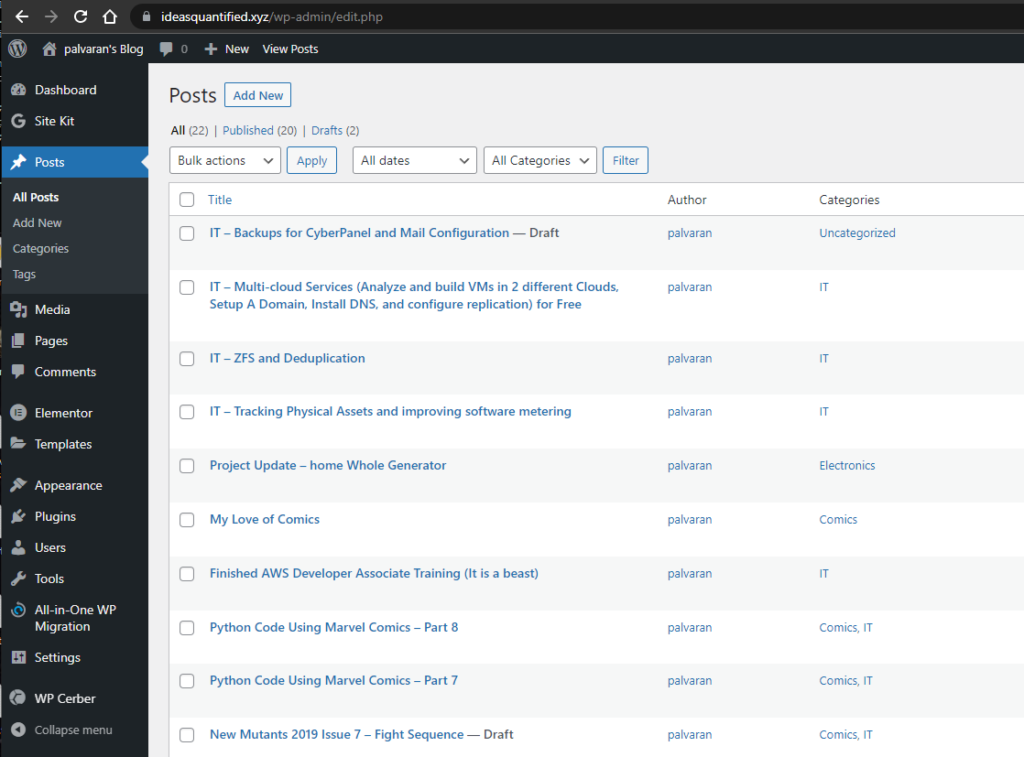
What is impressive is that it has the entire website, including plugins. You now have a replica that you can use for development and testing.
Summary and Closing Thoughts
In summary, we setup SSH logins for our servers, setup and migrated our website, and created backups to Google Drive. For those with some time or a desire to grow, GCP and OCI and their free tiers are very helpful with continuing to expand your skill set, learn how to do things better, or simply run your own website for free.
In upcoming articles, building upon our multi-cloud servers, I will explain how to setup your own email server using the cloud infrastructure we have setup, build proper mail related DNS records, and even get around how some servers block port 25 as well as flag incoming mail as spam. I will show you how to get Docker working with different containers as many of these services are using that as a core component.