As almost everyone is aware, ChatGPT and other LLMs (not to be confused with MLMs or LLCs) are here and starting to break into multiple industries. In this article, I will show how to setup your own local AI chatbot as well as explain some of the different models and functions.
- What is an LLM?
- Why do I need to know about local AI when OpenAI, Google Bard, and others work?
- Design
- Hardware Setup
- OS Install
- AI Installation
- Benchmarks
- Closing Thoughts
What is an LLM?
An LLM is an abbreviation for language learning model. I like to think of it as autocomplete on steroids. It will predict the next character in a character sequence, but due to training it will become better and better. Training the data and fine tuning the data helps to make it more accurate. This also means that to increase the accuracy we need more data and a larger dataset.
In AI, you will see terms such as 7B, 13B, 33B, 65B, etc. These apply to the different models of data and represent the parameters in billions. The billions of parameters represent the complex relationships and patterns within the data. However, size alone does not make a model good. Quality depends on diversity and the training process itself too.
Those parameters are further segmented out by being either using quantization and loading them on the GPU (aka GPTQ model) or a non GPU (aka GGLM).
If you ever wanted to deep dive and understand it further, listen to the man himself, Andrej Karpathy, discuss it and show how to implement it. If you are not aware, he was a pioneer at Tesla that helped to improve the Autopilot system by implementing AI vision and image recognition and now has moved over to OpenAI.
Why do I need to know about local AI when OpenAI, Google Bard, and others work?
Those systems work very well and with large amounts of resources and they are cheaper to use than doing it yourself. However, one of the biggest issues and largest concerns to consumers is privacy. With so many data breaches occurring, having so much information in one location makes it a tempting target.
One of the key pillars in cloud architecture is security. Unfortunately, for many it is relatively forgotten or not deemed as critical during application construction. True, security can cause some slow downs in the creation phase, but it can also help to make sure there are less critical exploits or holes in a solution. “A penny now, a pound later.”
It has been said that we are in the Information Age. In which case, one of the the consumer’s biggest assets is their information. What you search for, what you purchase, and even what you value are all data points that have a weight to them whether they be for companies or for governments. Sadly, privacy is still a problem in this day and age.
Did you know that most of the AI services that exist out there share your data and questions to the AI dataset to use as potential training? If you are using a 3rd party service that stores documents for embedding and searching then this further increases that risk. That is a lot of security exposure and a big problem as evidenced by Samsung. If you think your conversations with OpenAI are private, think again. So how do you get around that?
Well, there are many potential strategies from having a private server from one of the companies such as OpenAI that would isolate the data and your queries, but as of now I have not heard of that being available. However, it would not surprise me if that was an option within the next 6-9 months as evidenced by companies such as AWS which allow monthly leasing of sandboxed AWS servers for complete isolation. This makes sense for highly secure government entities. It should make sense for nearly everyone.
Here is another reason why.
Want to have a conversation to develop and idea for profit? Maybe you want to write the next Great American Novel? Perhaps you have an idea for a new website or want to develop an application? Something on your mind emotionally you want to get off your chest? Your thoughts and ideas are important and valuable so why not protect them? Until then, companies and consumers do have an alternative choice, running their own local language model for free.
Design:
Stephen Covey said, “Begin with the end in mind.”
That said, the first question I ask regarding AI is either GPU or not to GPU? If possible, I recommend GPU, but if not you can still run the models just with slower performance due to using the system processor and memory. It’s kind of like gaming in that regard.
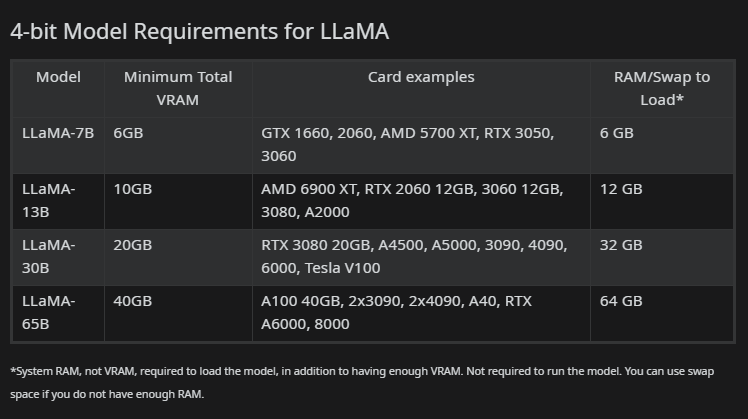
That said, for this article I will demonstrate the performance difference between a GPU and non GPU query. To decide on the model we simply need to compare the GPU’s memory against the model type. A 7B or 7 billion parameter model requires 8 GB of video card memory to run using 4 bit quantization. A 13B or 13 billion parameter model would require a video card with 12 GB of memory on it. Luckily, I do have a laptop that has an NVIDIA RTX 3070 with 8 GB of memory on it which means I can try the 7B model.
Here is an example of the GPU requirements.
Next, we need to choose which model to use. There are a variety and they are trained differently and yield different results. The higher the model, the greater the accuracy, but the greater the system requirements. Also, bear in mind that some models are more accurate than others and there are times when smaller models can beat larger models due to being better trained. In that scenario, I would recommend choosing the smaller model due to less system requirements. Huggingface has a good tracker for model performance which allows you to compare them against each other.
For this test, I am going to choose two models. A 7B and a 13B that runs using the processor.
First, let’s choose a 13B model.
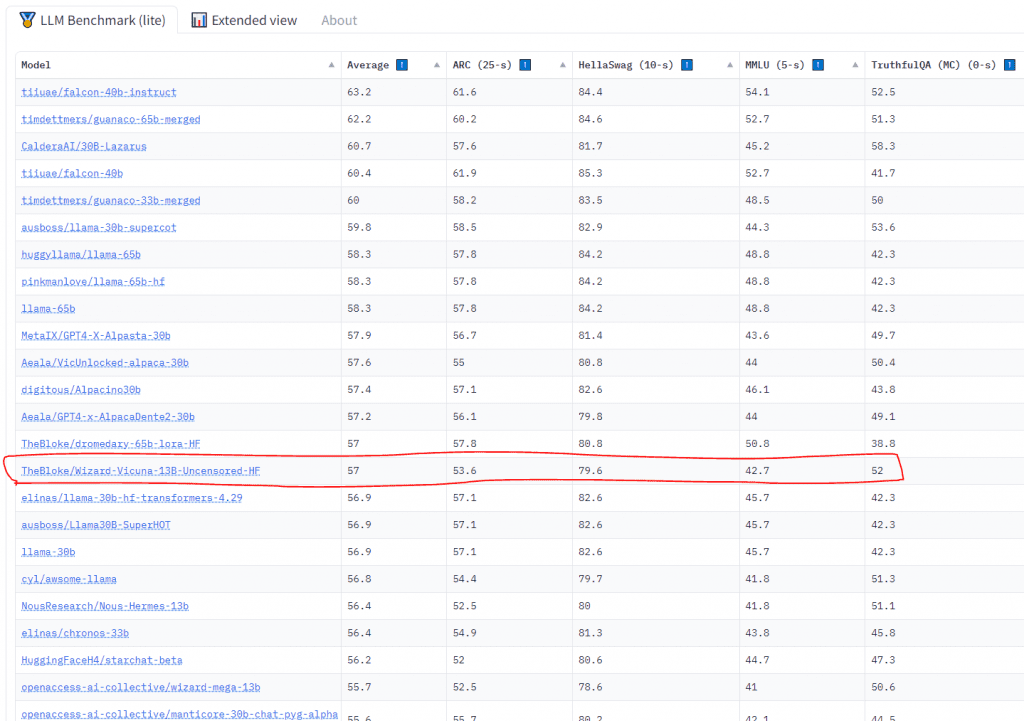
I chose this model as it is the highest performing 13B model currently out. Notice it outperforms some 30B models. That is the power of training.

As a comparison, notice how it compares against Facebook’s original 13B model.
Next, I chose a 7B model that is not on the leaderboard yet as it is was just released, but since TheBloke has fairly good performing models I just chose one of his newer ones. Remember GGML is for machines without a GPU as well as GPUs that are not big enough to fit the entire model into memory.

Now that we have settled on a couple of parameters let’s move on to implementation. If you just want to install this on your own personal computer, please skip past Hardware Setup and OS Install and go to AI Installation.
Hardware Setup:
For the testing we will look at two hardware scenarios using a VM and a laptop. The laptop is a Razer Blade 15 Advanced Model from 2021. It has an i7-11800H with 16 GB of memory, a 1 TB SSD, and an NVIDIA RTX 3070 with 8 GB of memory. VMs are an essential tool as it allows for dynamic testing using snapshots and hardware reconfigurations. In my testing I used 4 to 8 processors, 8 to 64 GB of memory, and an SSD. For the OS, I am running Windows 10 Enterprise in a non activated state as this is a test.
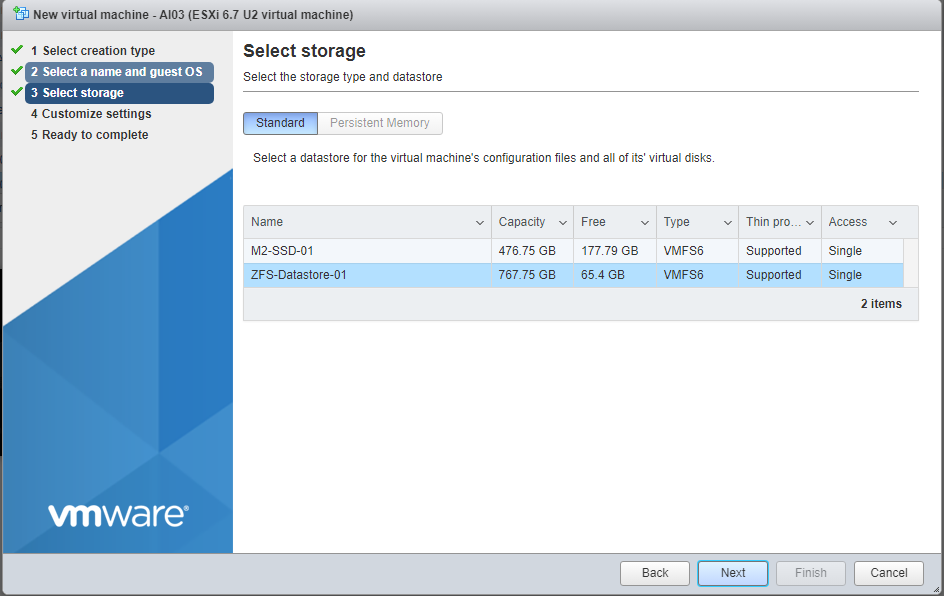
Let’s start by configuring a basic VM.
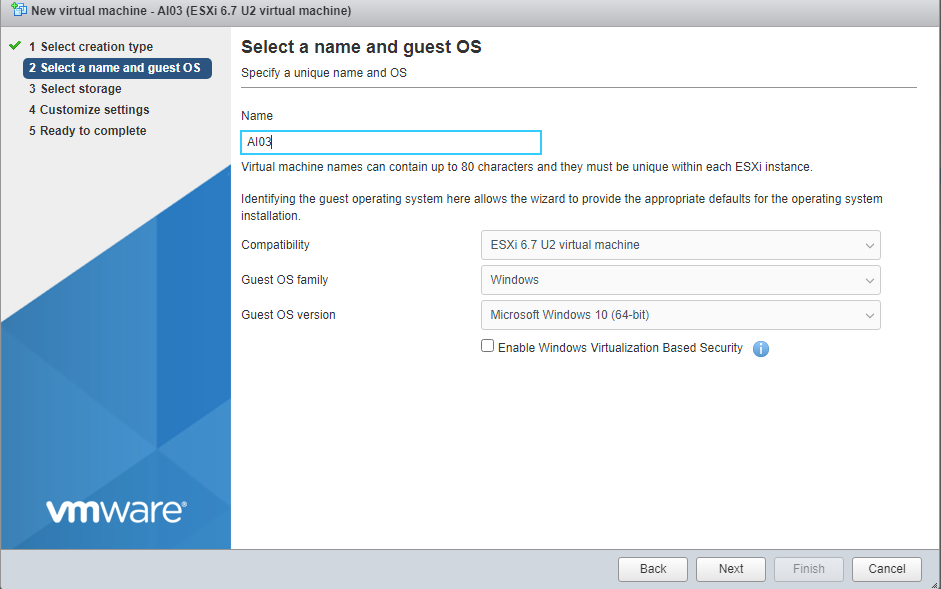
Choose a storage location. I have an M2 SSD and a connection to a TrueNAS server running ZFS Raid Z2.
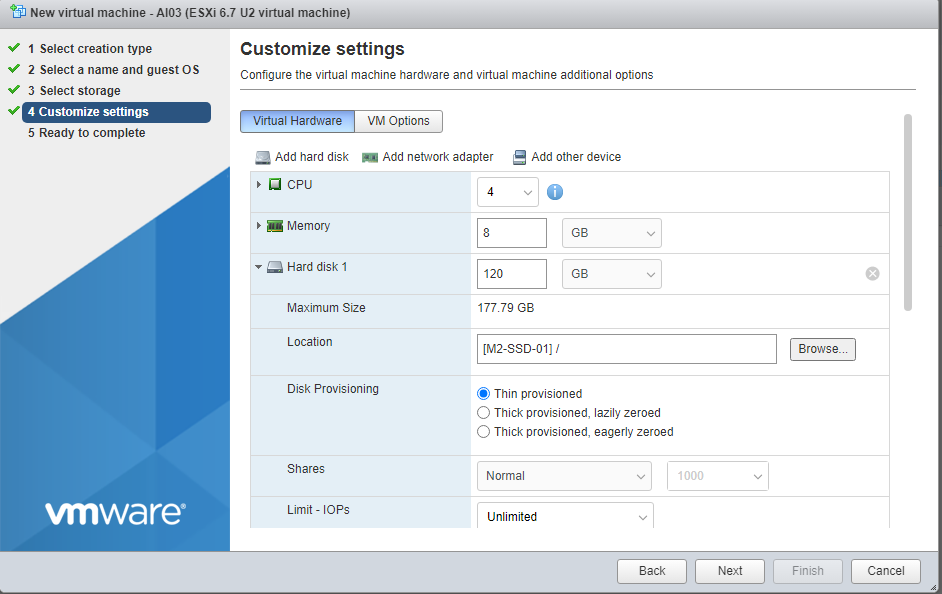
Choose your processors and memory. Select thin provisioning.
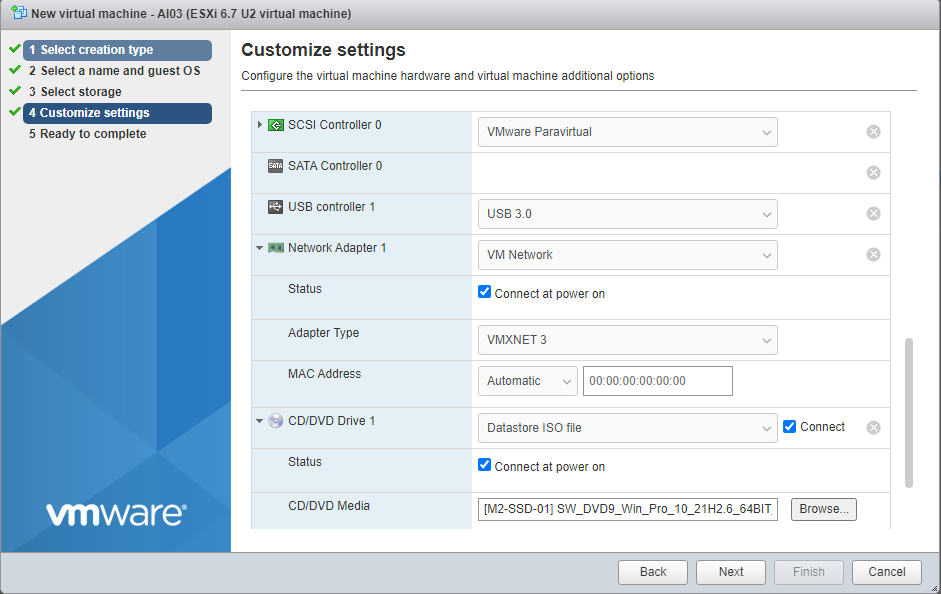
Point to your ISO, make sure to choose Paravirtual, and select VMXNET3.
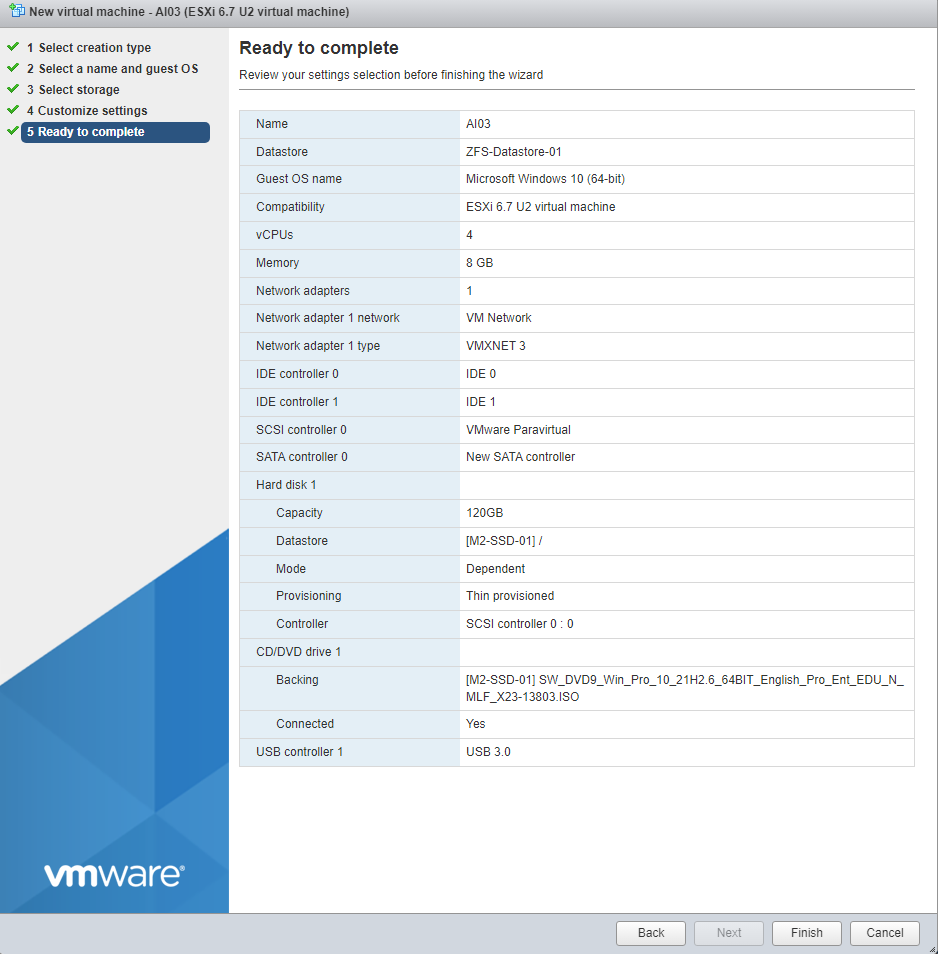
Here is how our 7B test machine looks. Pretty conservative with 4 processors and 8 GB of memory.
OS Install:
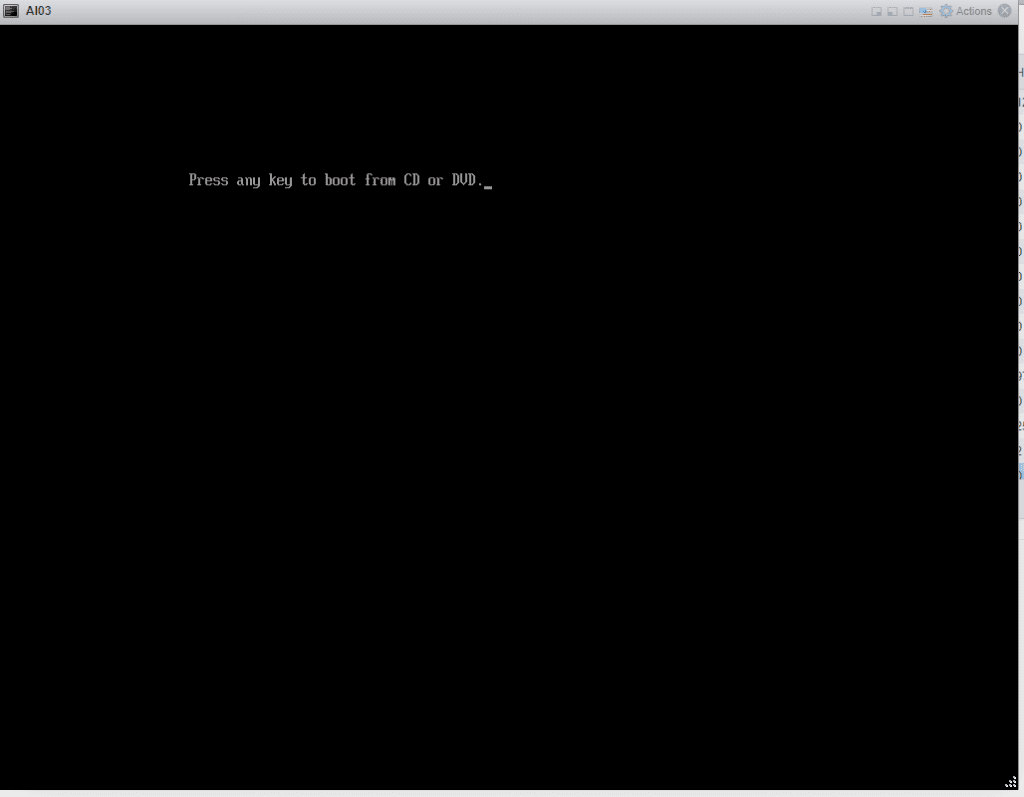
Power it up and boot from the ISO.
Waiting for Windows to load.
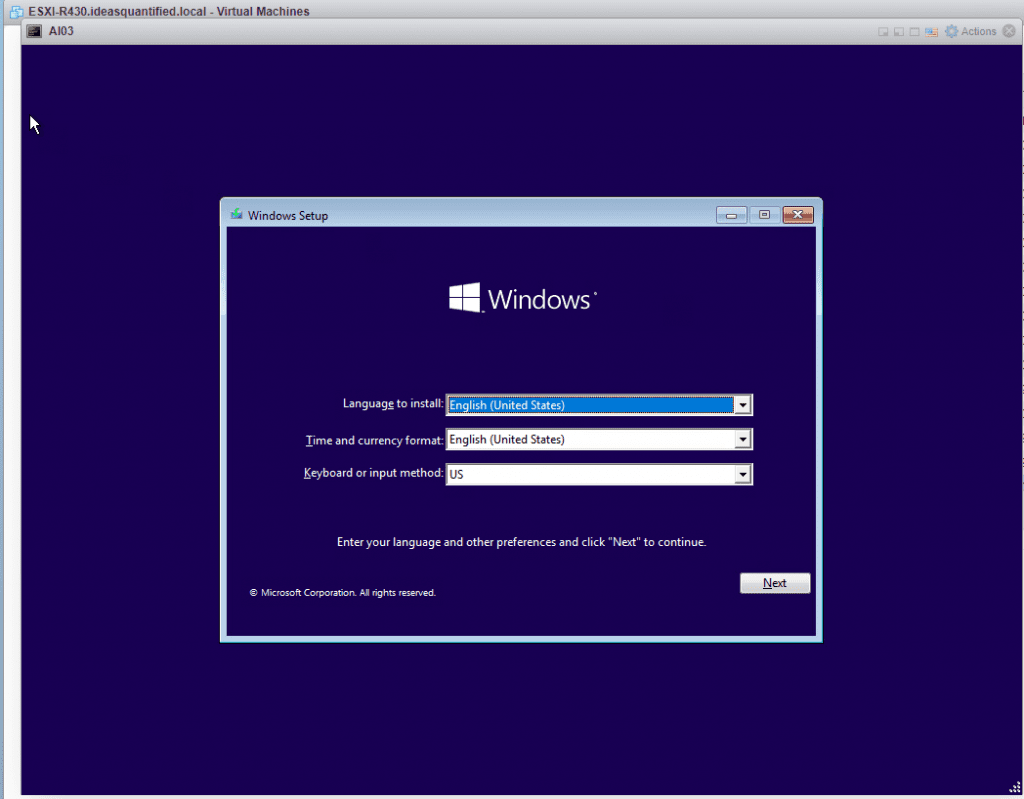
Select your language.
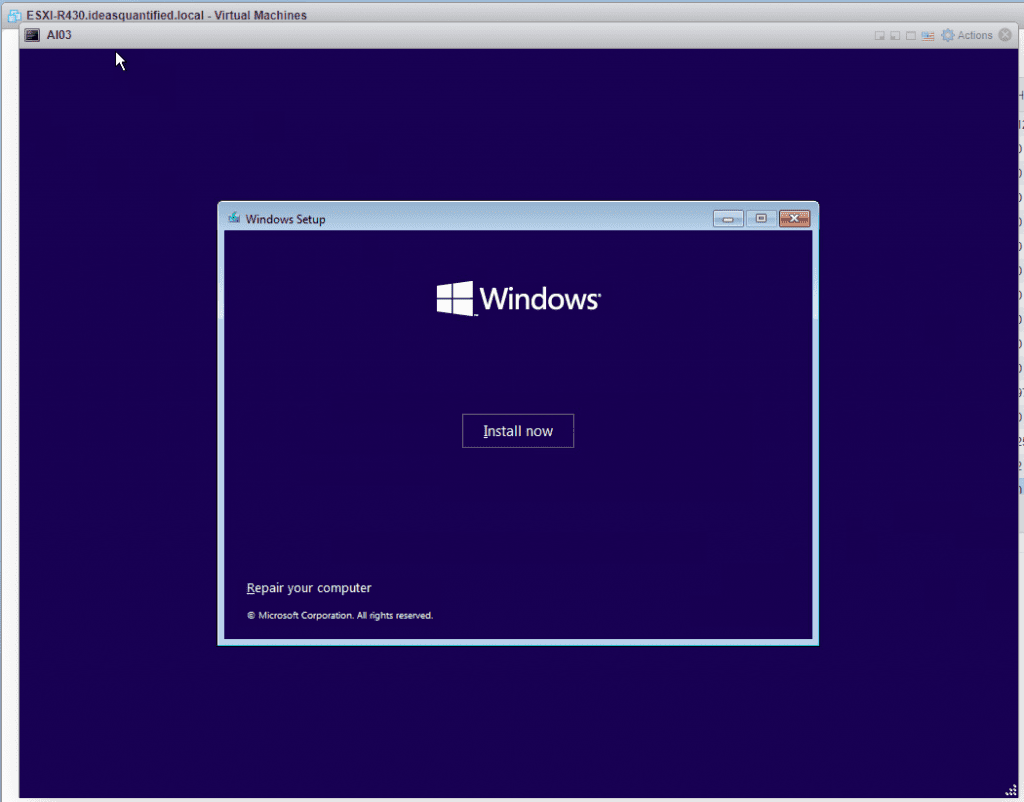
Go ahead and click Install now.
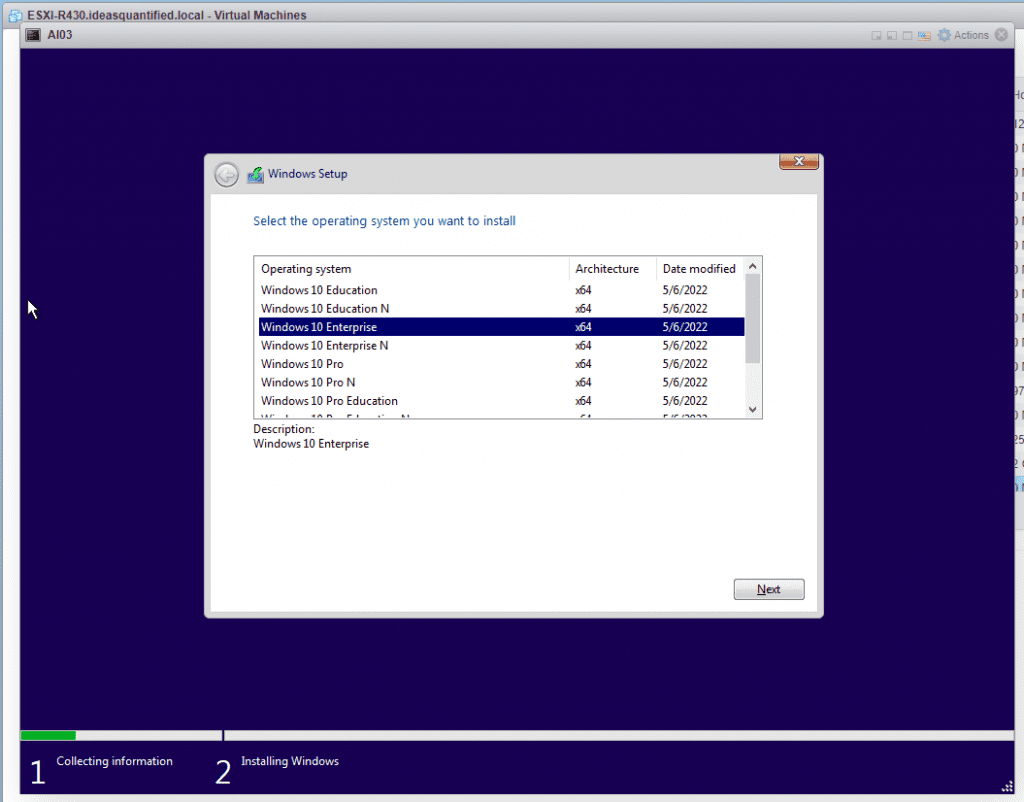
I chose Enterprise for my testing.
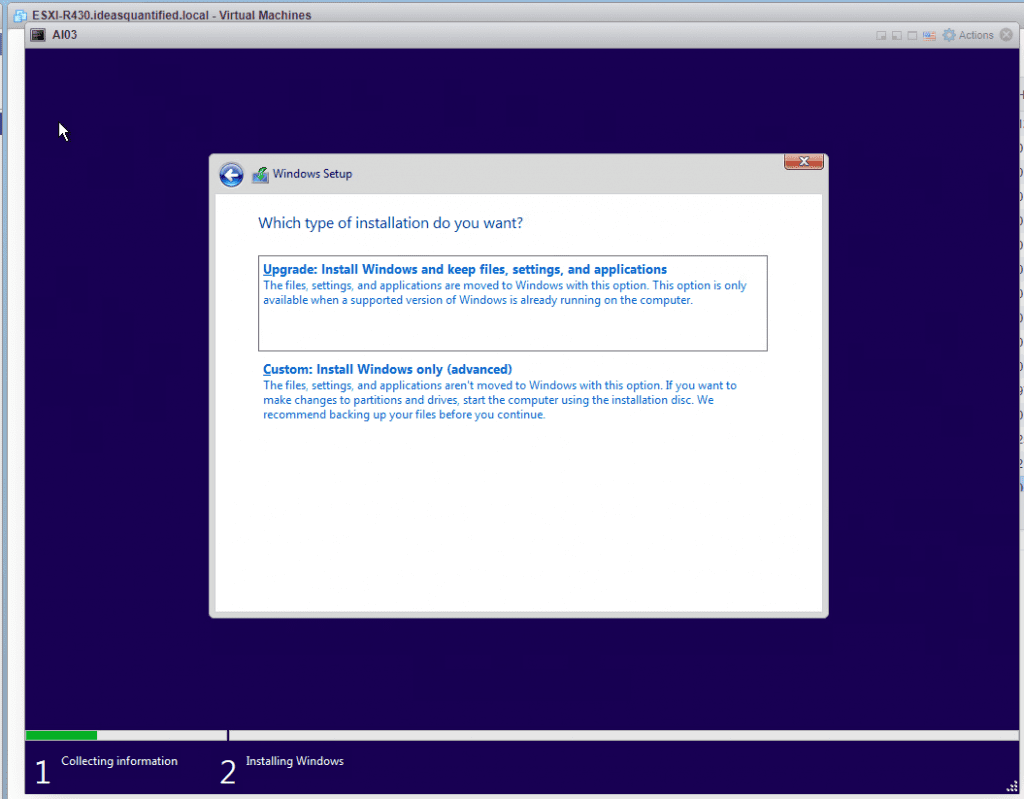
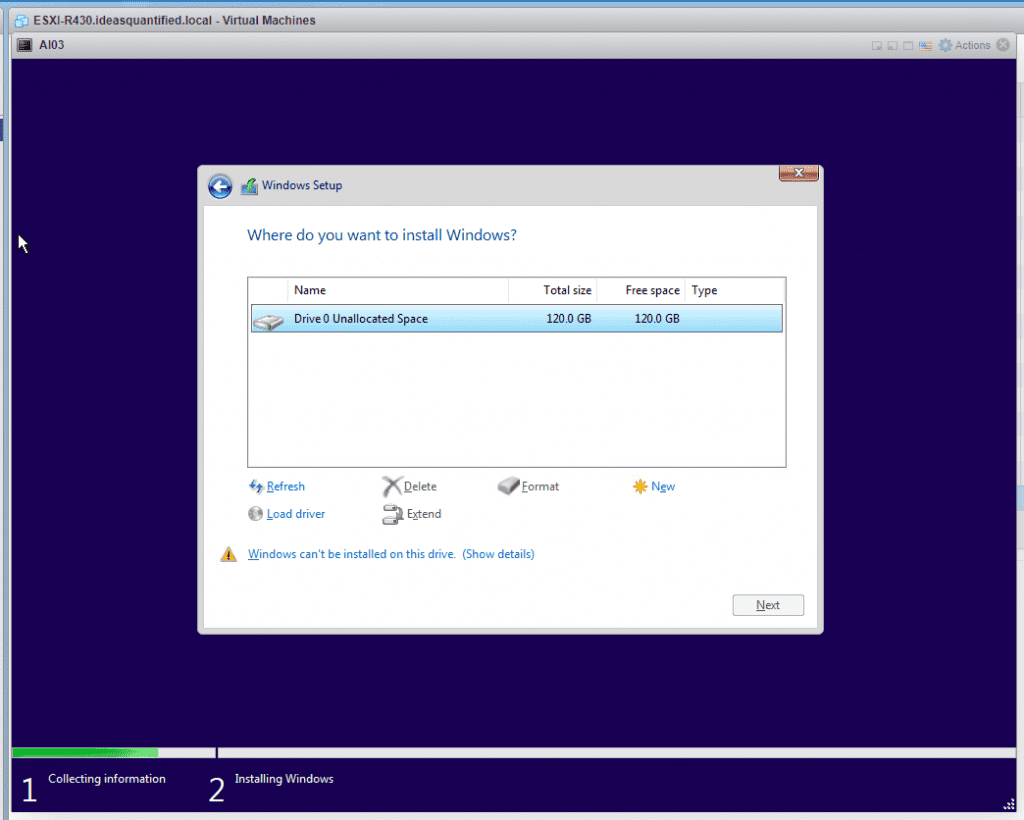
Choose Custom. We will need to do some driver installs in order to see the drives.
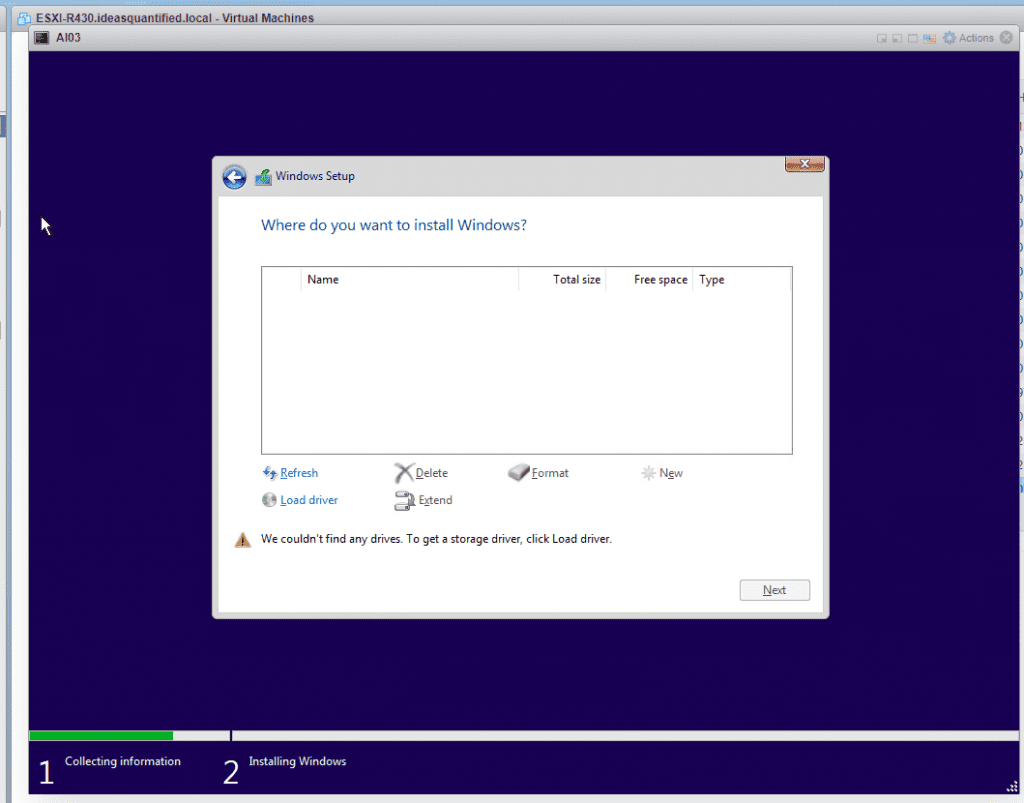
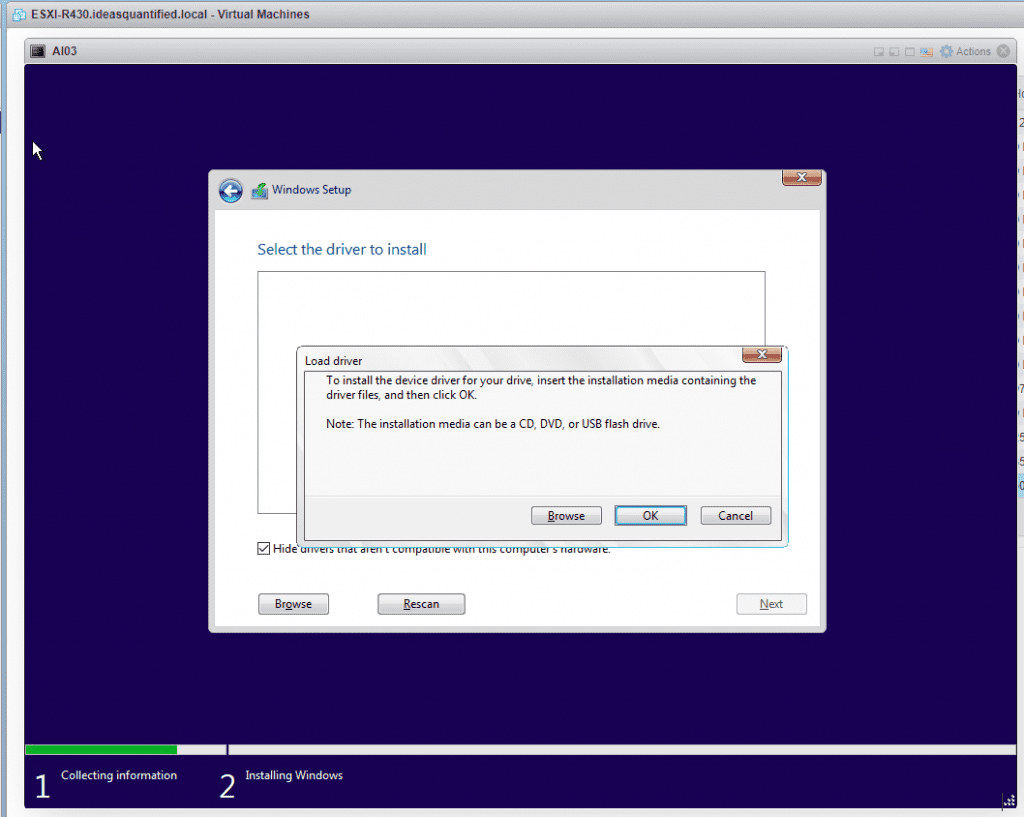
No drives are seen because we chose VMware Paravirtual as the driver for the harddisks. We will need to load the driver for it.
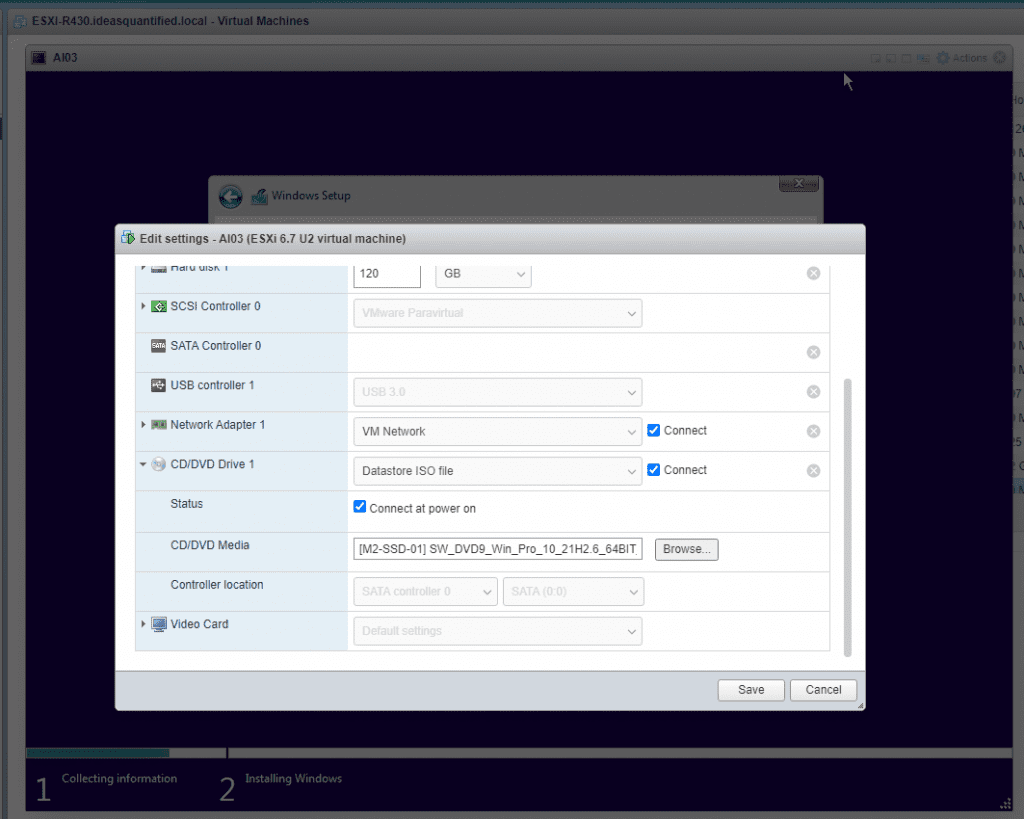
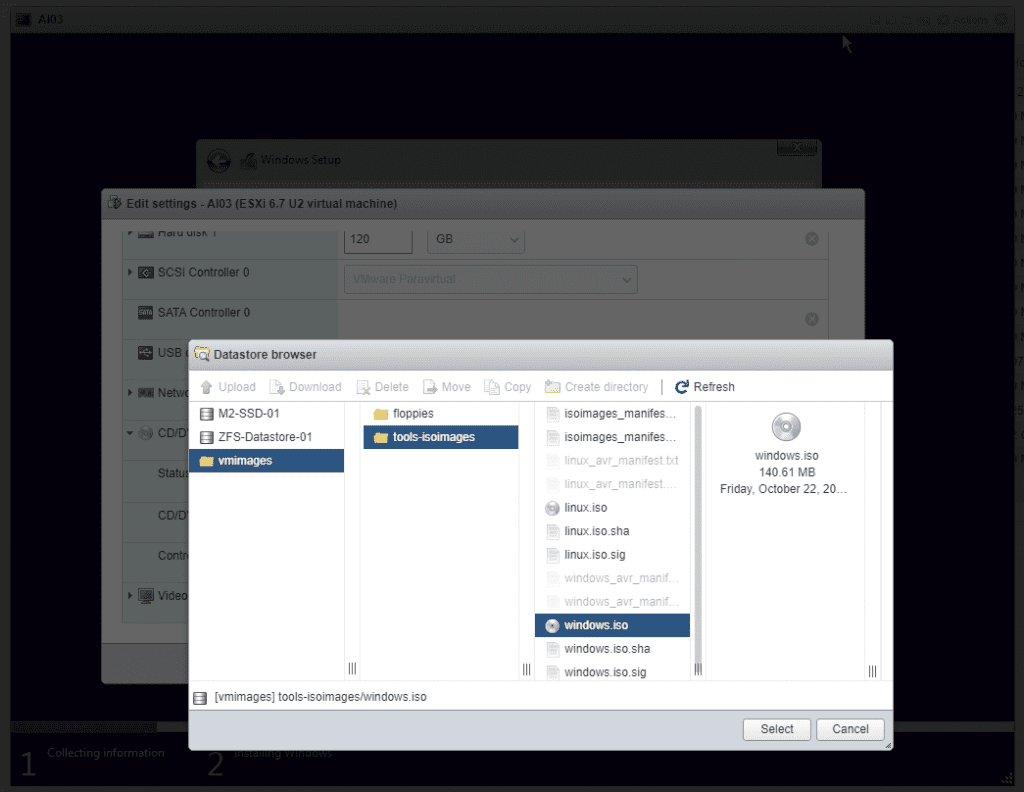
Under actions you can edit the settings and change the ISO. Click Browse.
Navigate to vmimages, tools-isoimages, and select Windows.iso as it is the ESXi install with drivers.
Go back to the VM and click Browse.
Go down the tree until you find the driver. Program Files\VMware\Drivers\pvscsi\win8\amd64. Click OK.
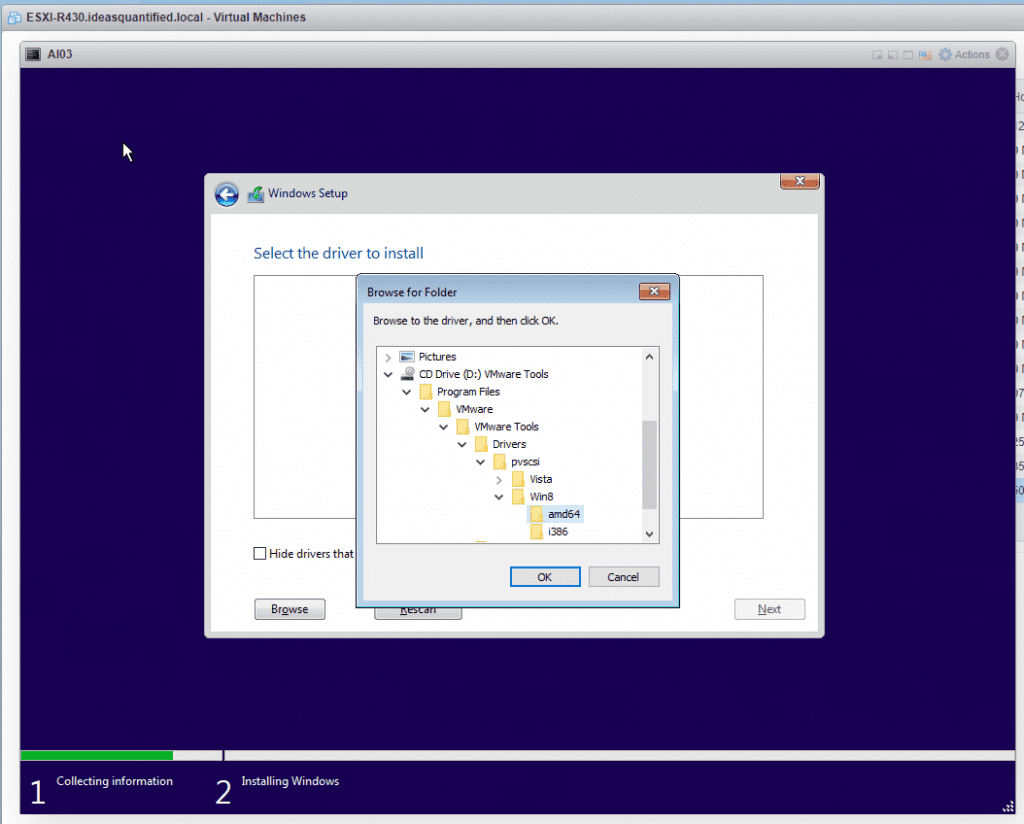
It found it. Click Next.

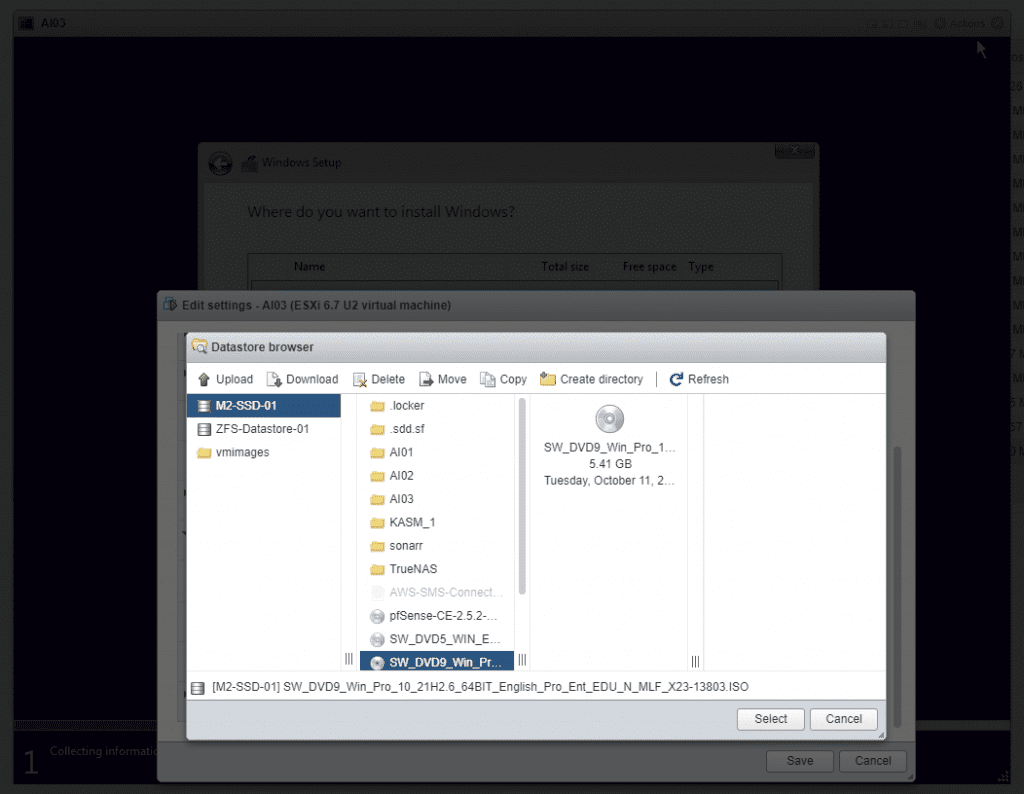
Once it completes the scan go back to the VM and edit the ISO to point back to the Windows ISO.
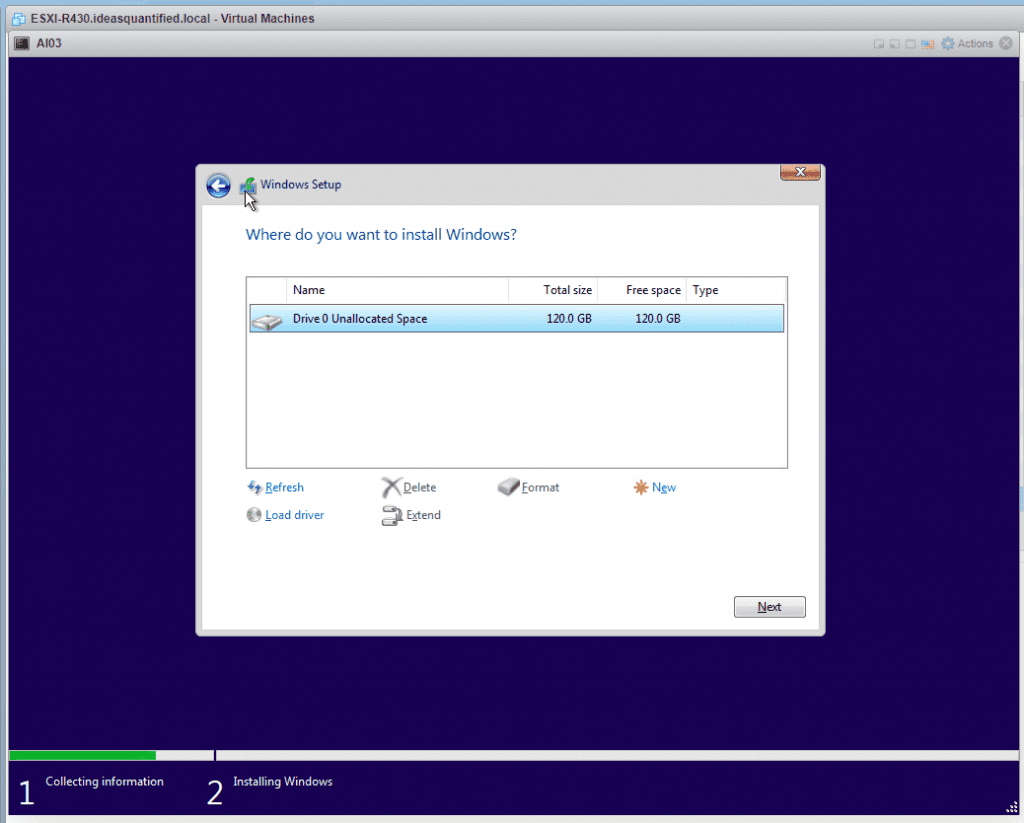
Next is greyed out until you hit refresh.
There we go. Now click Next.
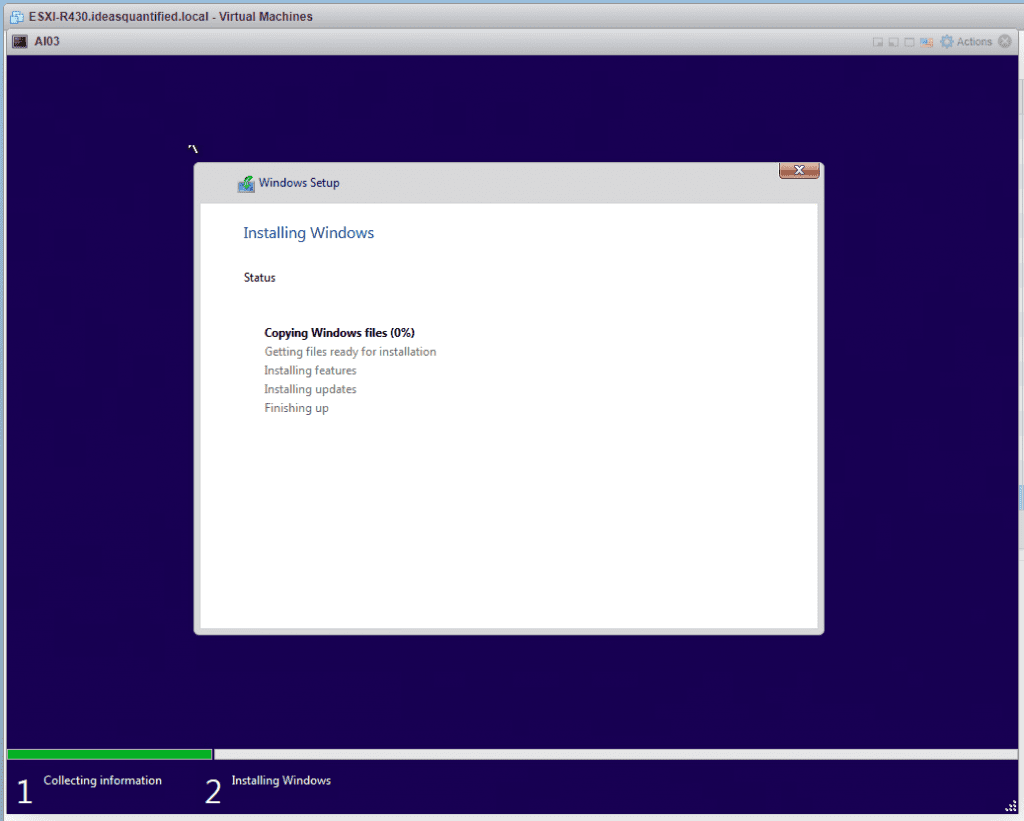
And now we wait.
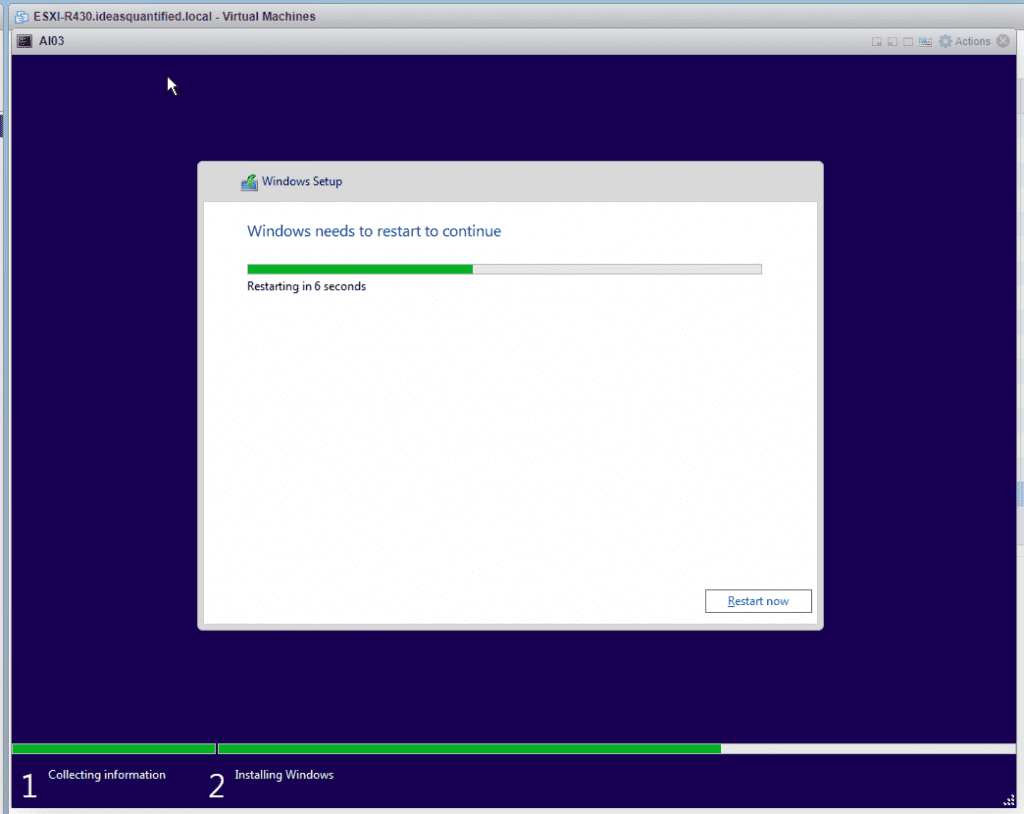
Our first Windows reboot. Yay. There will be more to come between renaming the machine, downloading updates, installing drivers, etc.
Time to boot up and configure Windows.
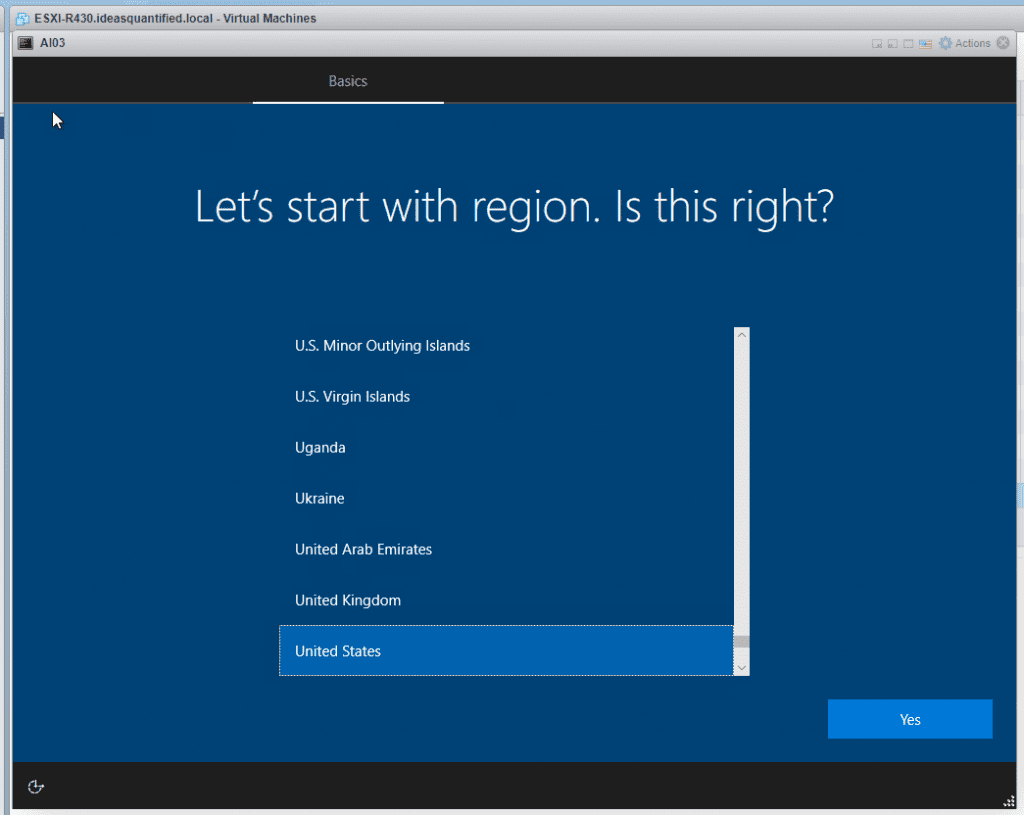
Ok, first choose your Country.
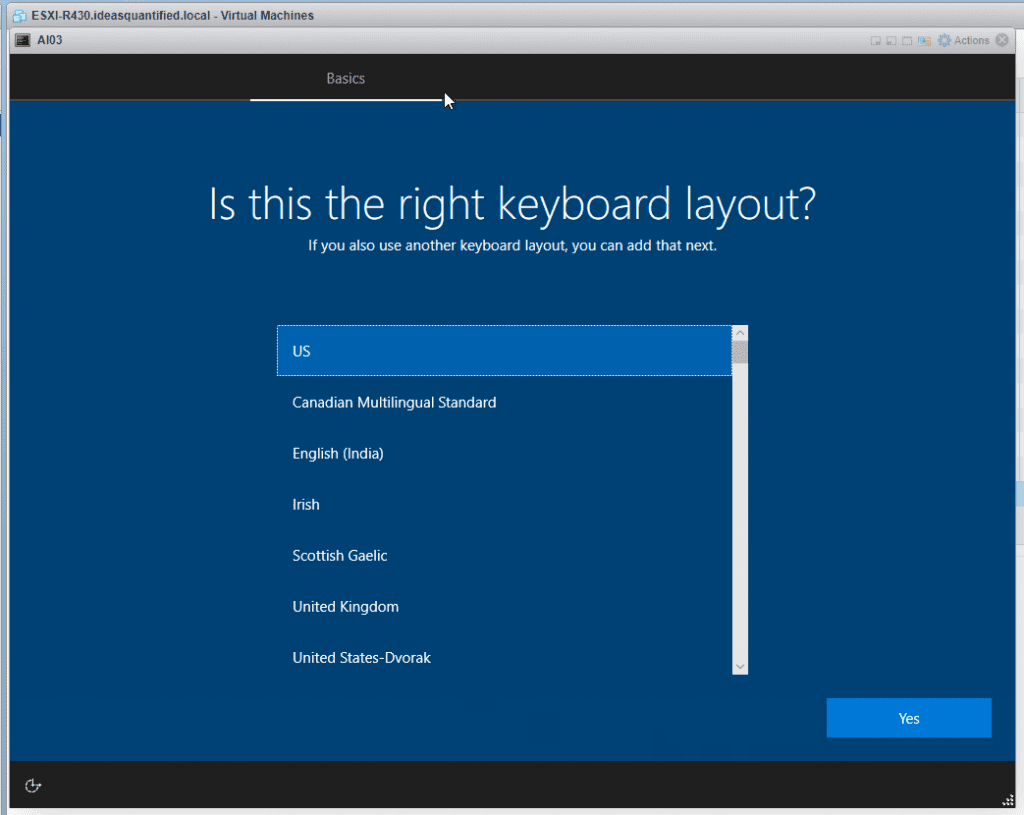
Now choose your keyboard layout.
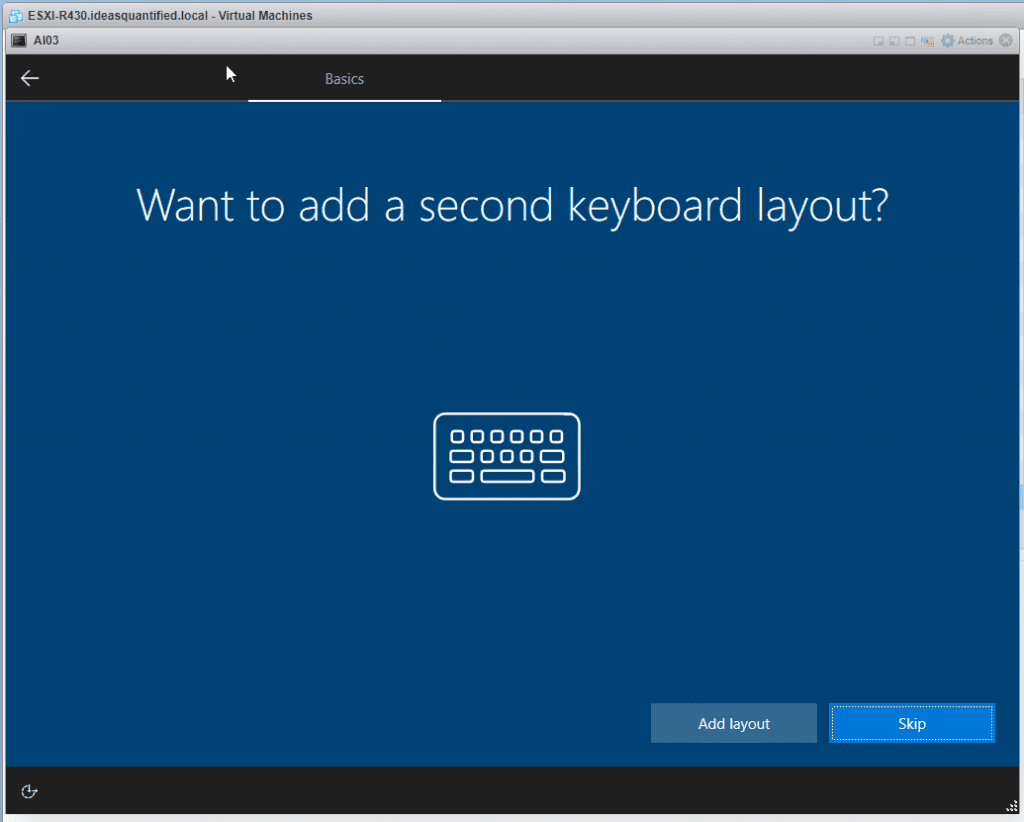
If you need it, add it.
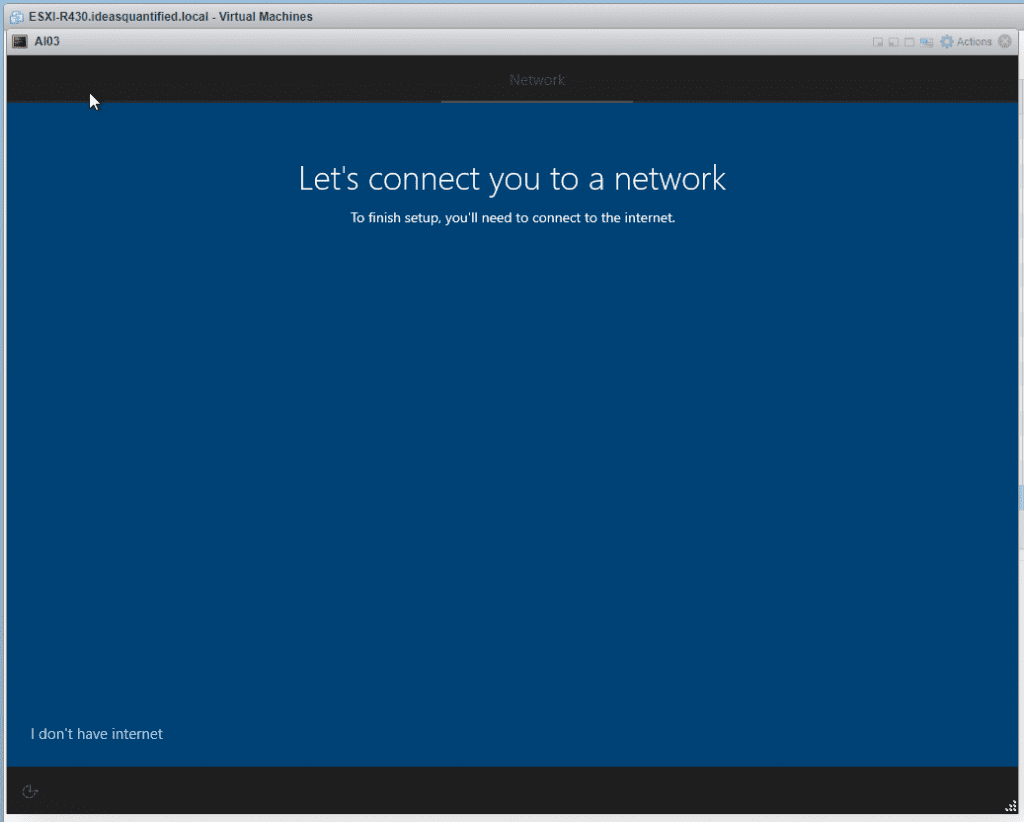
Ok, we do not have a network driver yet so for now, click I don’t have internet. We will fix that in a moment.
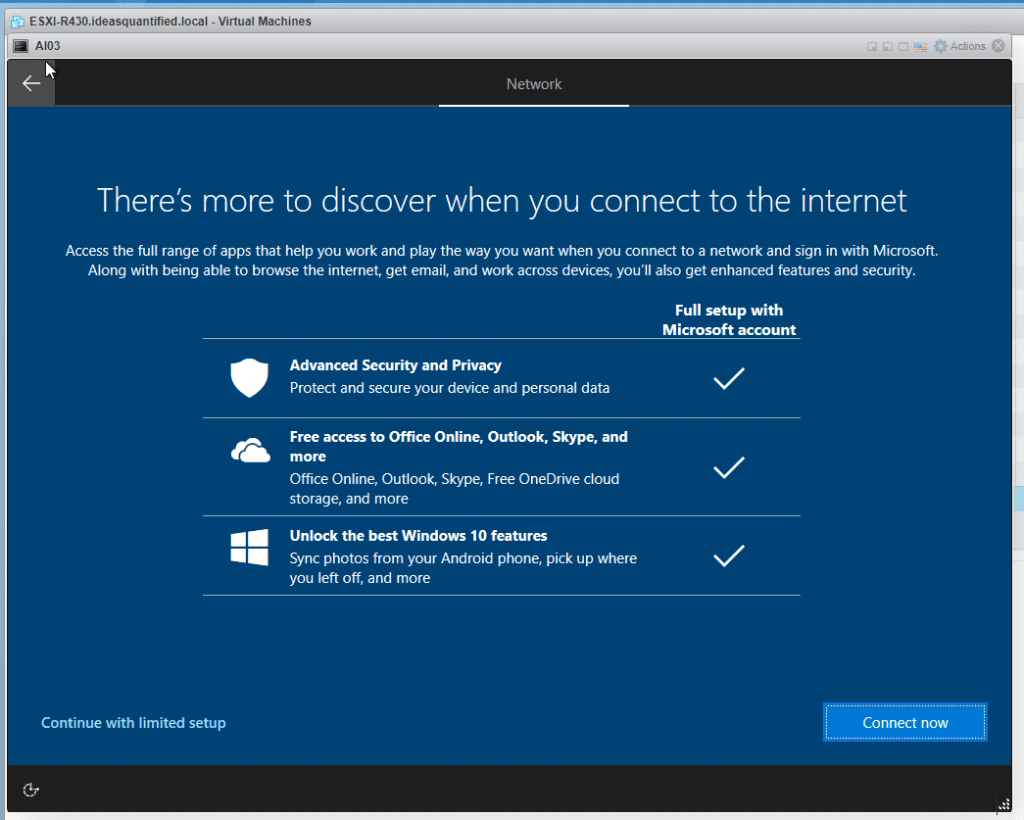
Continue with limited setup.
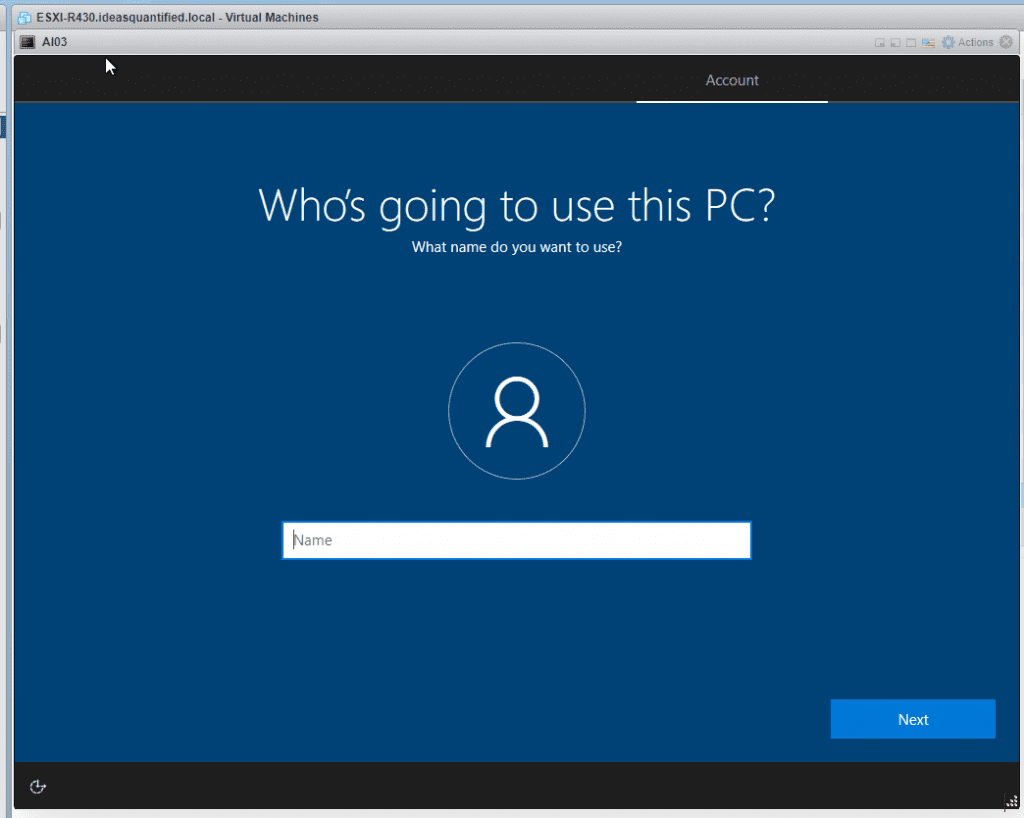
Ok, enter your username.
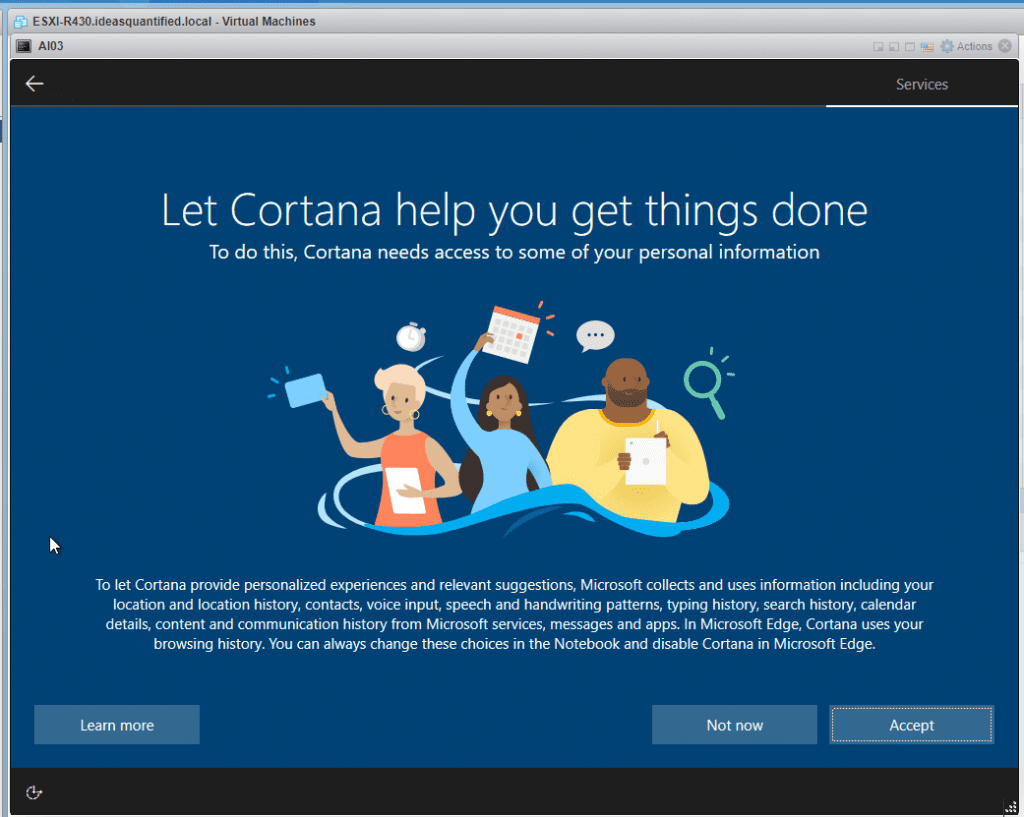
If privacy matters to you, I would skip these.

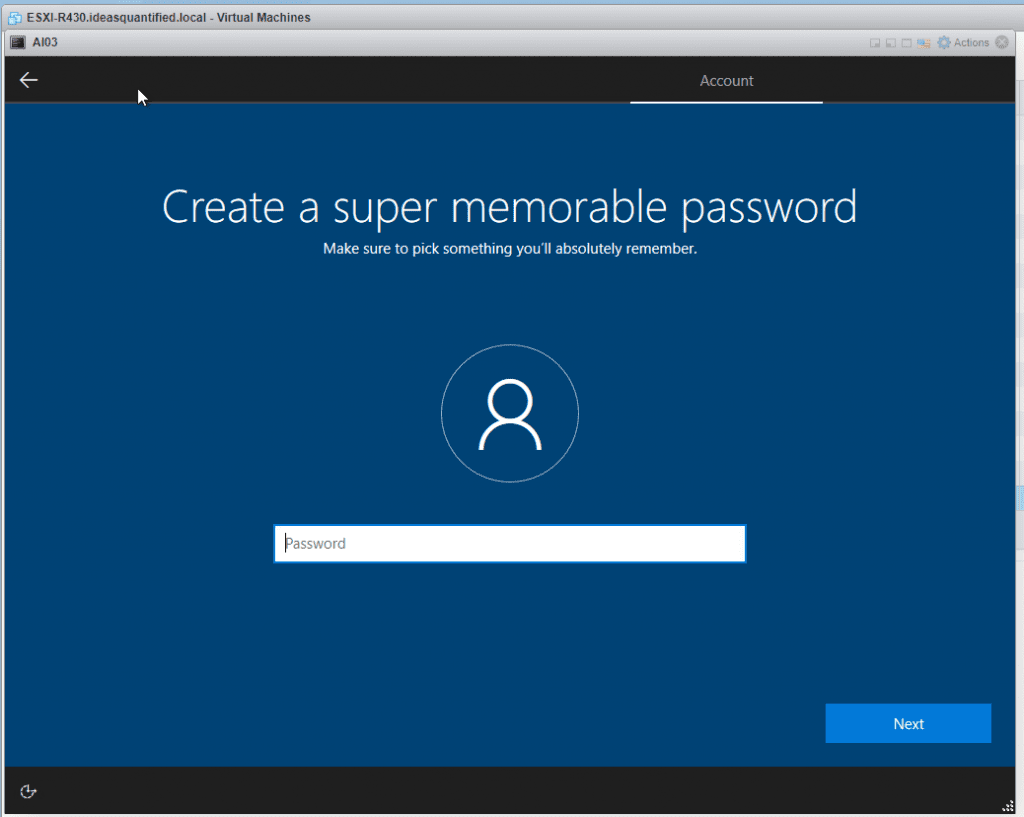
Ok, choose a good password.
Choose Not now.
Bam. Windows installed.
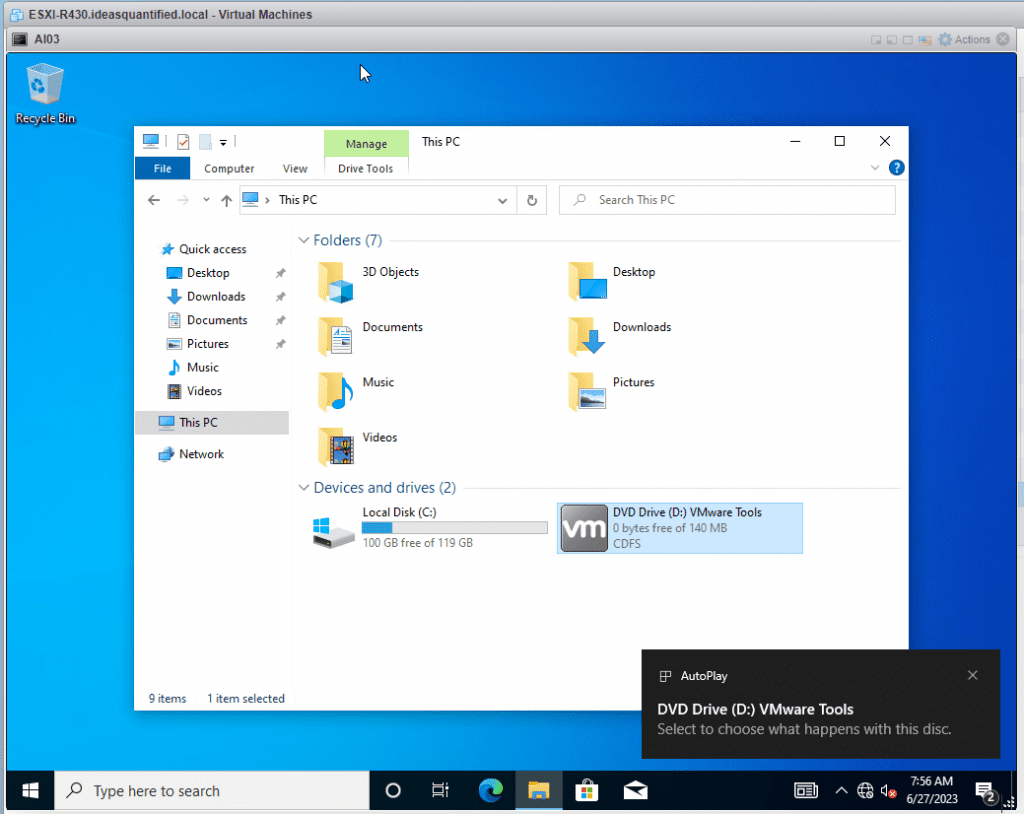
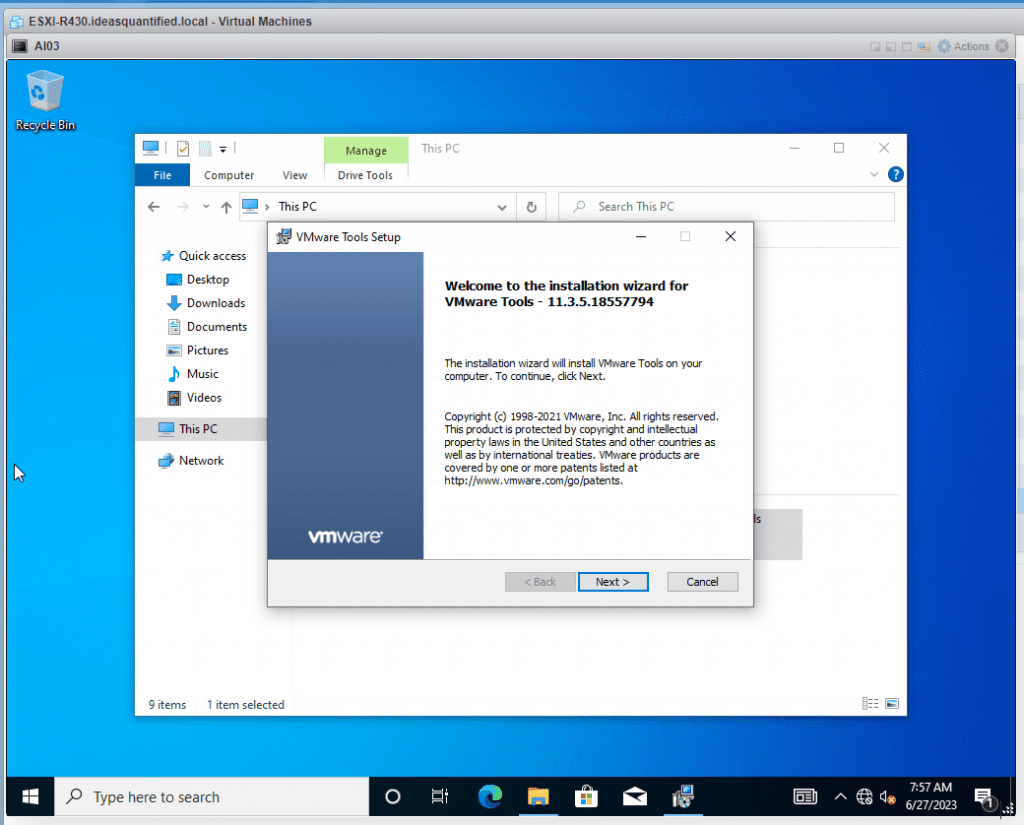
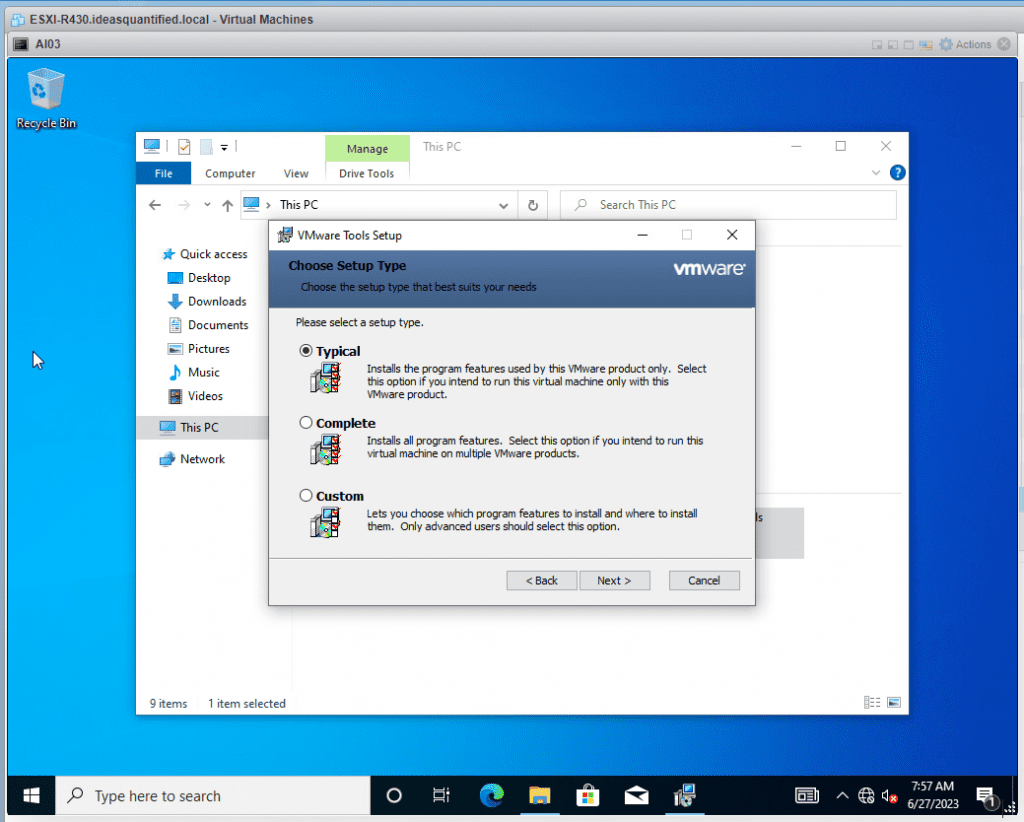
Ok first things, you need to get VMware Tools installed so that it will install your driver.
Choose Next.
Typical works well.
Once it completes it will show Network for you. Just click Finish and let it reboot.
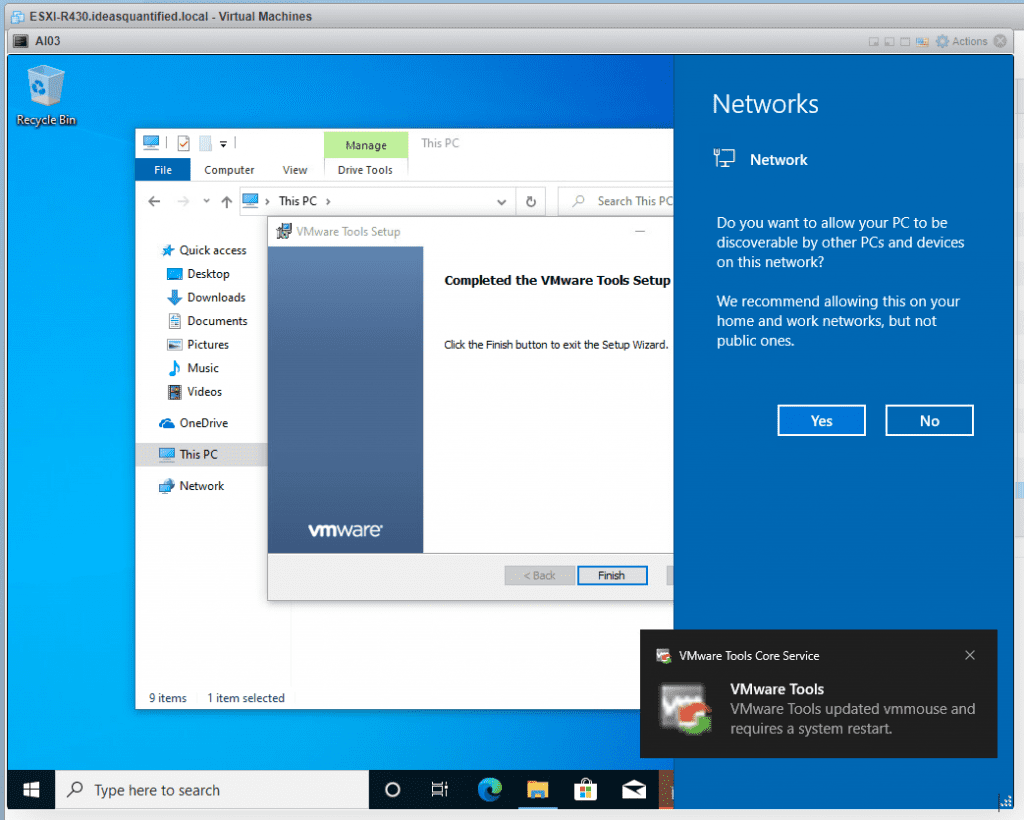
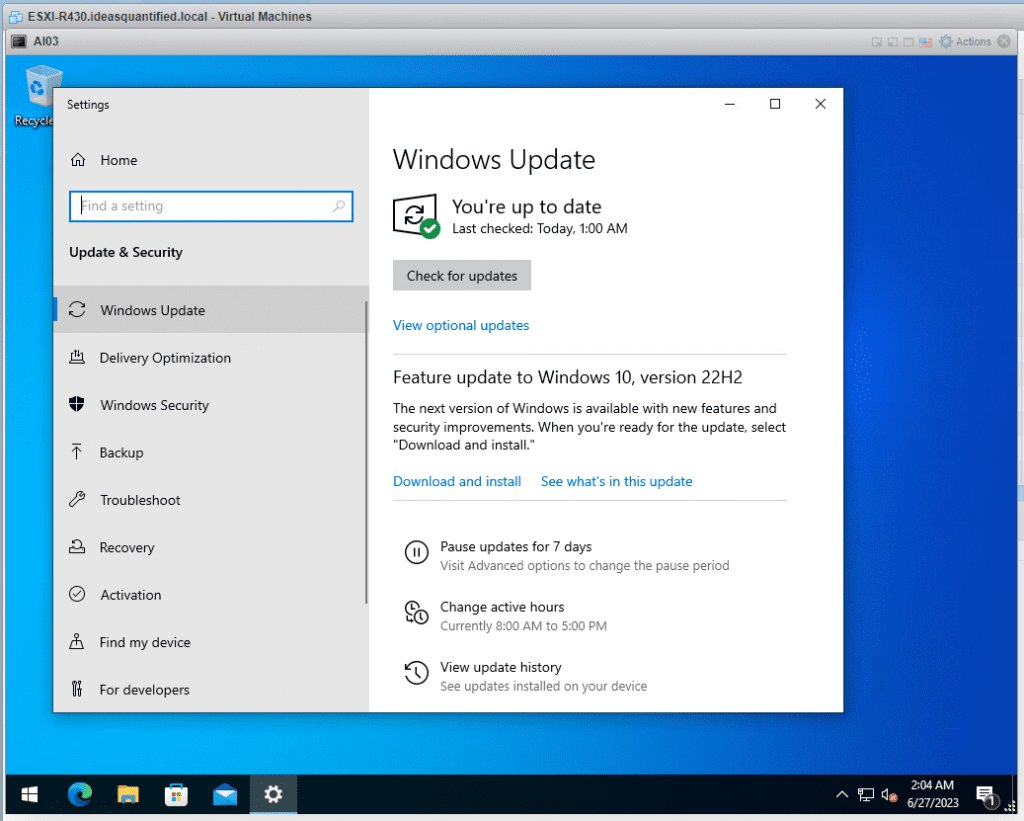
Some extra steps I do are after installing VMware Tools I turn on RDP and rename the machine. Also, turn off Task View, Cortana, News and Interests, and Search Box. Finally, adjust power settings so the machine does not go to sleep after 30 minutes. If it does, it will disrupt the Windows Updates or Model download later. Then kick off Windows Update.
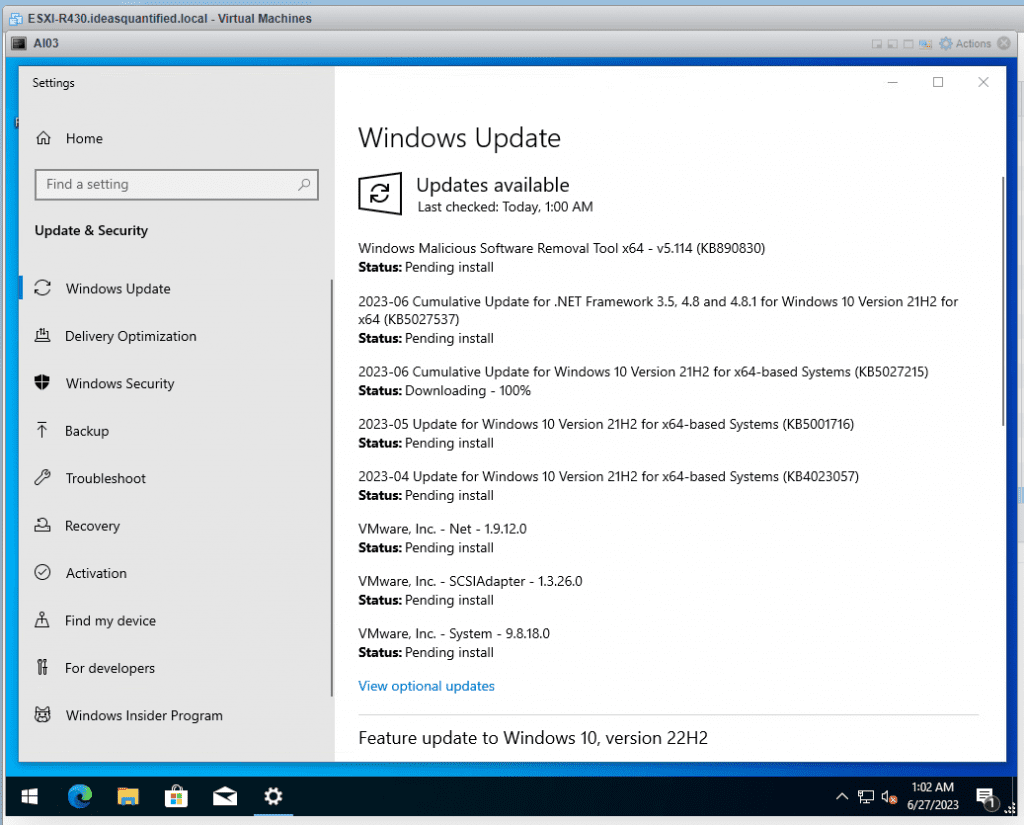
Finally, the OS is setup. Now we can move onto installing our AI engine and models.
AI Installation:
Navigate to the Oobabooga Github and download the one-click installer.
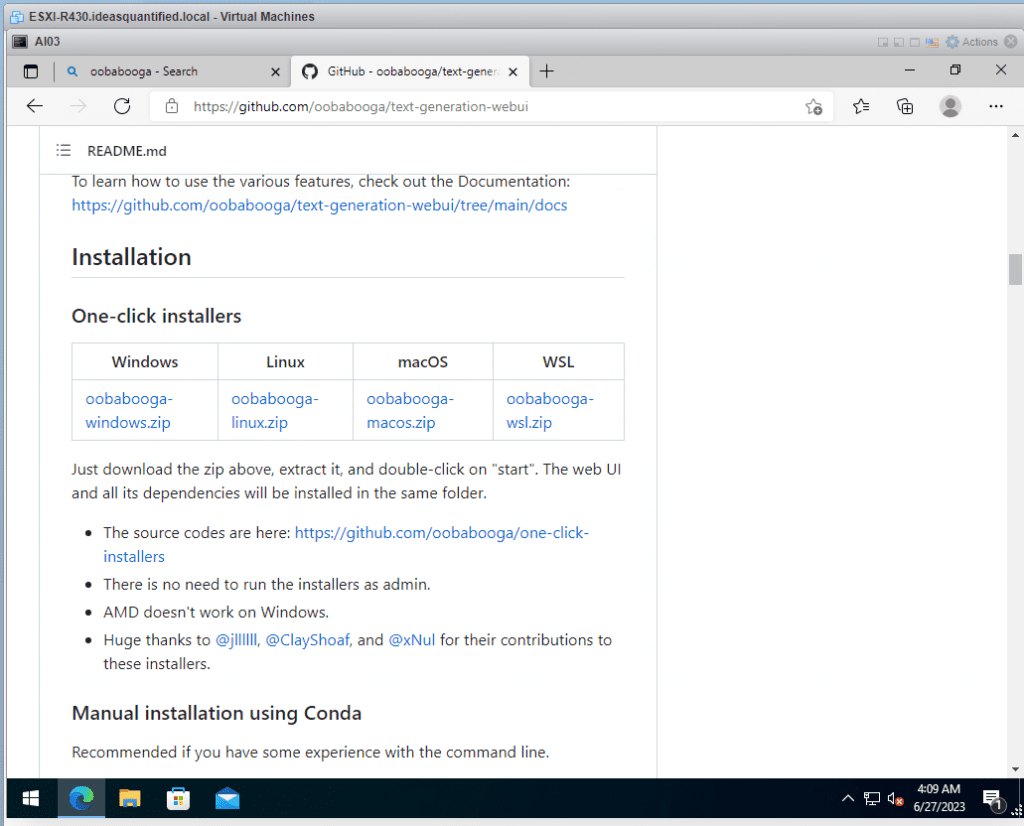
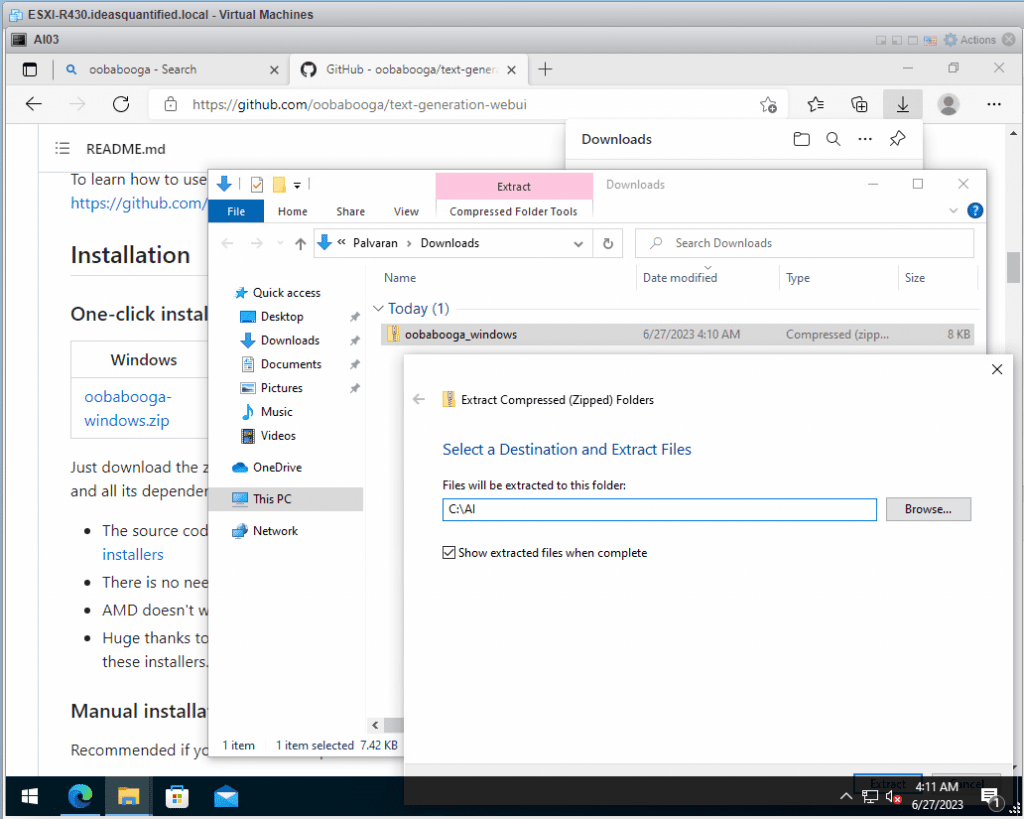
Download the file and extract it to a new directory. I use C:\AI as I have other AI projects such as AutoGPT running too.
Navigate to the directory where you extracted the files.
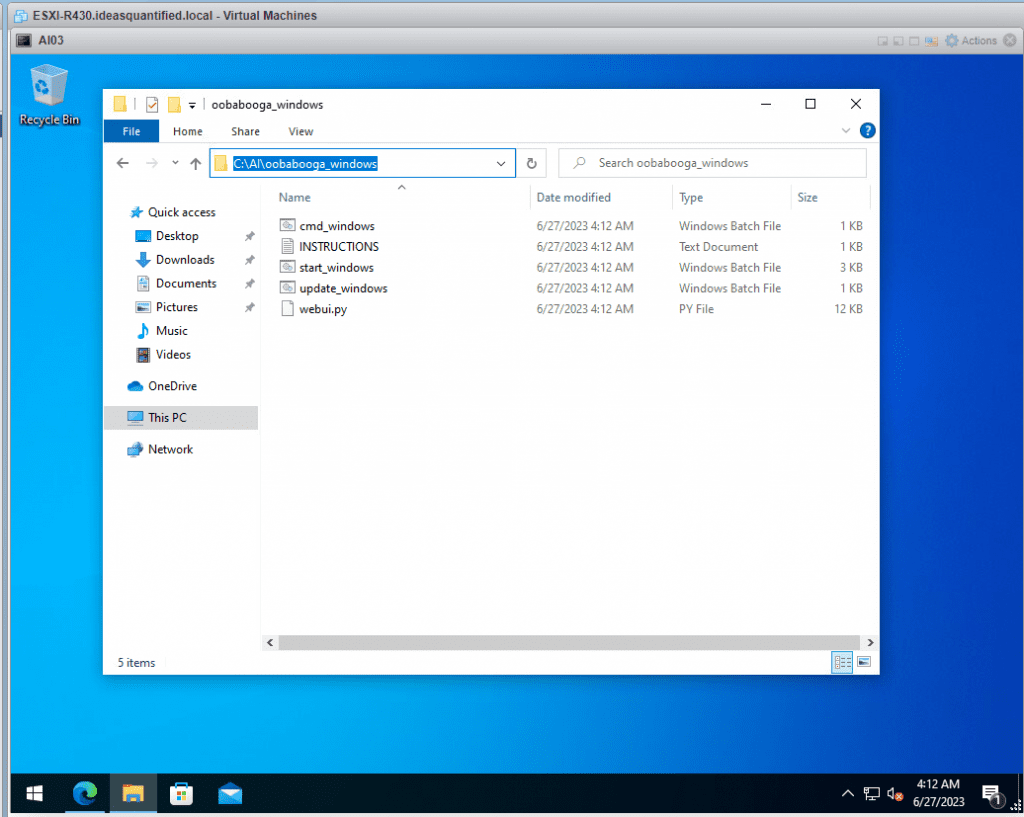
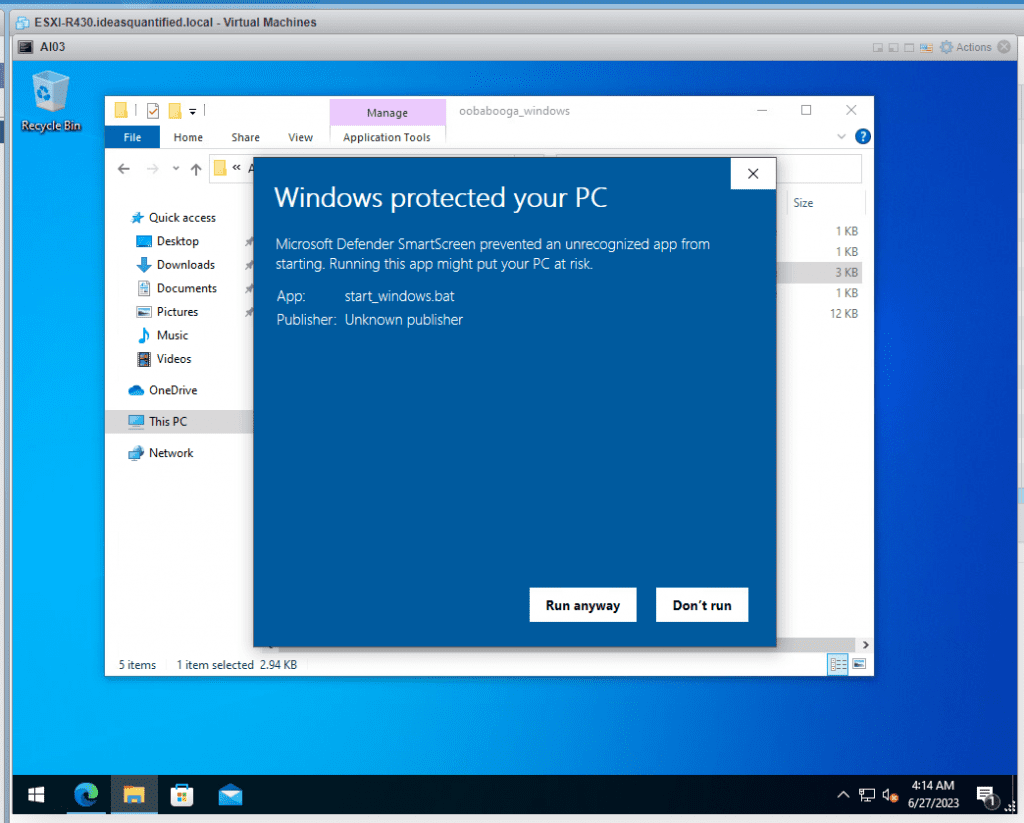
Instructions show you the steps, but in our case, we only need to run start_windows.bat.
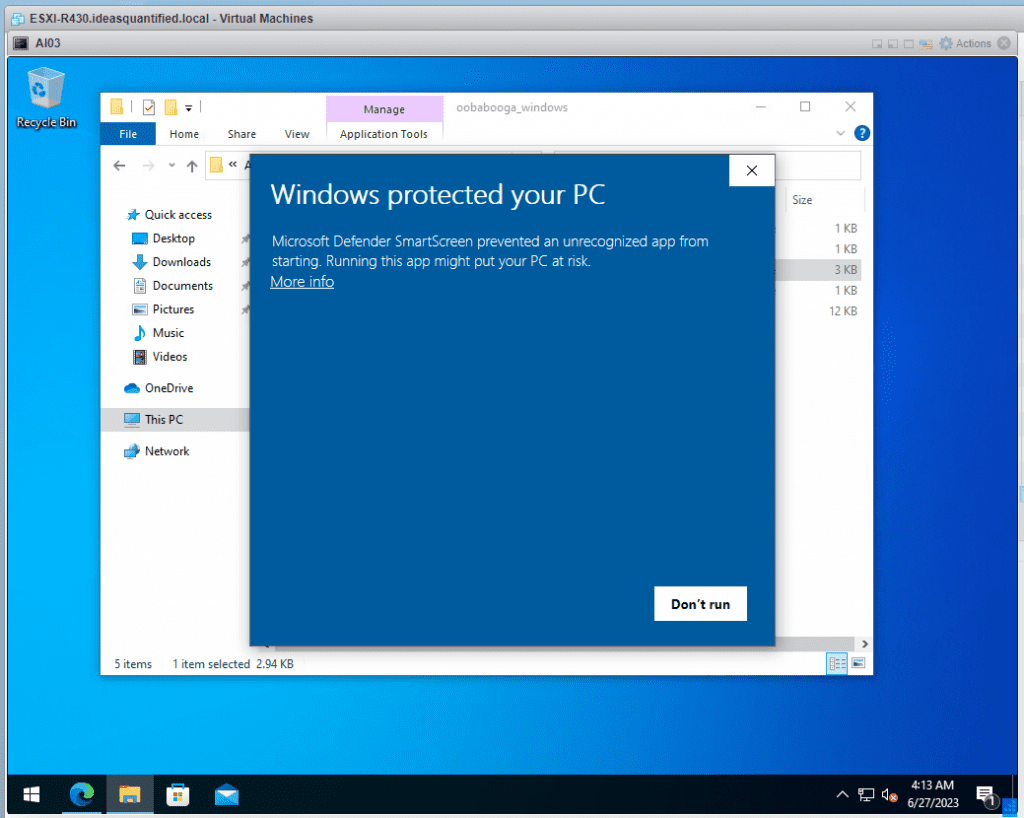
Click More Info and Run Anyway.
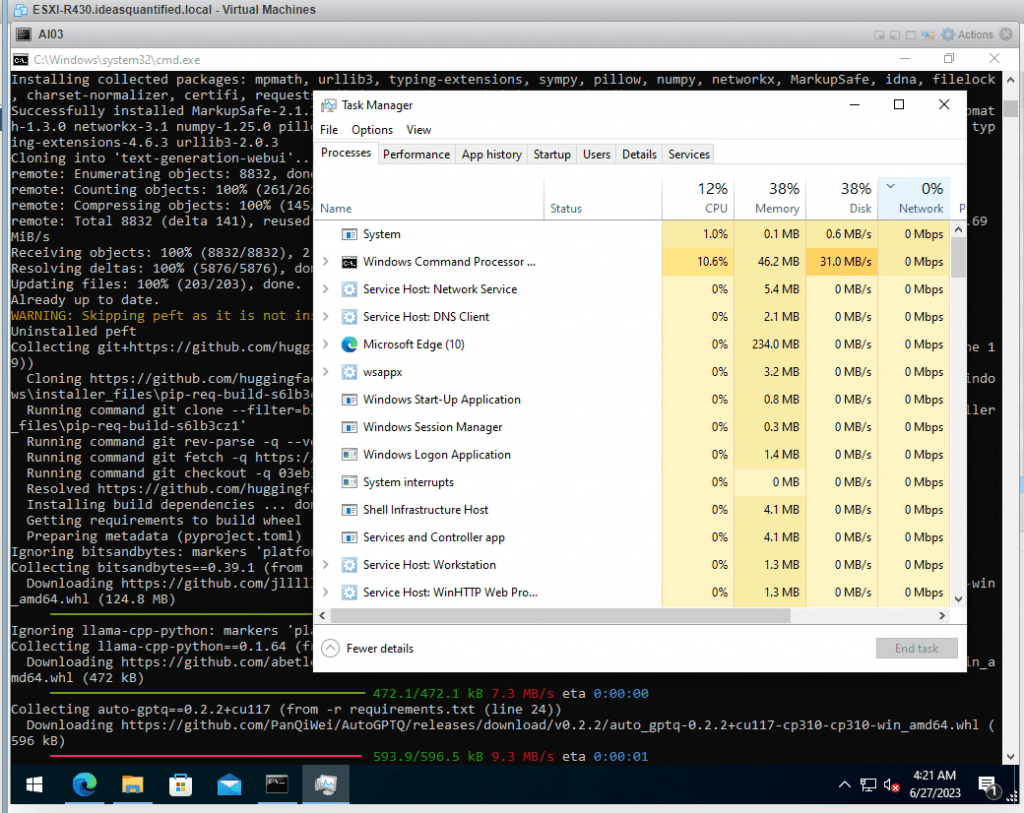
Watch the installer go.
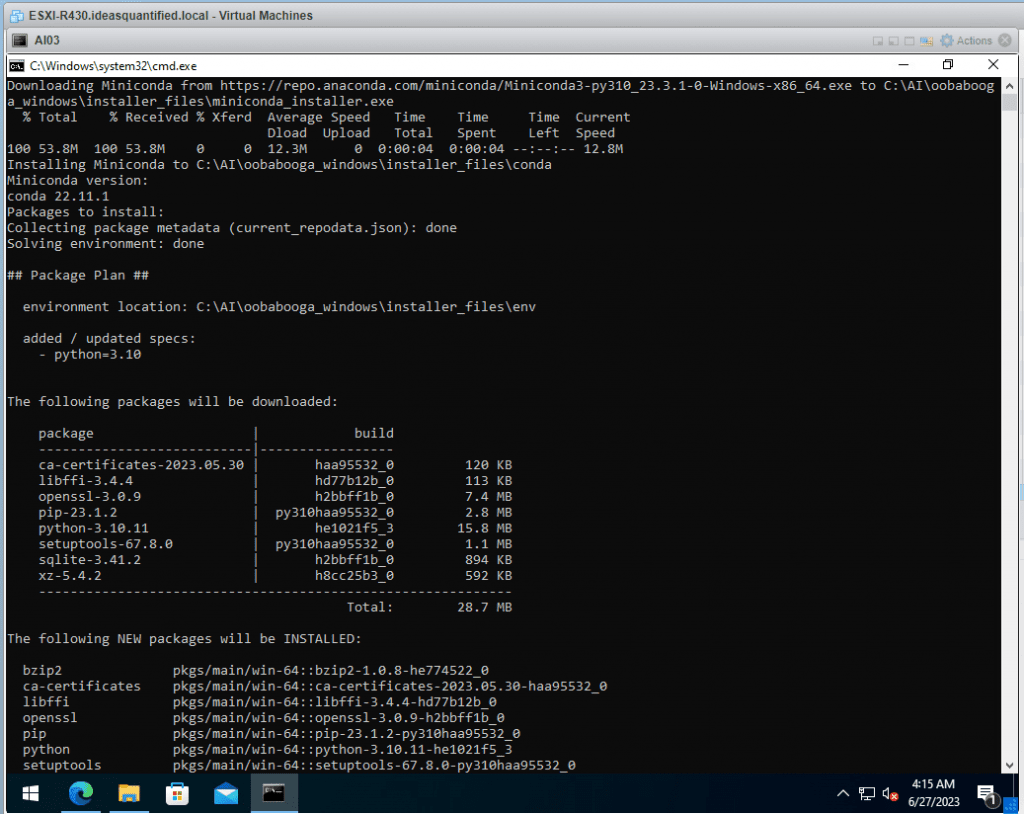
Only 1 question, choose the type of GPU you have. As this is a VM with no dedicated or shared GPU we will enter D to choose None.
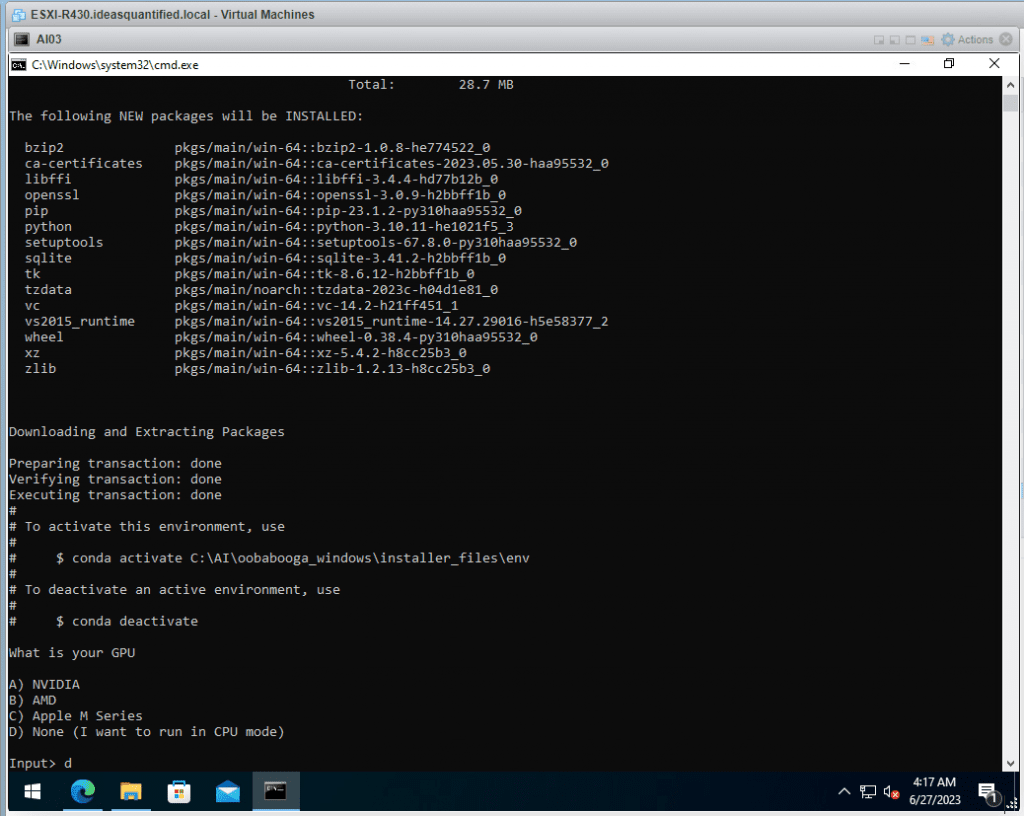
Now more waiting.
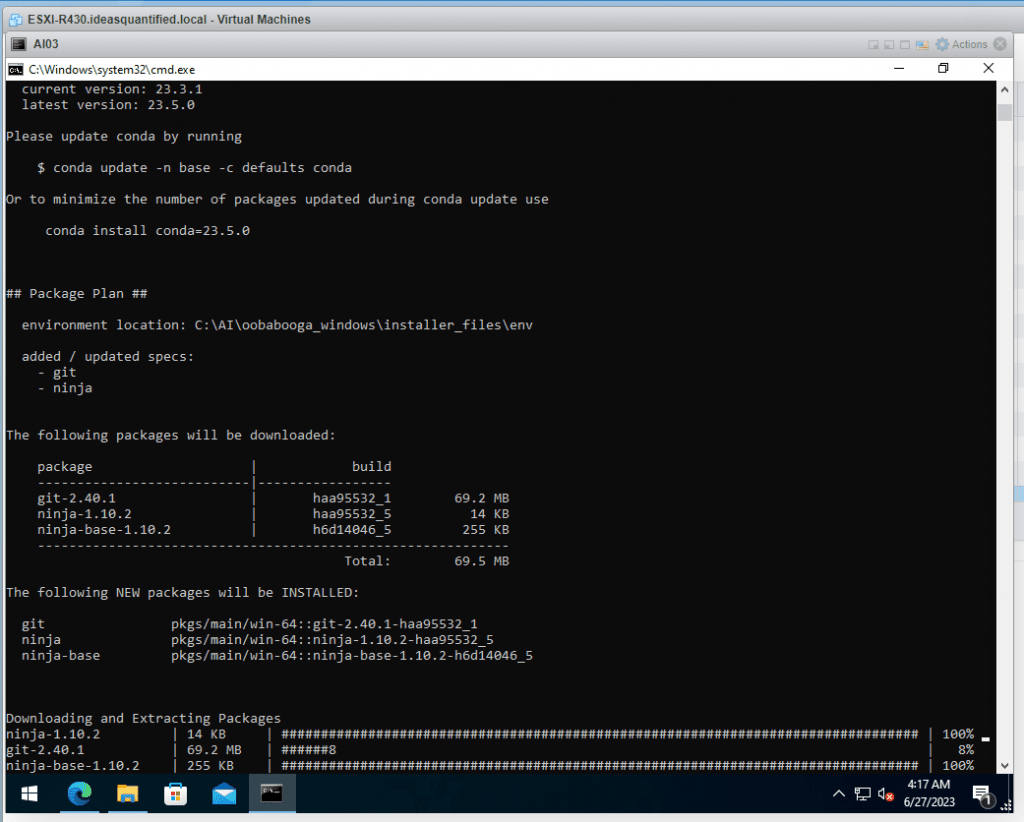
Some files will be downloaded from the internet so just be patient.
The AI engine is installed. Now we need to configure it and get some models.
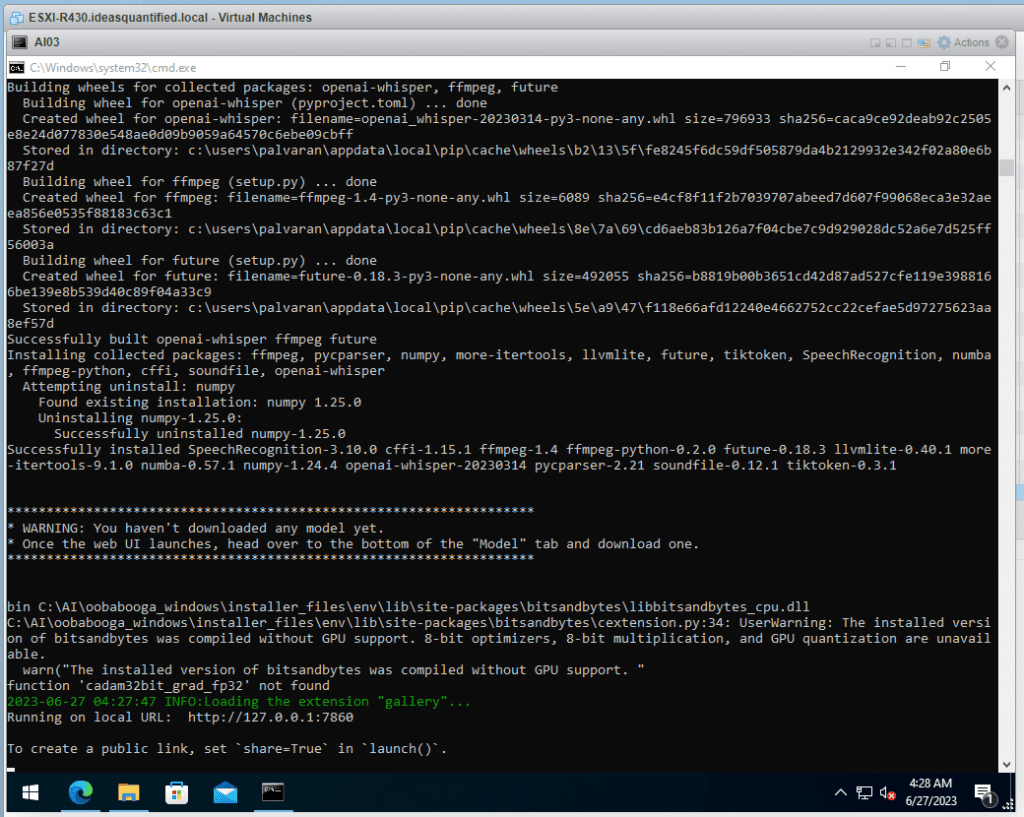
Let’s start by accessing the URL in a browser. Per the CMD window, go to http://127.0.0.1:7860. Note, you might have to type that in exactly as it is NOT https yet.
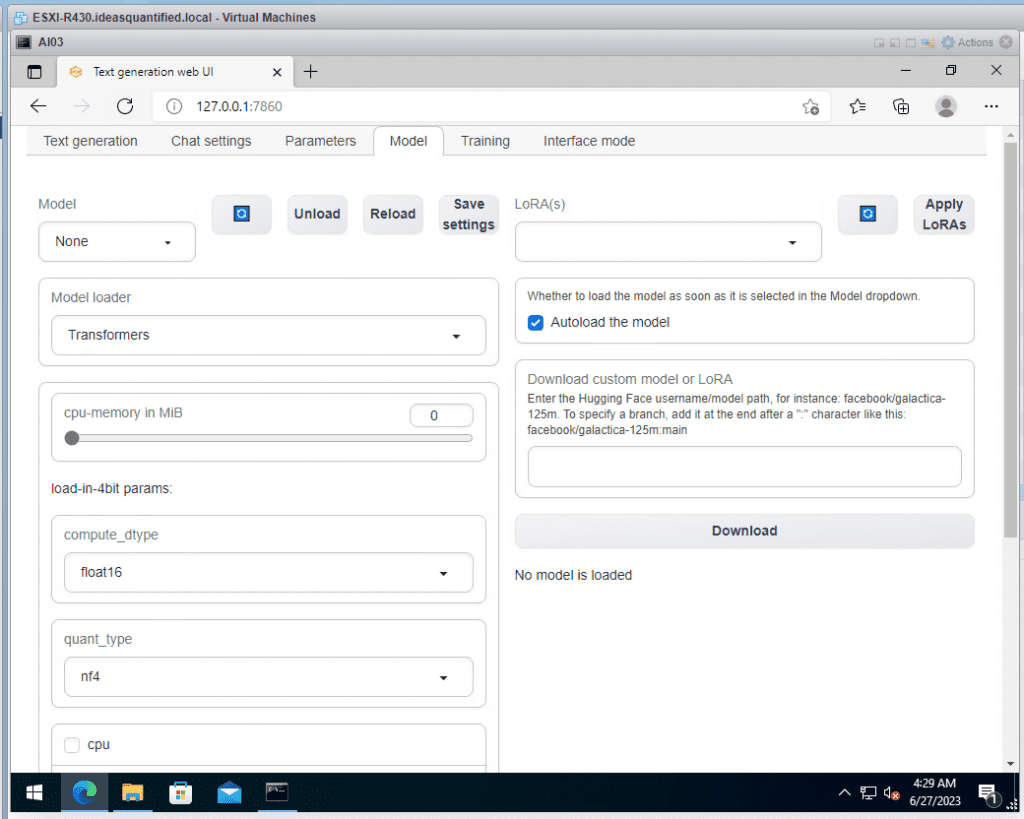
Go to the Model tab.
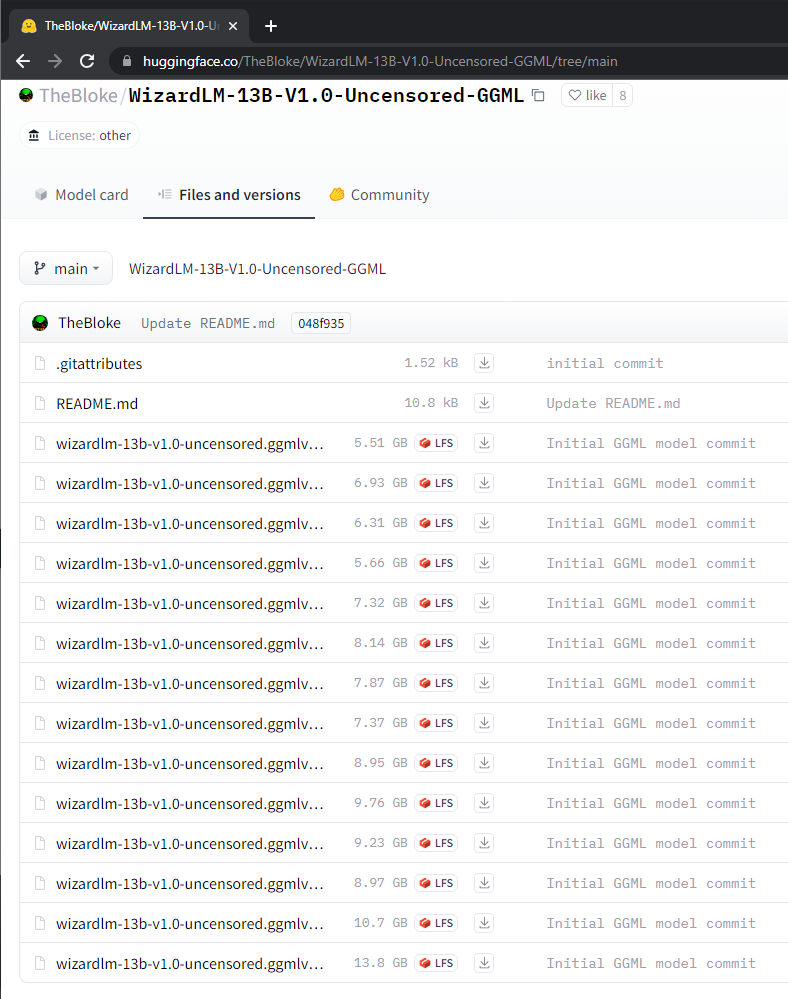
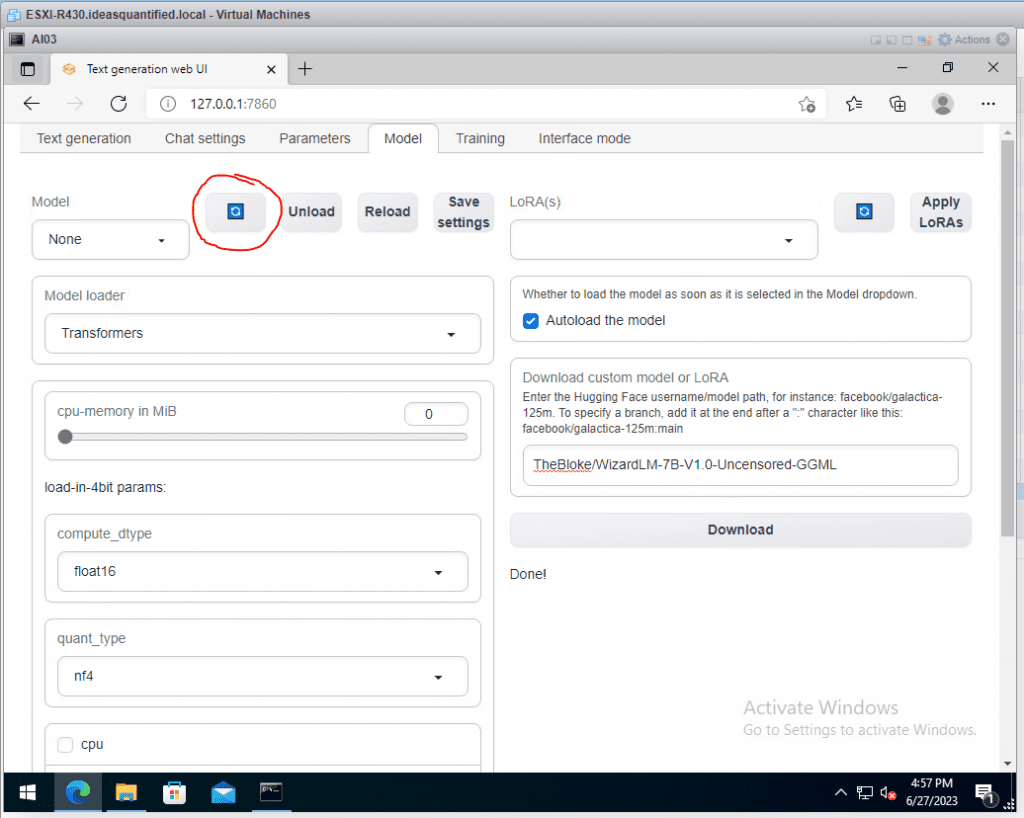
The first model to download is the 13B GGML which is the 13 billion parameter model that can run without a GPU. Just copy the link into the Download link within the Text Generation Web UI.
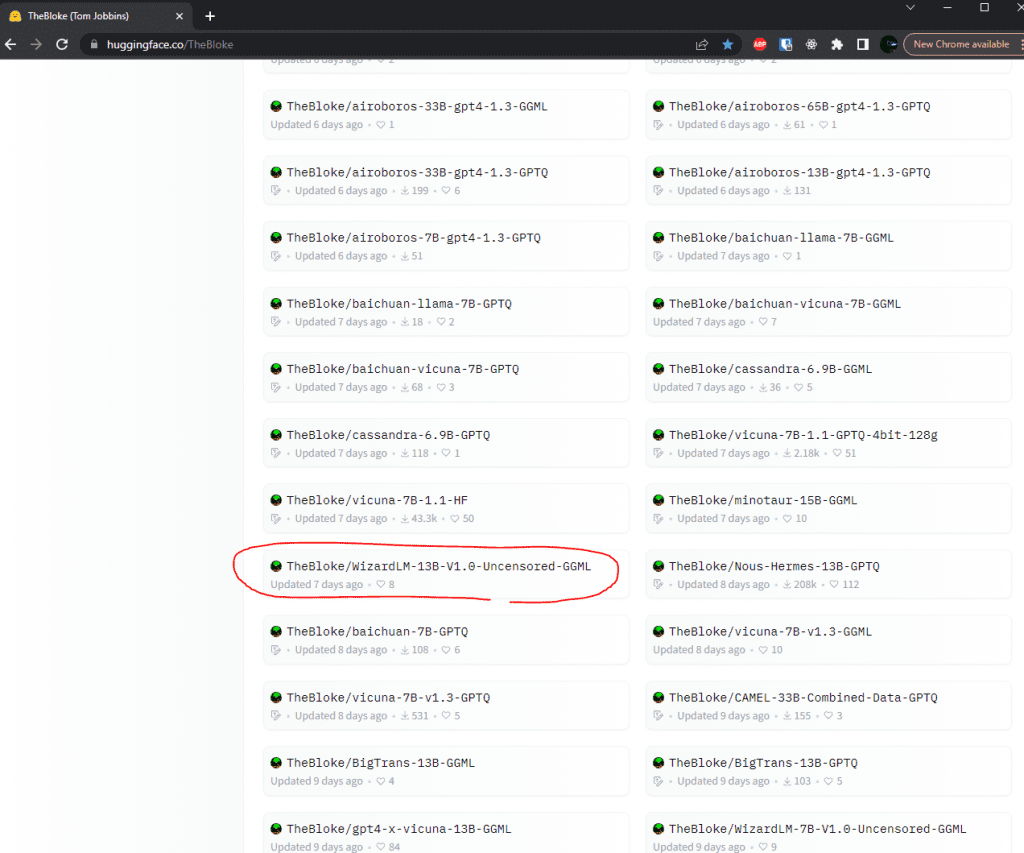
Notice I put it in the Download custom model box, in this case, TheBloke\WizardLM-13B-V1.0-Uncensored-GGML.
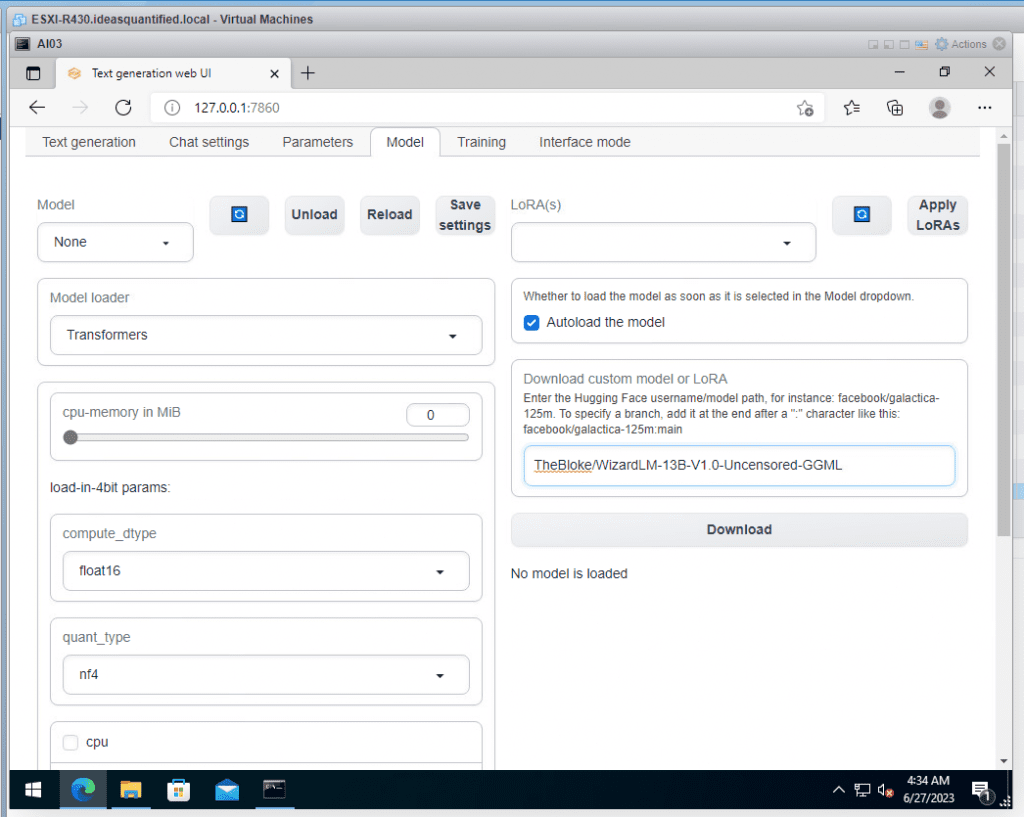
Just click Download and wait.
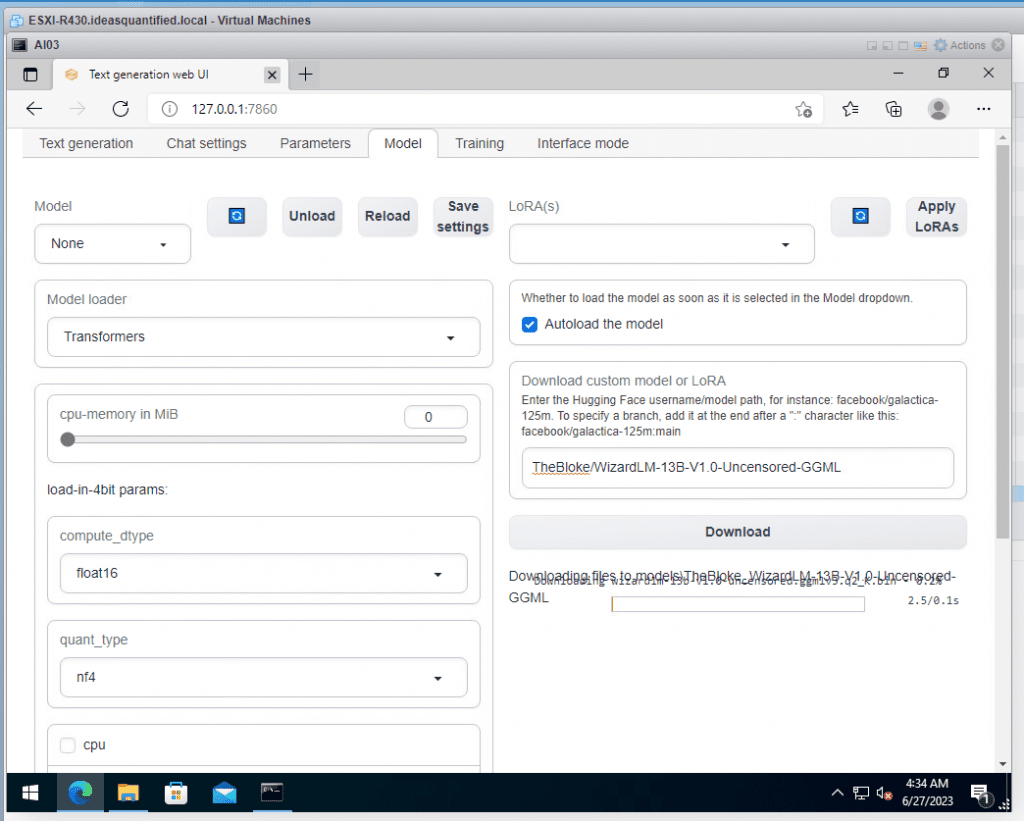
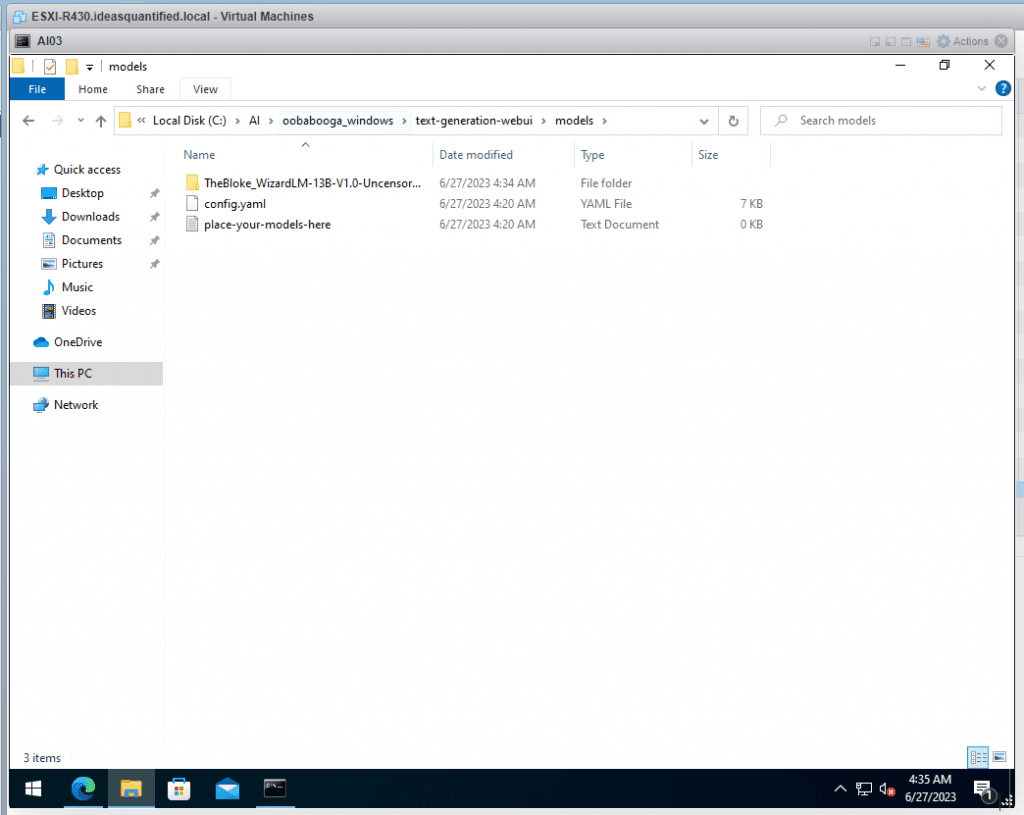
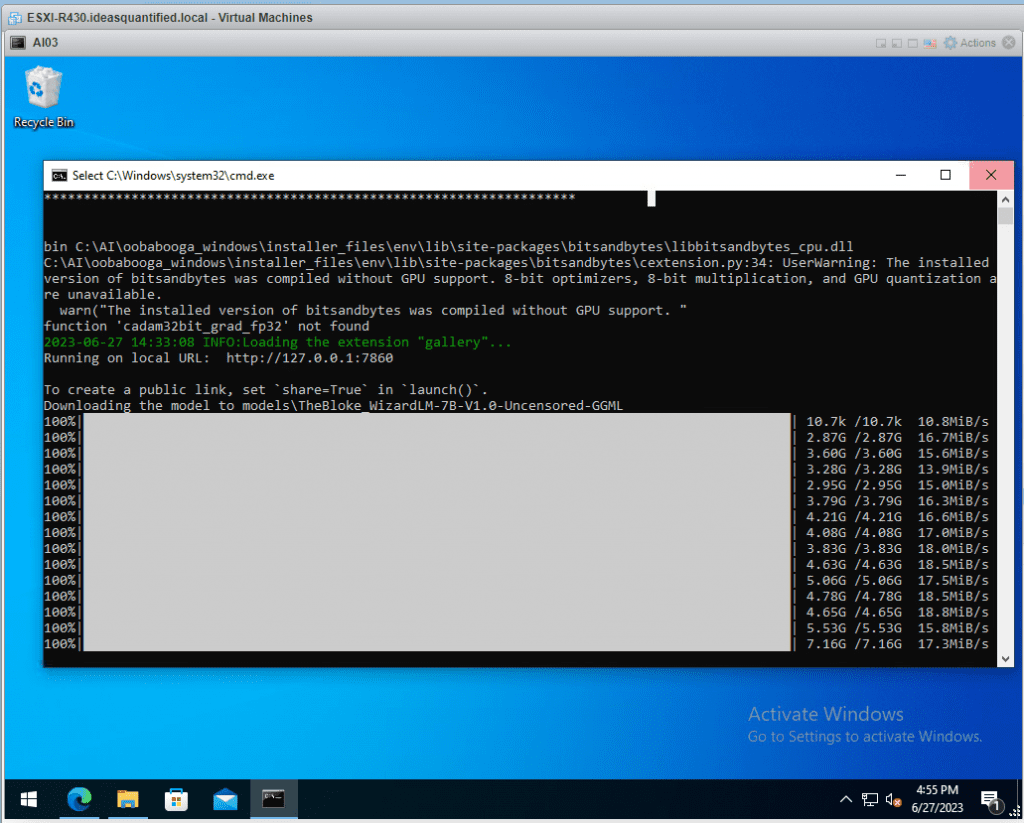
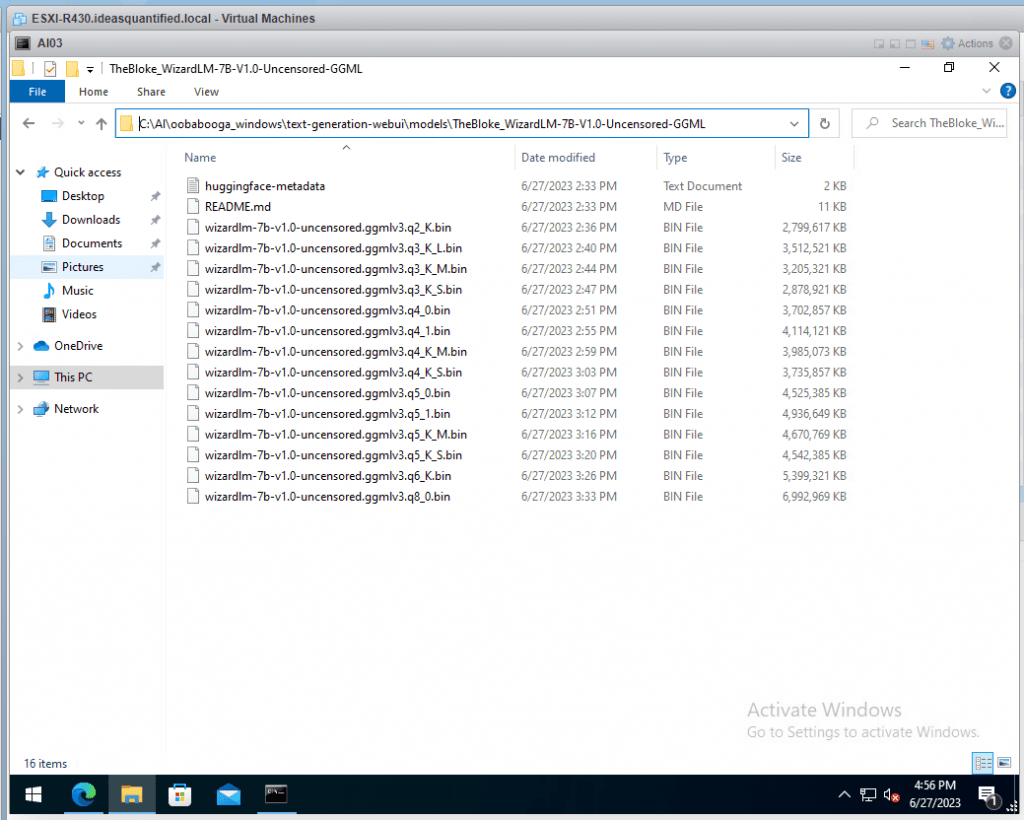
The Models are being downloaded within the AI\oobabooga_windows\text-generation-webui\models folder.
It will take quite awhile to download as it is over 100 GB of data. Here is the manifest you get if you look at it.
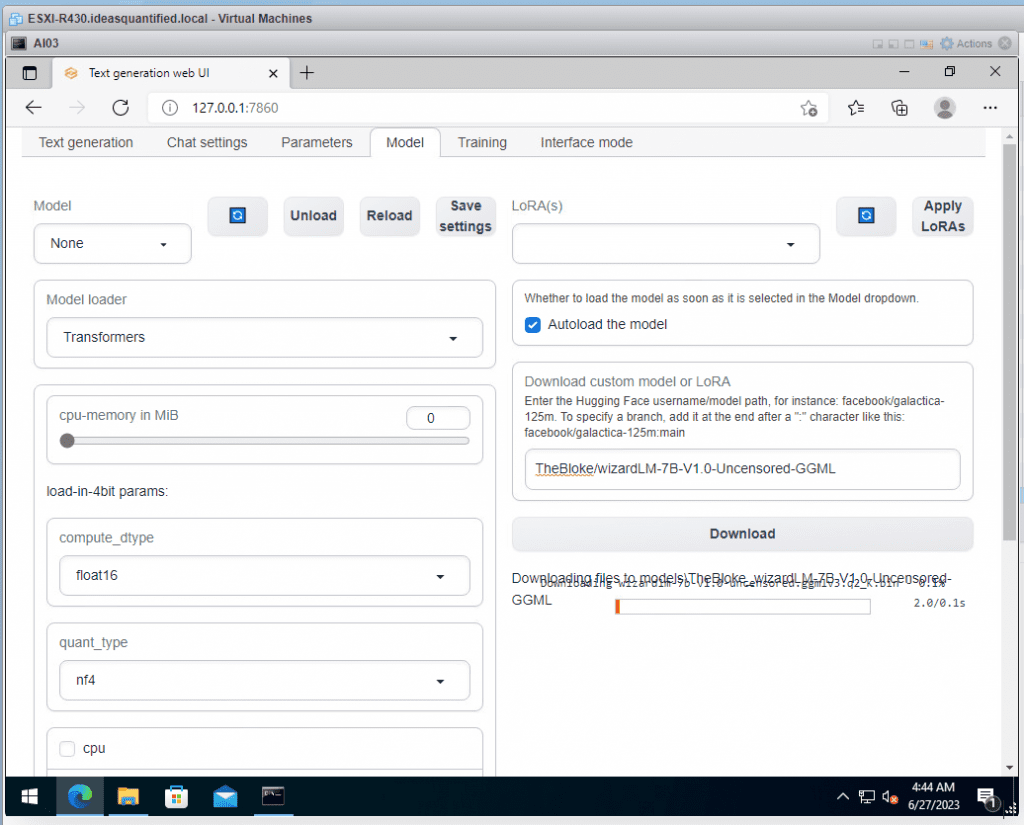
Repeat the process by entering in the 7B model, TheBloke/WizardLM-7B-V1.0-Uncensored-GGML or if you have a GPU with 8 GB of VRAM use the GPTQ version instead of the GGML version.
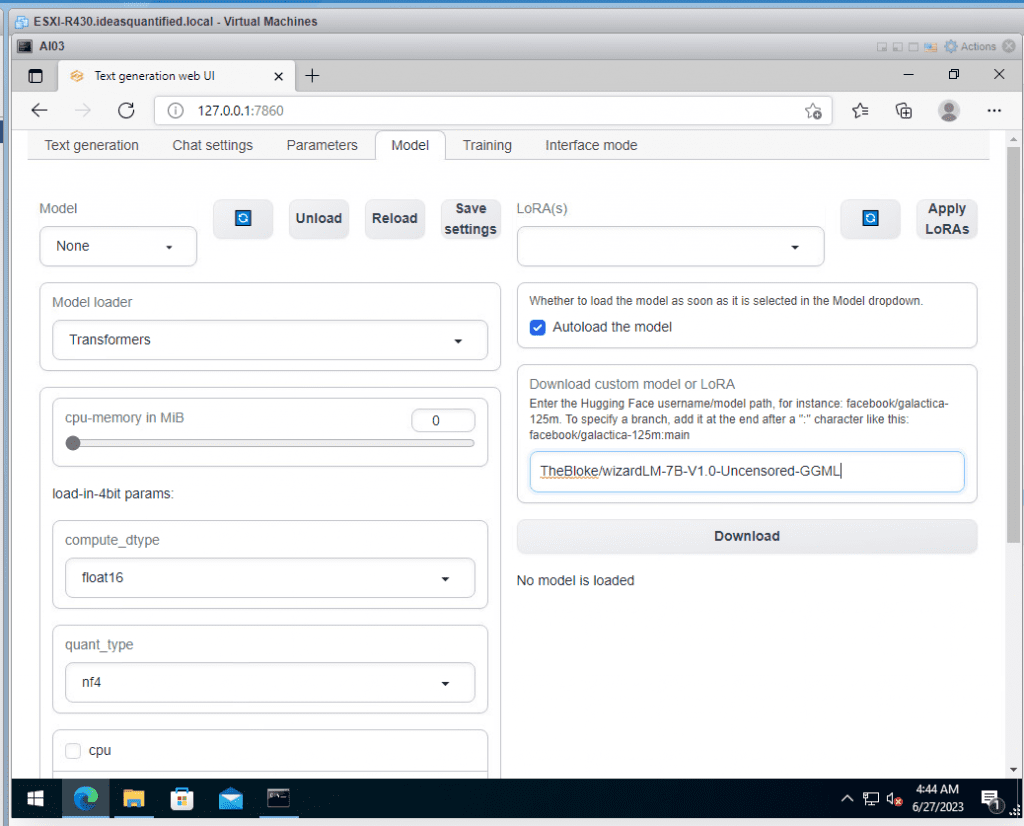
Click Download and Wait.
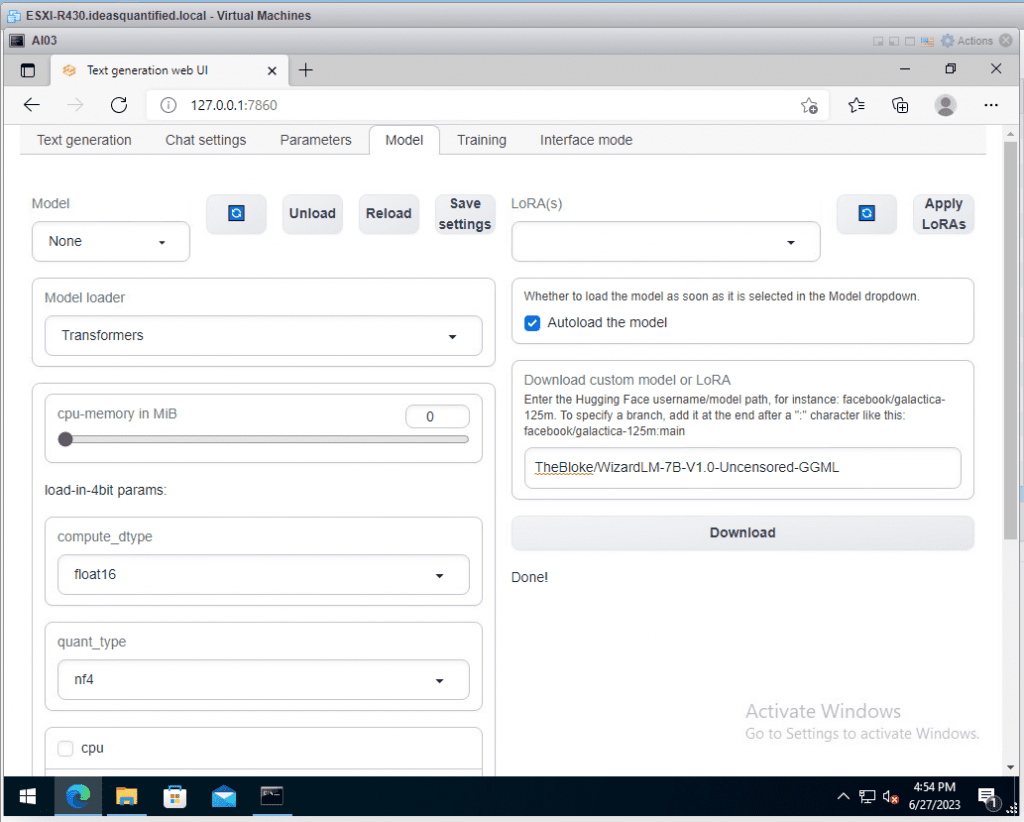
After a time, it will tell you it is done!
If you want to check you have two options. The first is to check the CMD window that is running the server.
The second way is to verify inside the model directory. Navigate to where you setup your oobabooga folder.
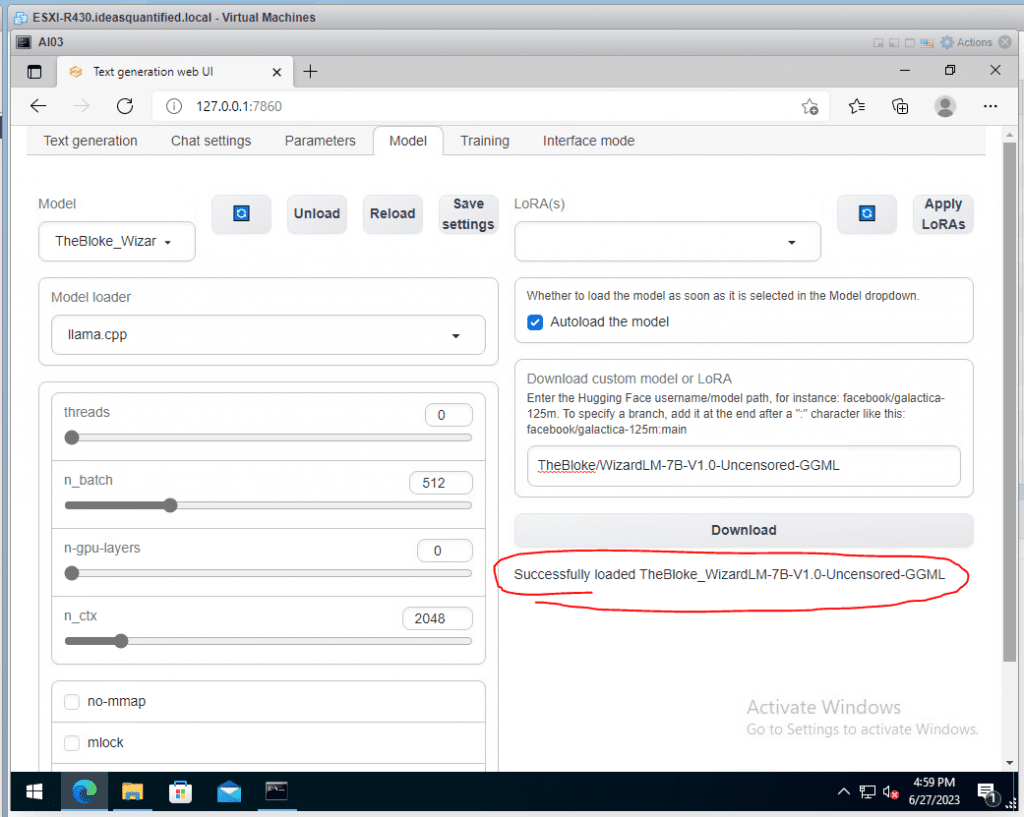
Alright, let’s load our first model and see what happens! Hit the circle button to refresh the Models.
Then, hit the Model drop down.
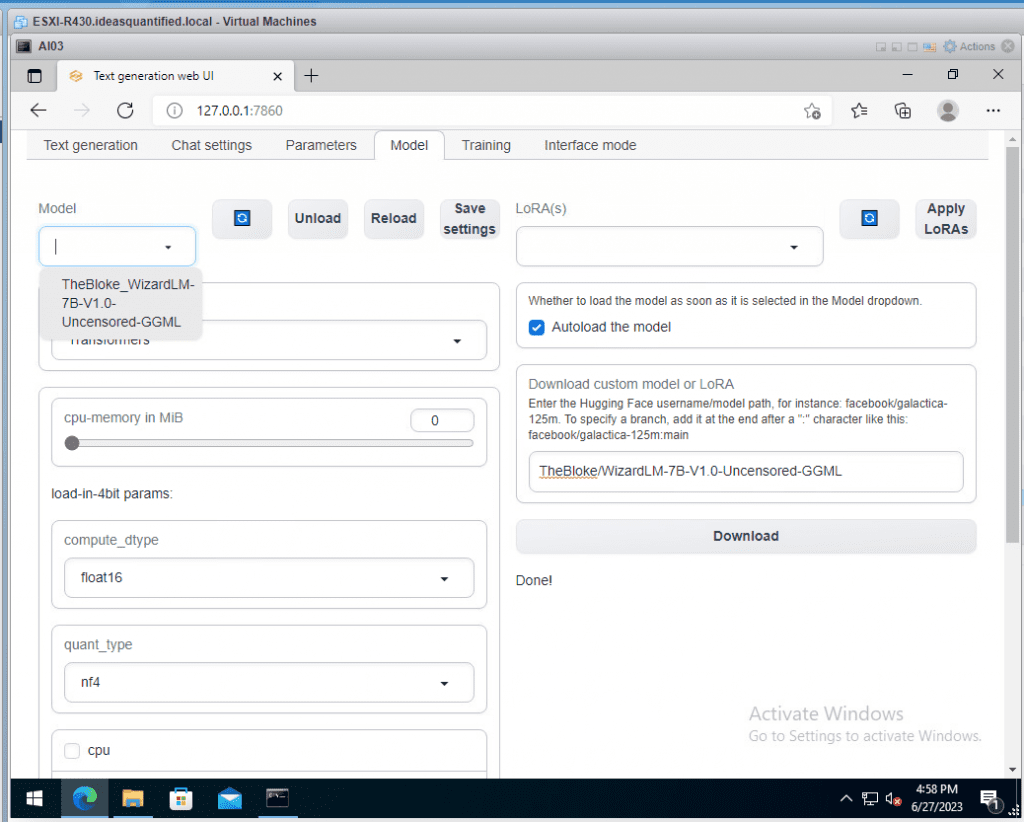
Select it and it will autoload the model. It should tell you that it successfully loaded the Model. If you have unchecked the autoload feature, just click Reload near the Model drop down.
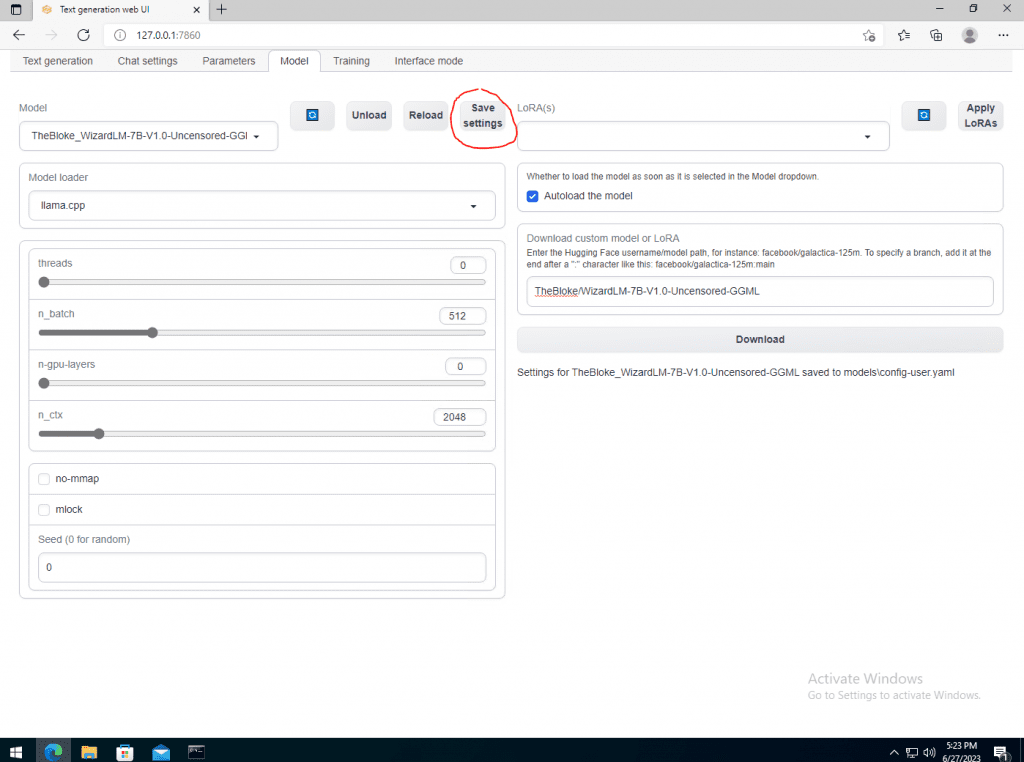
Make sure to hit Save settings as it will write a file locally to be referenced.
Don’t bother modifying any other settings on here. However, if you are wondering what they mean here is the Rosetta stone.
- threads = if set to 0, the system will automatically determine the amount of threads to use.
- n_batch = tokens to put together into a batch to be sent in the query process. This value is a divisor for n_ctx. i.e. 512 tokens / 2048 tokens.
- n-gpu-layers = number of layers to offload to the GPU to help with performance.
- n_ctx = token limit. 2k is the default and what OpenAI uses for many of it’s older models. You can get a GGML and GPTQ version that has 4k and even 8k limits, but it takes a LOT of hardware to do it.
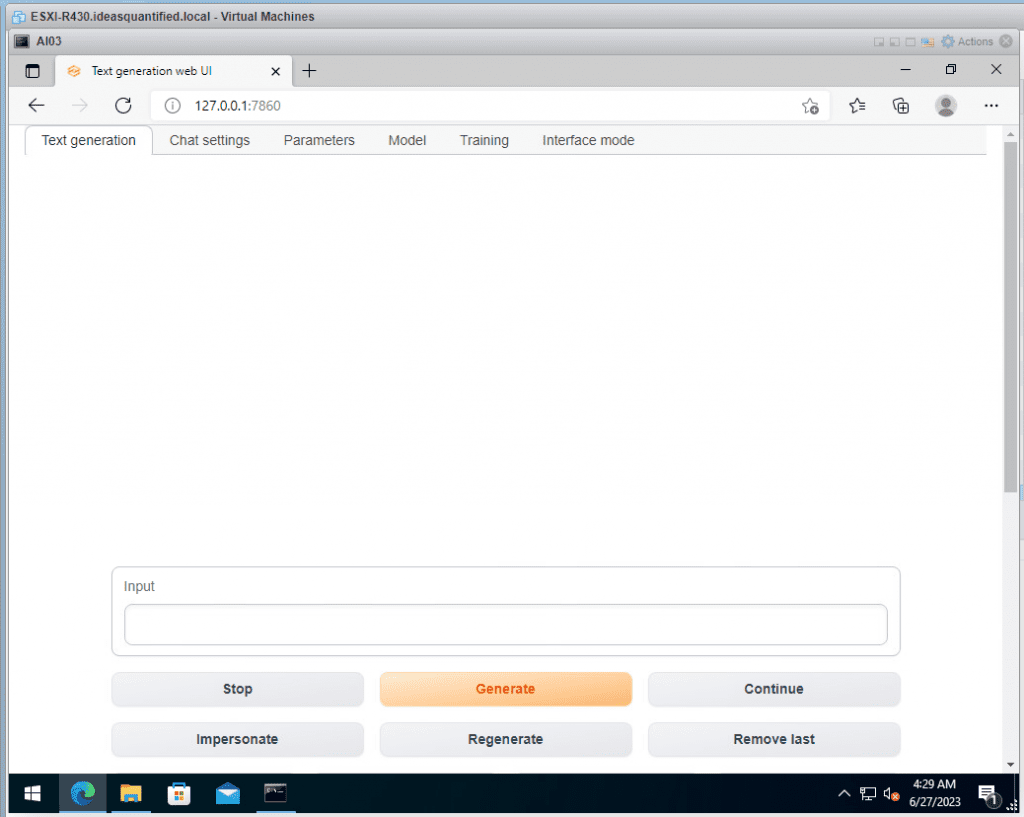
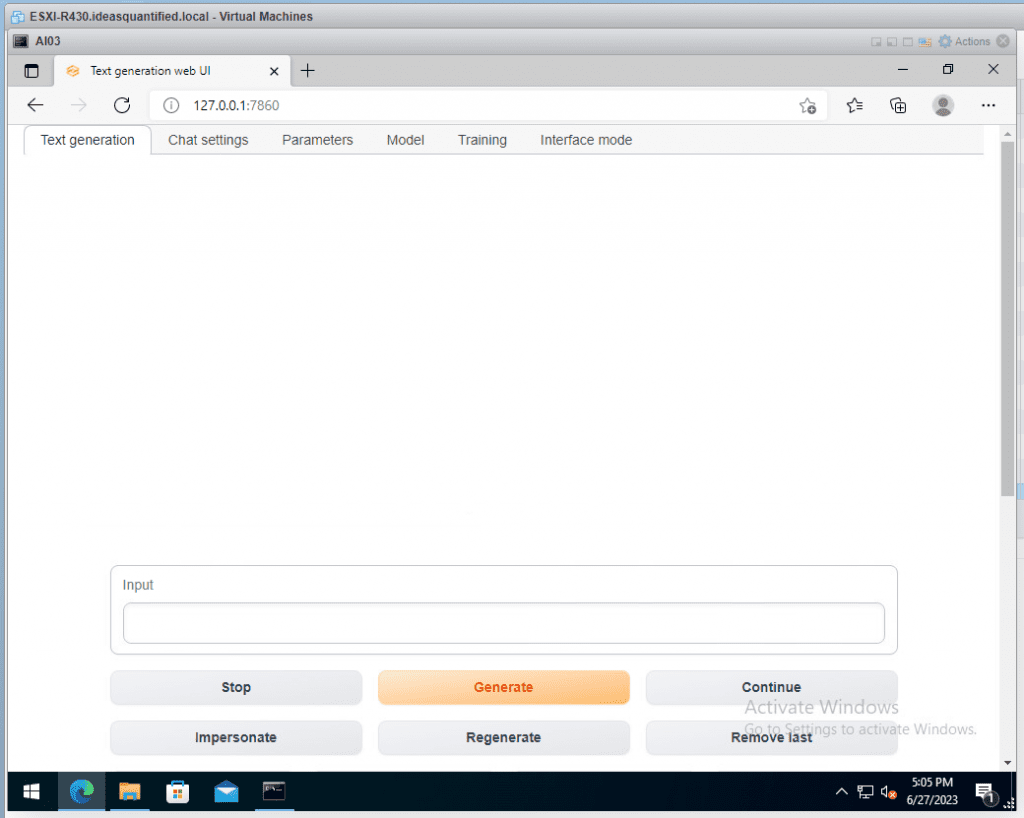
Go back to the Text generation tab and let’s try our first question!
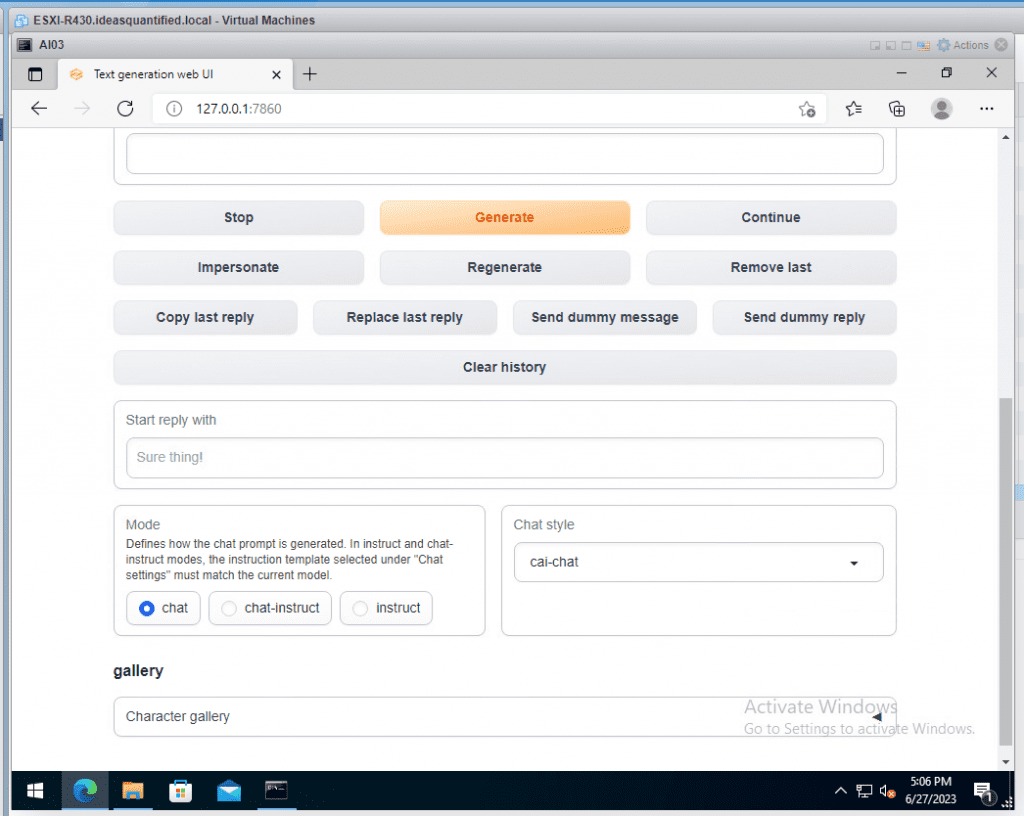
Scroll down and change the Mode to chat instead of instruct.
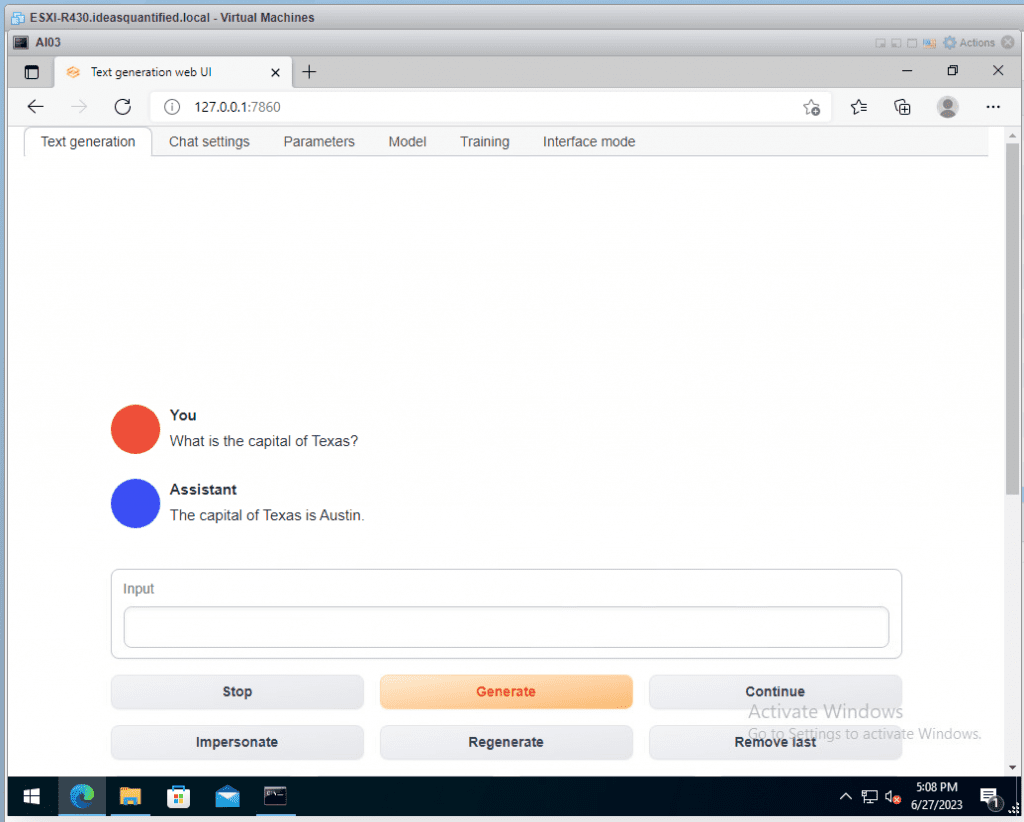
For input, let’s ask our first question. Type your question and hit Generate.
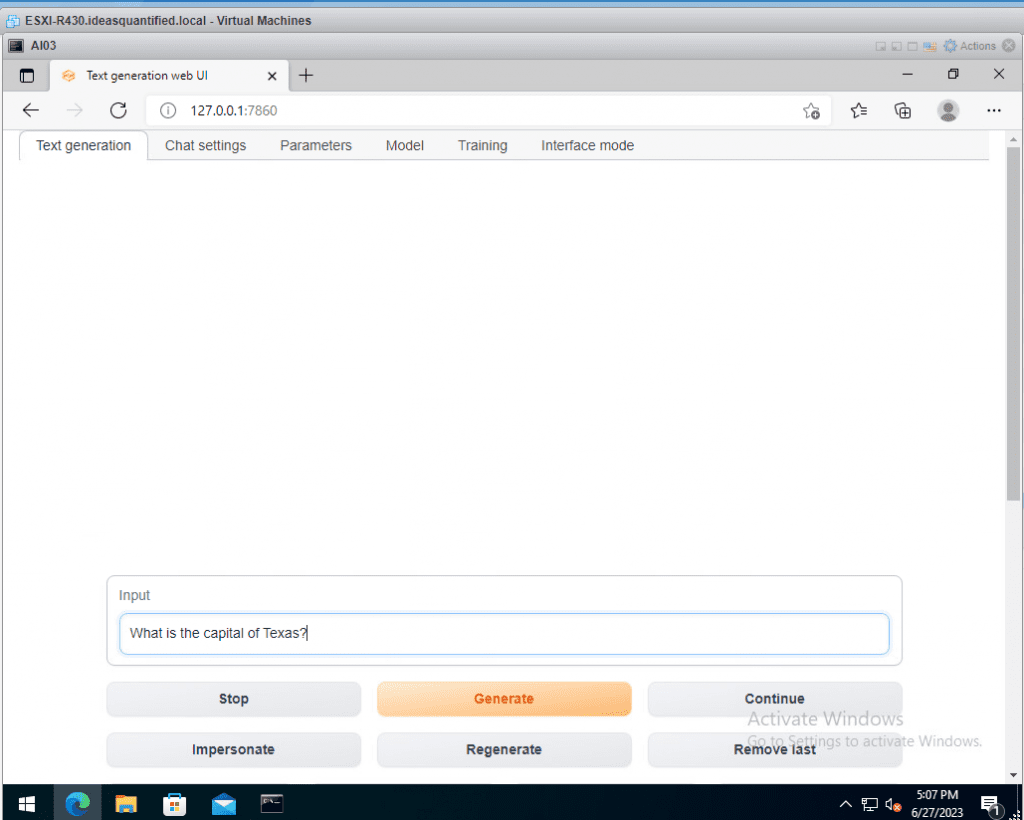
Depending on your system hardware this could take a bit, but it should work, albeit slowly. Also note, the first question appears to be the slowest.
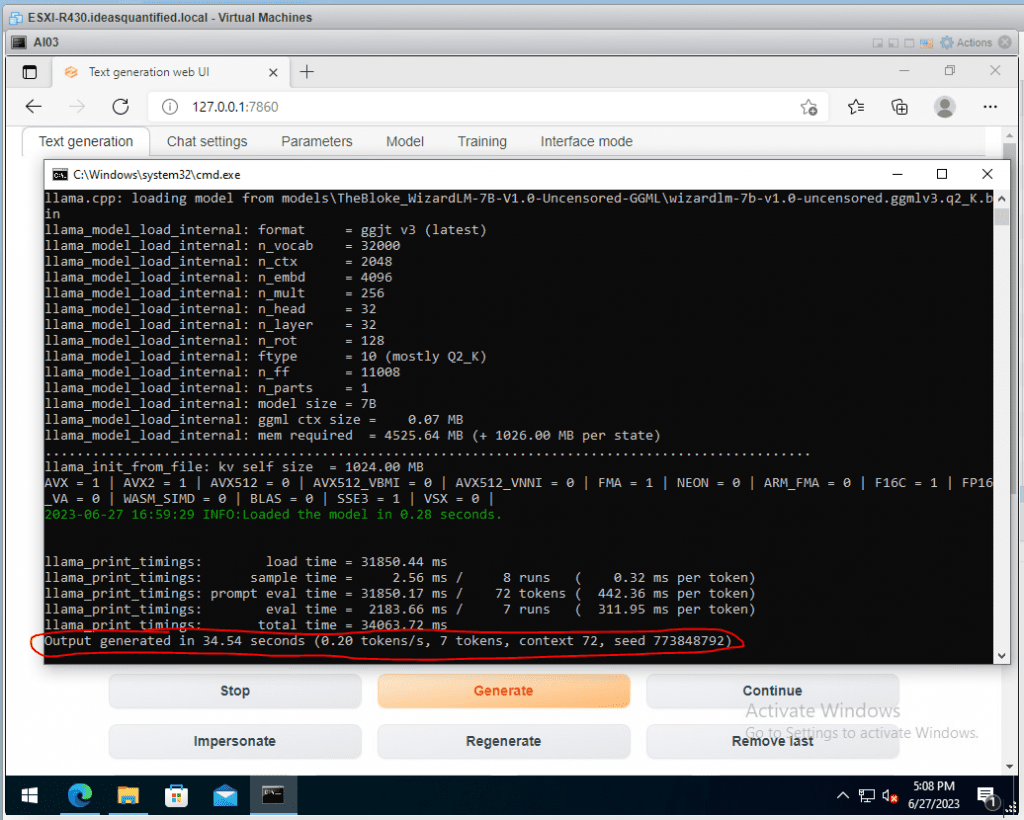
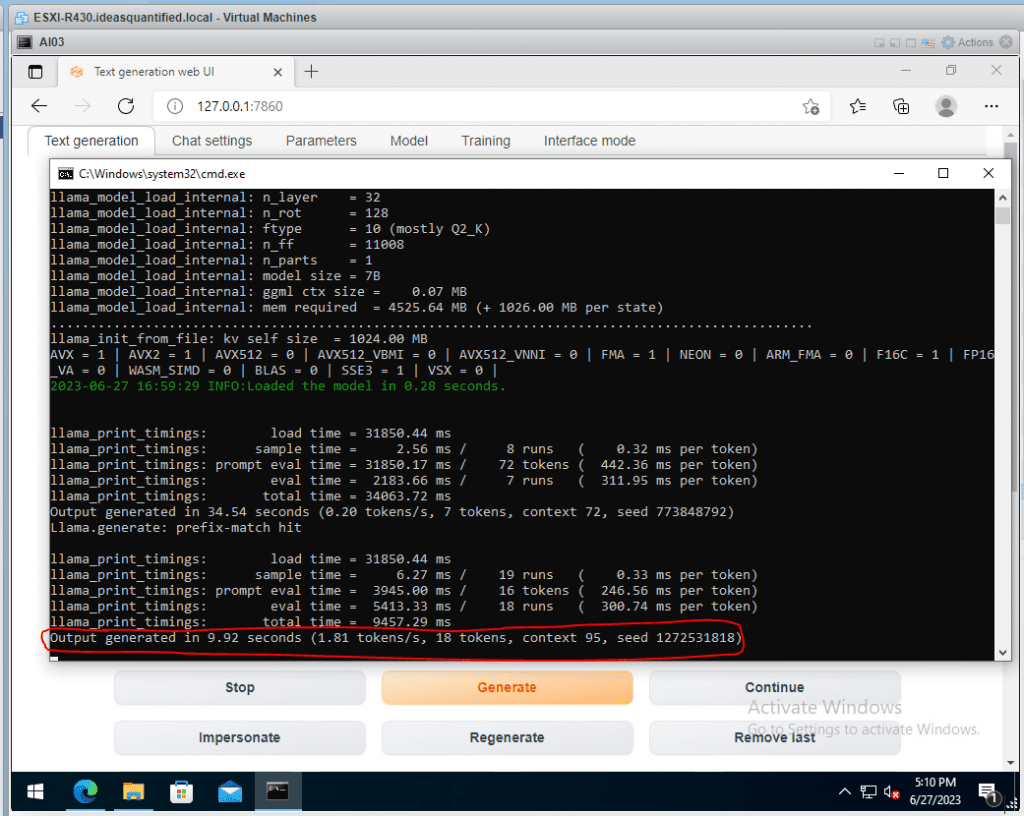
If you are wondering about your speed for tokens/second you can see that in the CMD window.
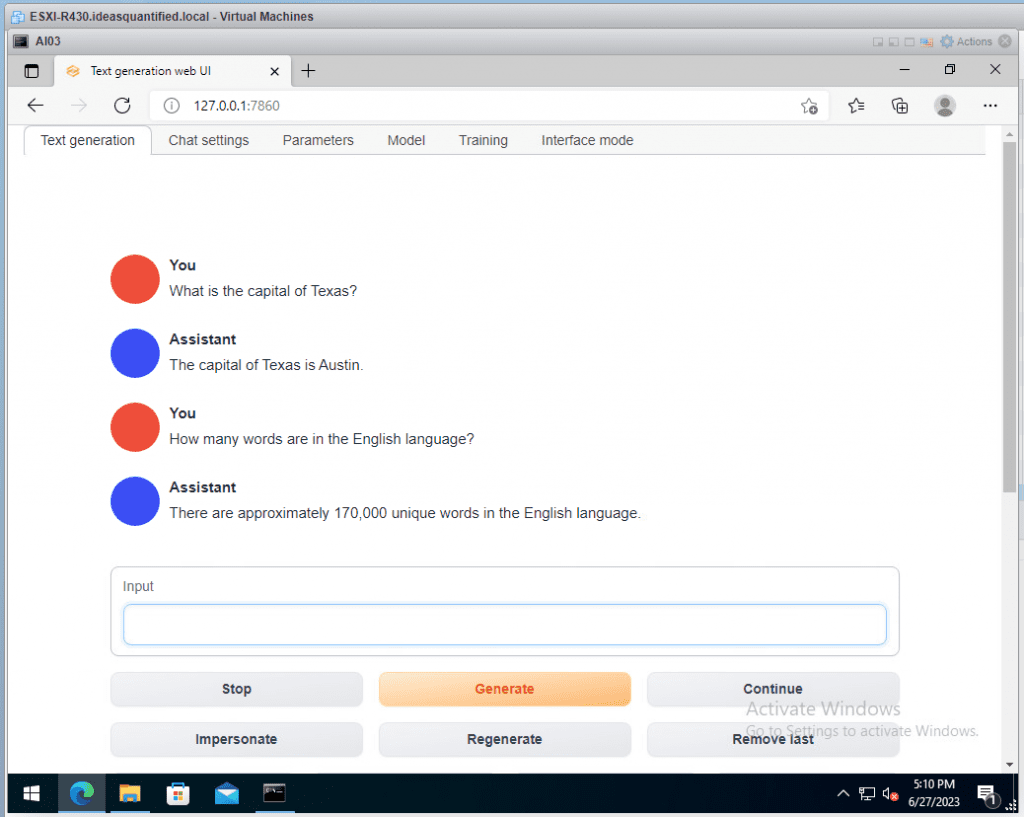
Now, let’s see how it does with other questions.
Checking our CMD window we can see our speed is increasing.
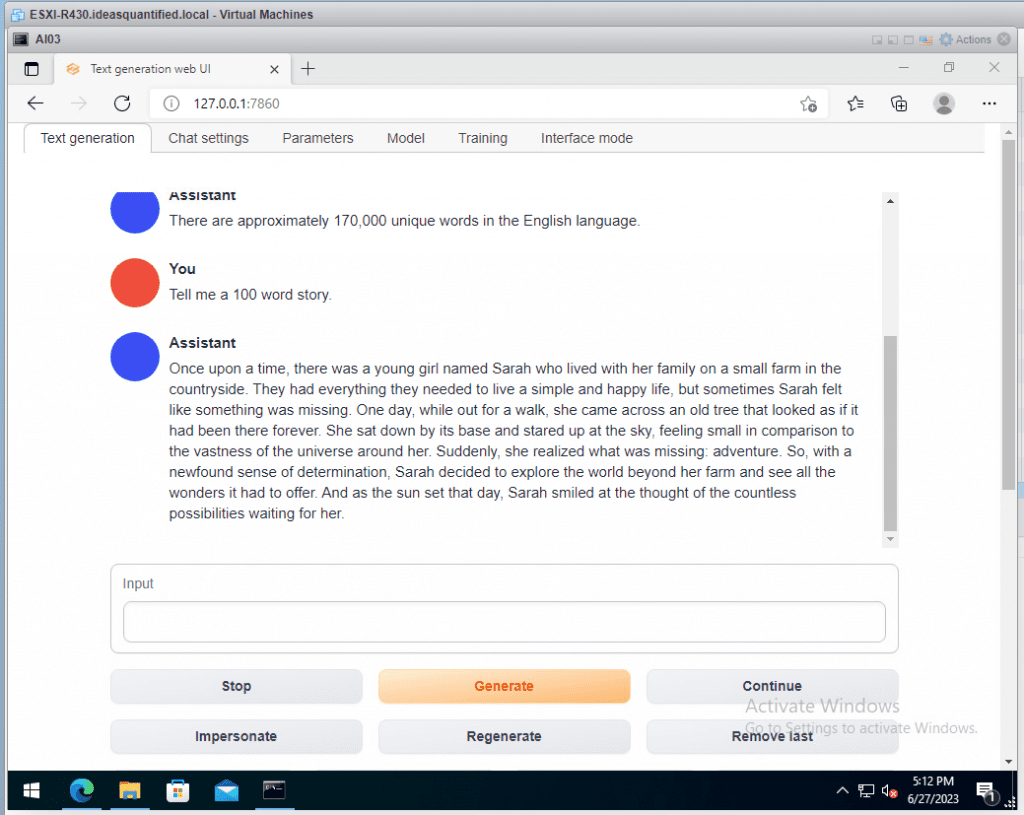
Let’s see if it can do storytelling.
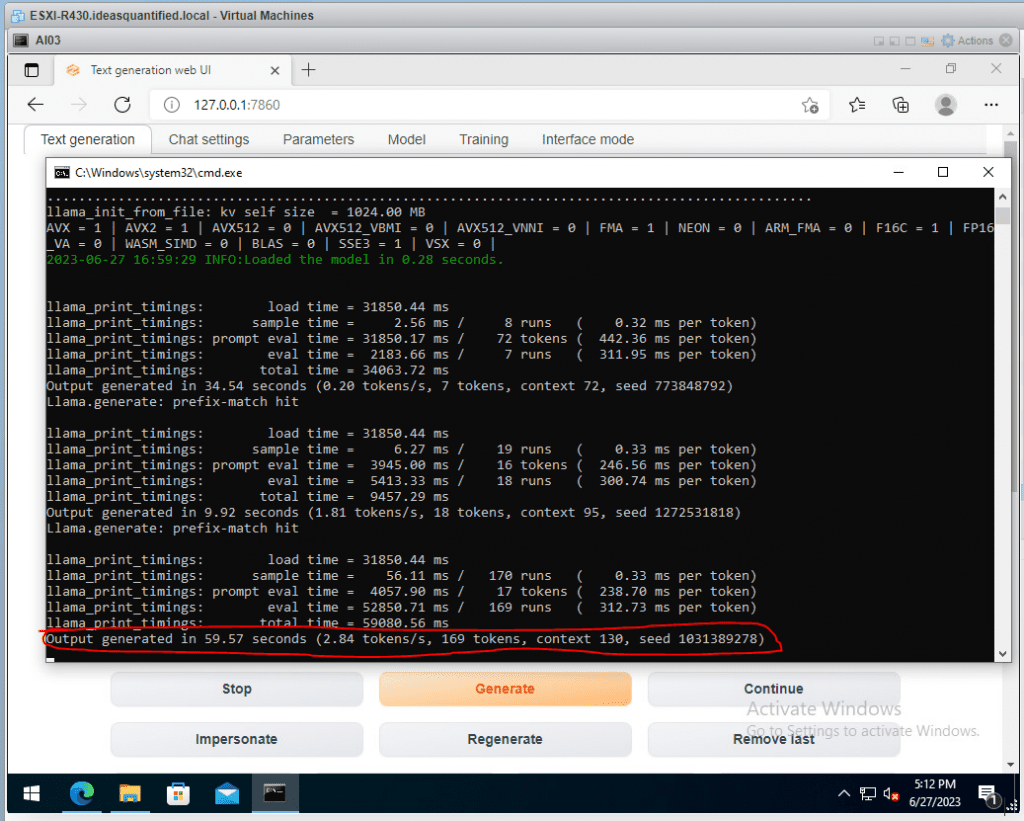
Checking our speed and it has increased a little bit more.
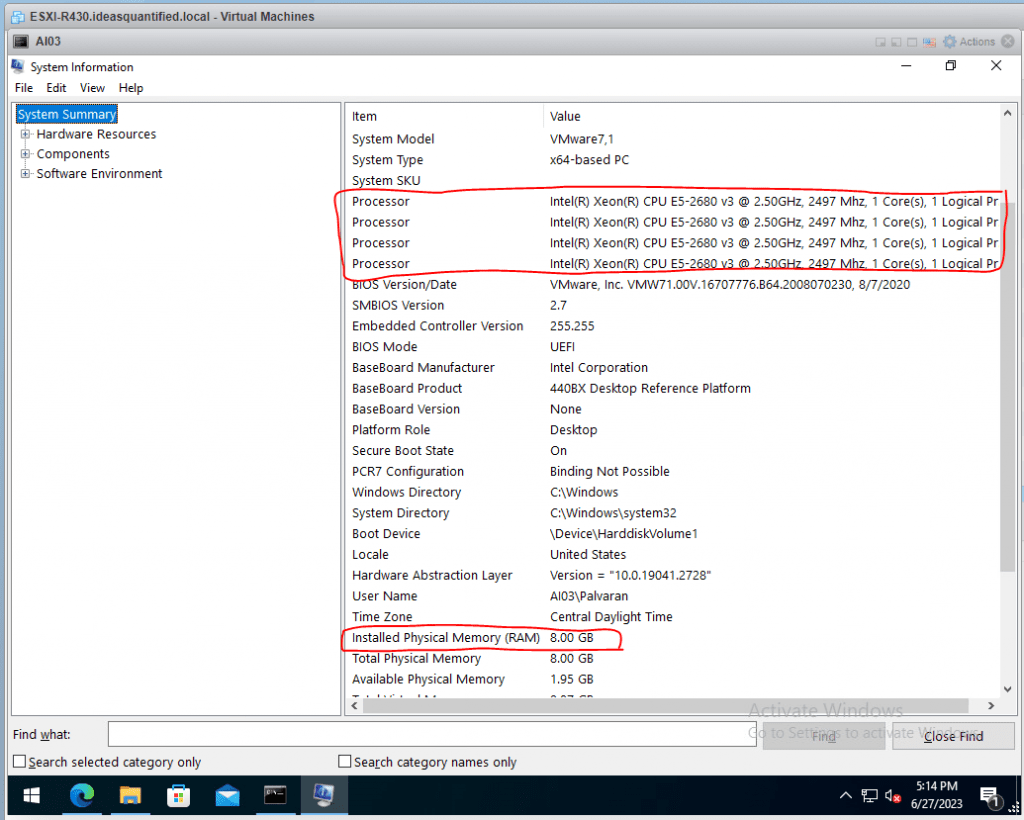
As a reminder, this was all done on a fairly low power system having 4 processors and 8 GB of memory. Here are the specs of this VM.
Benchmarks:
We did it. It is all setup, but how can we tweak this for better performance? Well, some of that will be trial and error on your part, but let me show you some of the testing I did. These benchmarks were using the 13B and 7B GGML model as well as a 7B GPTQ model for comparison. Essentially, that means you can run your own AI without needing to have a video card. It just means the chat interaction will be s-ll-ooo-wwww-eeeee-rrrrrr.
Also, I redid the initial 7B VM with different configurations to show how altering the processor and memory changes the speed. Additionally, I added a bigger model, 13B, to stress the system more.
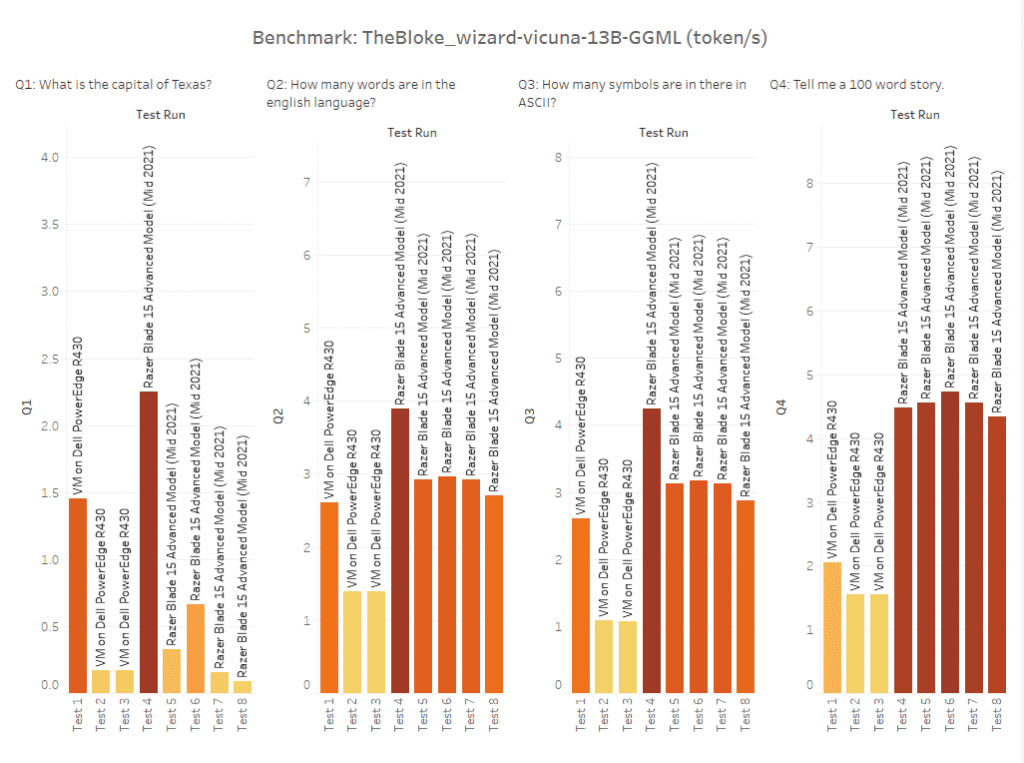
I whipped this up in Tableau, but what you are seeing are 8 test runs. For each test run I asked 4 questions.
- Q1: What is the capital of texas?
- Q2: How many words are in the english language?
- Q3: How many symbols are in there in ASCII?
- Q4: Tell me a 100 word story.
Note, I was not trying to test the capabilities of the model as that is understood already and can be seen here. Instead, I was trying to compare how the model changes based on hardware modifications and software tweaks.
The first 3 are on a VM running on a Dell PowerEdge R430. The last 5 are running on a laptop that had a GPU with 8 GB of VRAM. I asked 4 different questions to get an overall sense of tokens per second. As a rough estimate, 3 tokens are equal to 4 characters. This translates to tokens being 75% of the size of characters.
Before modifying the software settings (threads, n_batch, n-gpu-layers, and n_ctx), I wanted to see how altering the processors and memory affected performance. To do this, I used a VM and dynamically re-allocated resources for each test.

As you can see, the VM is a using an Intel Xeon E5-2680v3 processor and various amounts of processors or memory. Every test used a local SSD. In this case, what we can see is that the highest possible tokens per second is approximately 2 tokens per second when configured to use 8 processors and 64 GB of memory. Note, when running Windows and checking task manager, python won’t use more than 55% of the processor time. I tried to reduce the processors by half to force it to use more time, but Windows always puts a limit it seems.

Our tokens per second are not great, but it is technically workable. Keep in mind, this is using the 13B, as in billion, parameter large language model. In testing, the 7B runs entirely within the memory of a video card that has 8GB of memory when using 4 bit quantization. This means it is substantially faster and we will cover that, but let’s continue with 13B testing.

In this scenario, the numbers improved substantially. The Razer Blade 15 Advanced Model uses an i7-11800H processor as well as an NVIDIA RTX 3070. Surprisingly, the GPU was actually not used for some of the tests. If you are wondering why, it is because this model is GGML rather than GPTQ. GGML is essentially used to run the code with just the processor while GPTQ is used to run the code via the GPU. GGML does offer the ability to offload threads to the GPU which I did try (see n-gpu-layers in the spreadsheet above), but I did not notice a significant change.
Surprisingly, the best overall score was Test Run 4. In it, it used the default settings and was fastest in 3 out of 4 tests.
Ok, so what if you have a videocard and want to run it in your GPU memory ala GPTQ? Simply download and choose another model from the leaderboard and away you go. As a comparison, I used TheBloke_WizardLM-7B-V1.0-Uncensored-GPTQ on the Razer Blade. This model scored high compared to other 7B models.
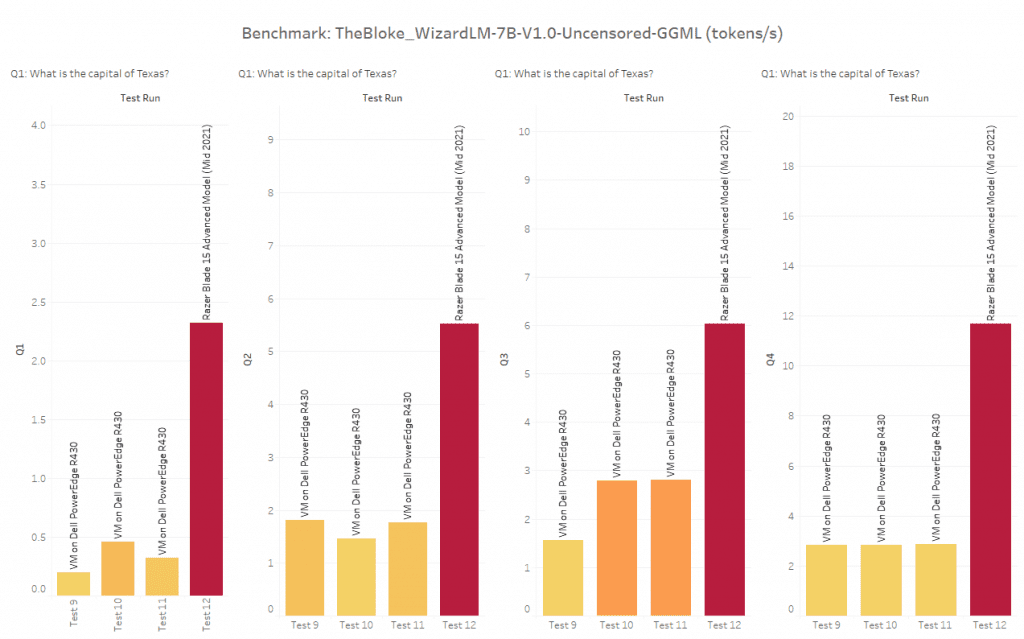
In this chart, we have the 7B GGML testing we did on the VMware server as well as a GPTQ (loading the entire dataset into the GPU memory). As you can see, the Razer Blade with a GPU is magnitudes of order more powerful than a server without a GPU.
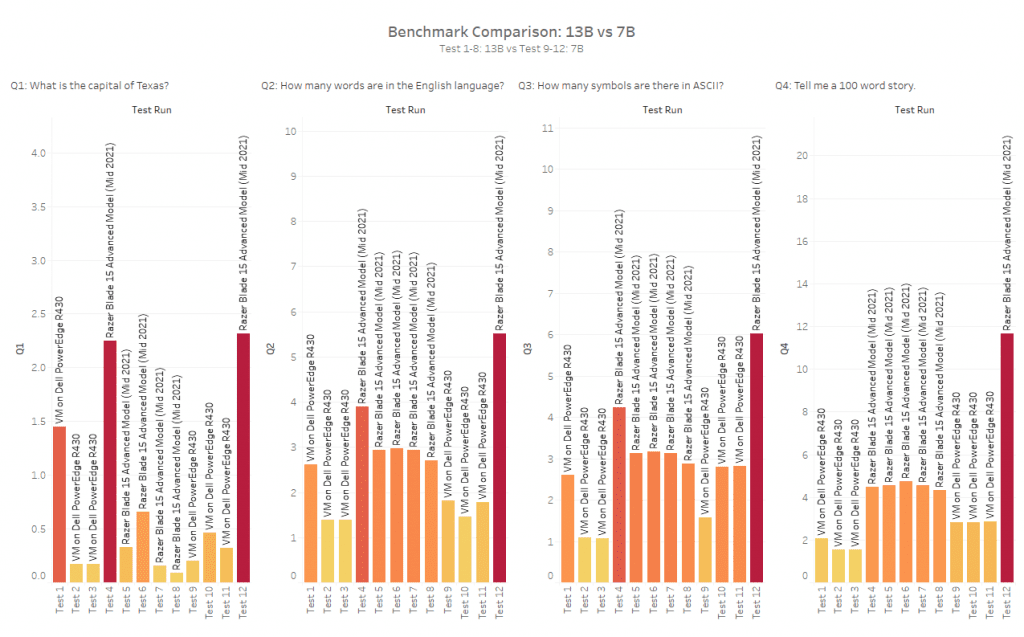
In this graph, we can compare both the 13B and 7B models at the same time. Overall though, the 7B model is consistently higher regarding tokens per second compared to the 13B and that’s the rub. 7B is faster, but not as accurate. You have to figure out for yourself, what the sweet spot is between speed and accuracy because there is always a cost. Everything has its price.
Closing Thoughts:
So that’s it. That is the why, what, and how of setting up your own local AI. Building your own AI chatbot is relatively easy and you can get halfway decent performance with 4 processors and 8 GB of memory, but to get great performance with even higher accuracy has a cost. If you value privacy or want to develop ideas securely then there is currently no better option than that.