With so much focus on ChatGPT, Bard, and other Language Models, I wanted to bring to light a useful tool that is not as heavily advertised, Text to Image Generation.
- What is Text to Image Generation?
- Why do I need Text to Image Generation?
- How do I setup Text to Image Generation?
- How do I use Text to Image Generation?
- Bonus Round (With Video)
- Closing Thoughts
What is Text to Image Generation?
You are probably familiar with Dall-E, the program from OpenAI that was the precursor to ChatGPT. It was one of the first more mainstream Text to Image Generators using natural language. Being in the beta program, it was my first experience with OpenAI as a company.
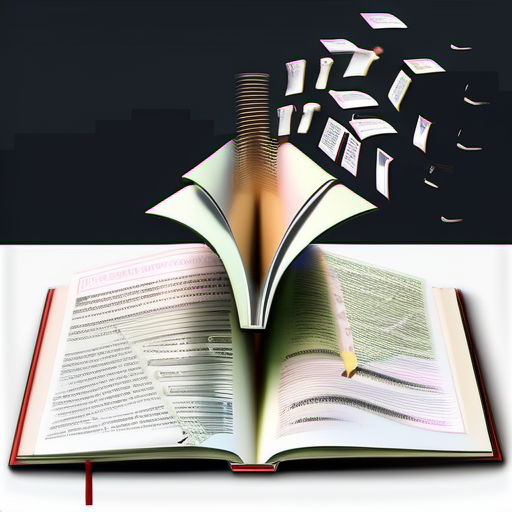
Simply put, Text to Image Generation is the process of taking words (which represent ideas and descriptions) and are then run through an image creation process.
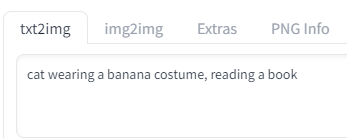
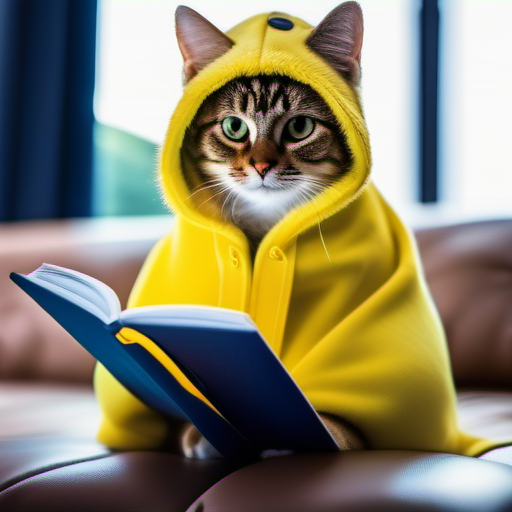
Here is an example.
Abracadabra, here is the result.

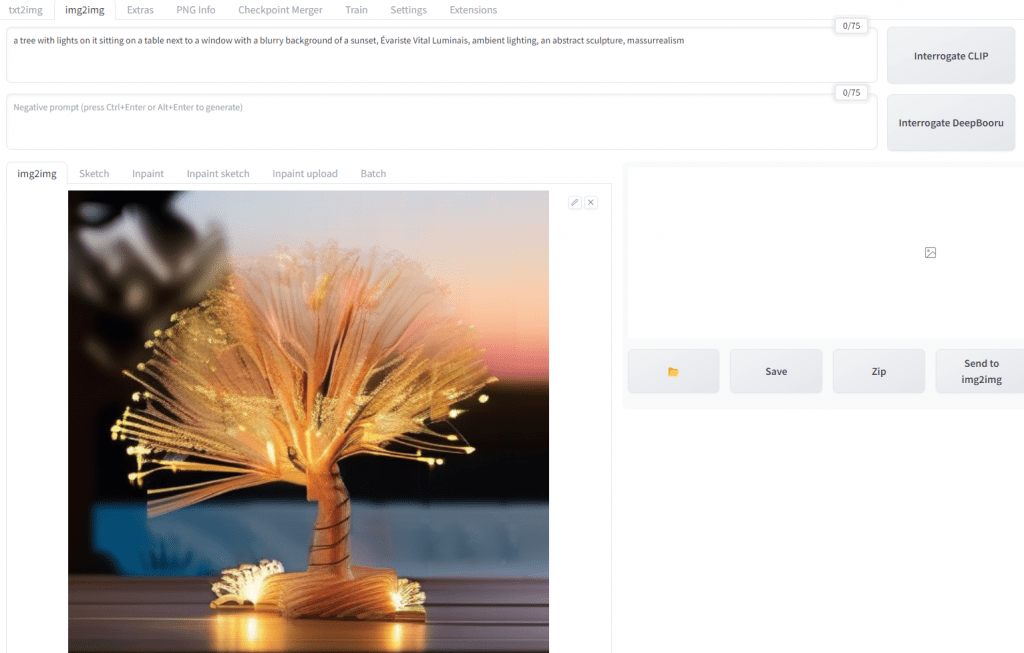
Similar to how LLMs such as ChatGPT work, which use advanced autocomplete to predict the next word, Image Generating AIs will take that stream of words and convert that into images. In fact, if you want to better understand how the Image Generating AI works, let’s ask it what it sees. We can do that using Interrogate CLIP.
Here is another example of Interrogate CLIP. I uploaded a picture of Iron Man and asked the AI to tell me what it sees.
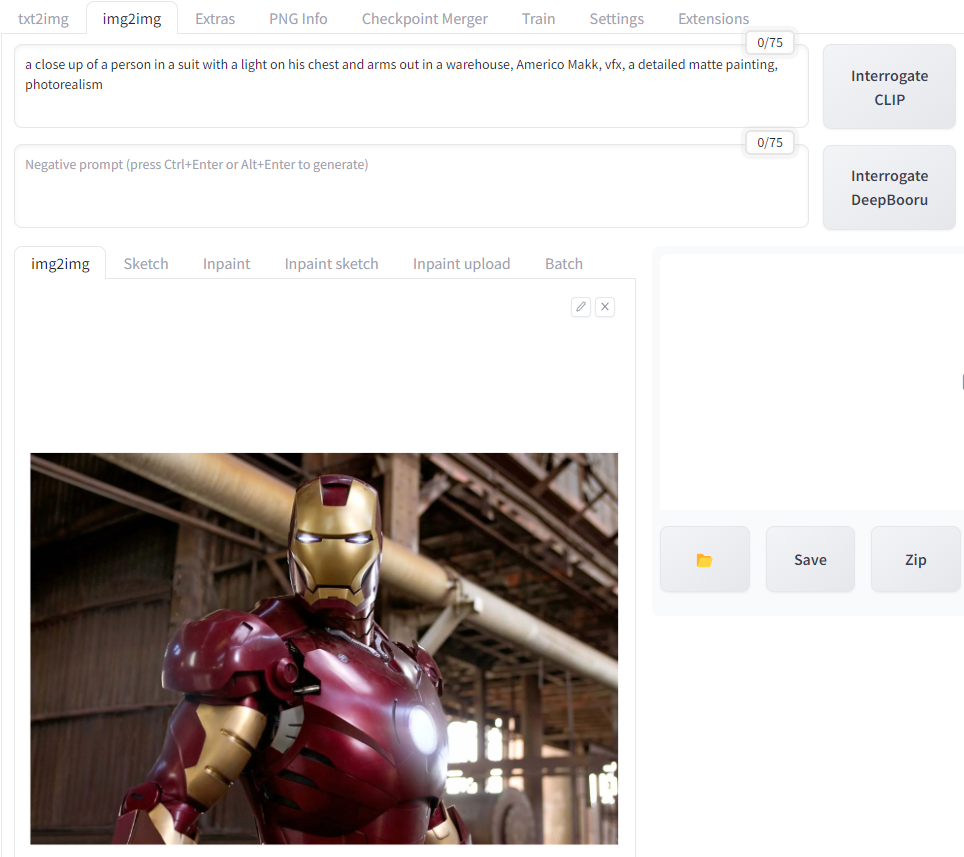
In this case, it does not see Tony Stark or Iron Man. Instead, it sees elements of the photo such as the light on the chest, the warehouse background, and the style which is photorealistic.
This brings up a thought. Conversations are about expressing and sharing ideas to others. By breaking down images into the elements that compose then, we can more effectively converse about what we are trying to discuss in a more detailed manner or even brainstorm to refine those ideas further.
Why do I need Text to Image Generation?
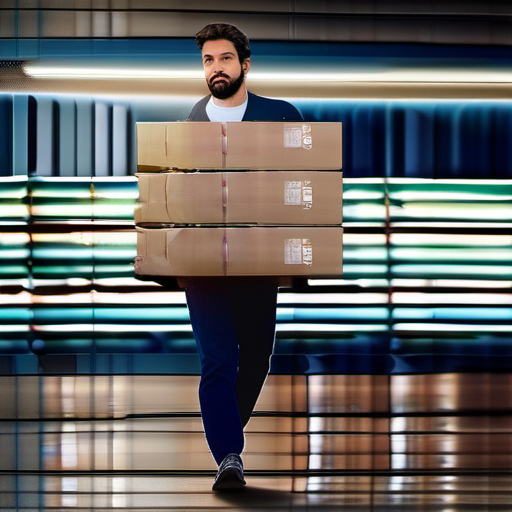
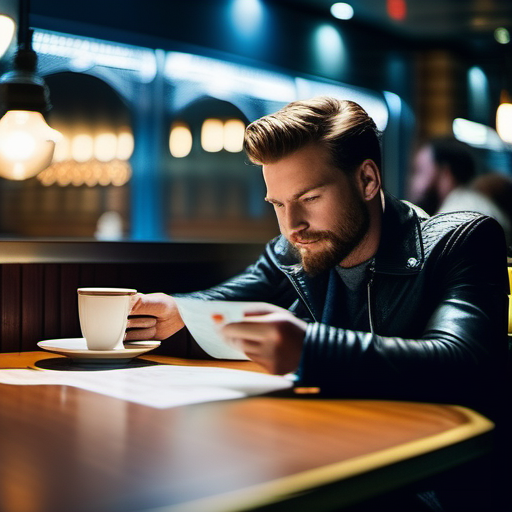
While there are many uses I can see the potential for so many different avenues. I myself use it for every article that I write as the cover photo, including this one, so that it is unique and copyright free. However, here are a few use cases.
Want to generate copyright free images that you can use for your presentation? You got it.
Having a mental roadblock about what a scene looks like for your latest novel and want to visualize it? No problem.
How about trying to tickle your funny bone to get that creative spark going? Just combine some random words and see what happens!
As with Chatbots such as ChatGPT, there is an amazing amount of potential. Considering many people are visual-centric learners, communicators, etc it makes sense to have a way to translate those thoughts into a visual medium. I know that I myself am pretty visual which is why I use Pinterest as a Visual Bookmark website, basically grouping icons by theme or idea that then link directly to the website. However, because there is an image to see it is easier and faster to get to the correct information that I wanted to access.
How do I setup Text to Image Generation?
There are a few things we will need: Python, GIT, webui, and the model. We will take it one step at a time.
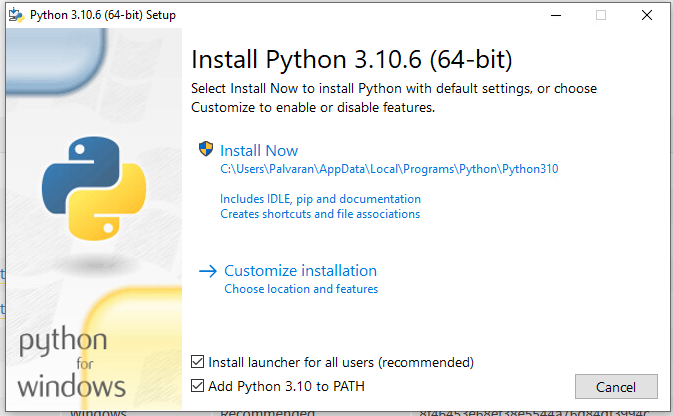
First, you will need to download a very common and versatile programming language, Python. Specifically, we need version 3.10.6. Higher versions are not fully compatible and have been reported as causing some abnormalities. You can download the specific installer on this page. If you are using Windows 64 bit, just choose Windows installer (64-bit).
Once you download it, go ahead and run it. Make sure to checkmark the “Add Python 3.10 to PATH”. That way you can run Python commands from any directory. Then click, “Install Now”.
Next, we need to make sure GIT is installed. GIT is an open source program that will download files from GitHub or other locations that we need to prep to make the magic happen. You can download the latest installer on this page. Once you download the latest installer you can run it.
Finally, we are ready to get Stable Diffusion as our engine for Text to Images. Stable Diffusion is one of the leaders in this space. The best part though is that they are open source, i.e free.
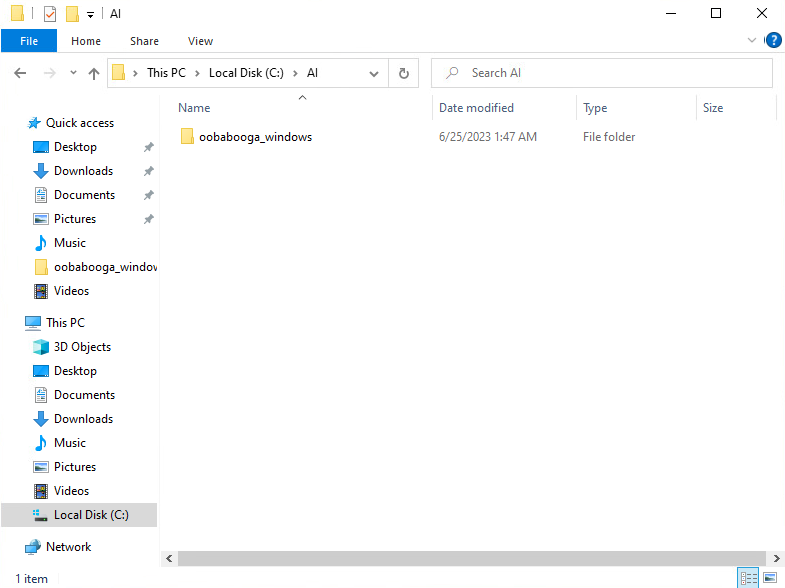
Start by creating a directory for your AI engine. In my case, I have C:\AI, but just choose something that is easy to navigate to and organize in case you want other AI tools such as Ooobabooga to use for LLMs or AutoGPT.
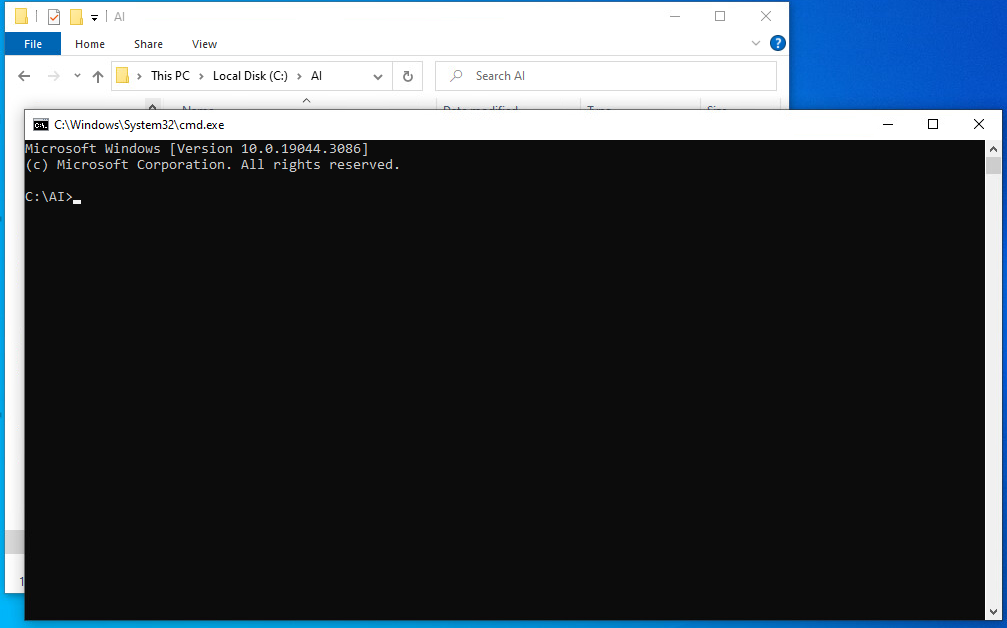
Once you create the directory and can see where you want to put the files, type CMD in the address bar and hit enter.
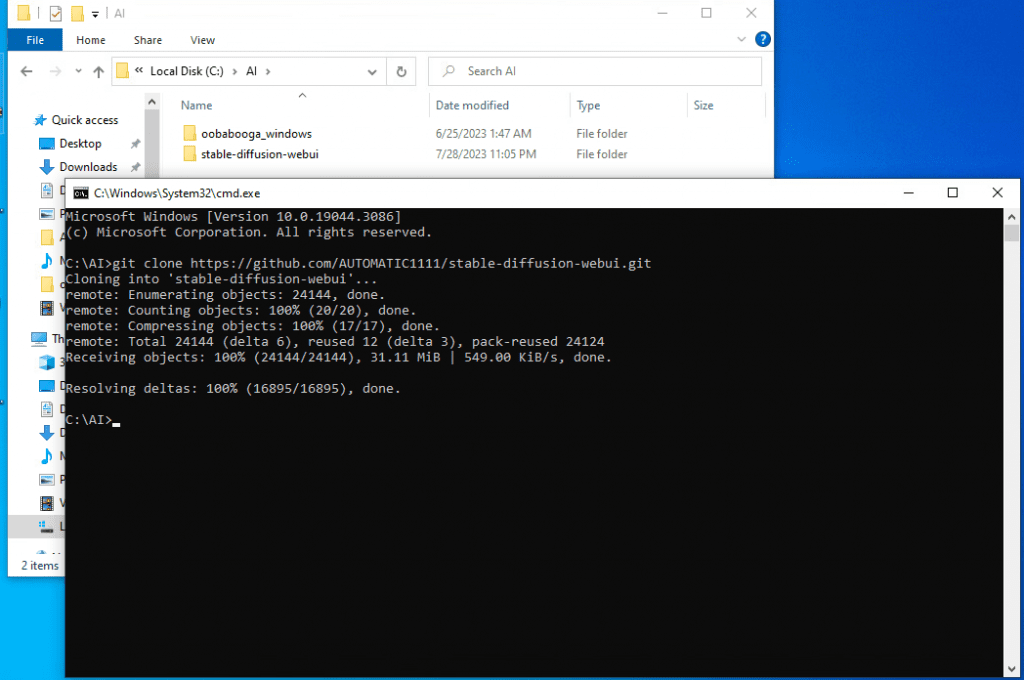
Type “git clone https://github/com/AUTOMATIC1111/stable-diffusion-webui.git”.
After a few minutes you should finish downloading the files and have a new folder inside File Explorer.
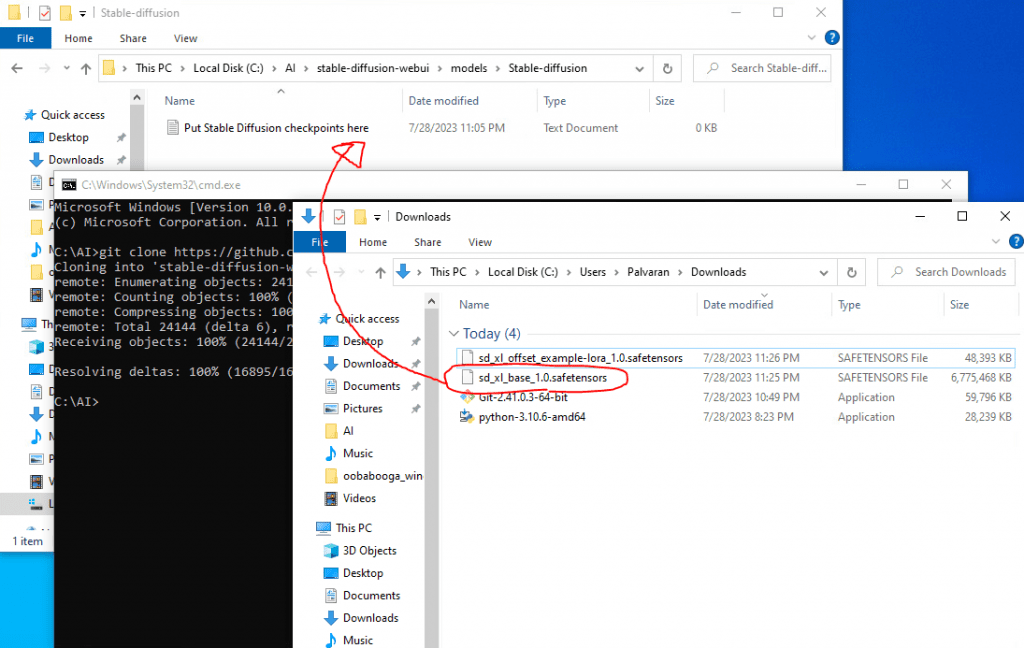
The last part of our recipe we will need is the model. As a reminder, models are the training data for the AI program so that it understands and has a reference for how to accomplish what you ask it. There are many, many models available, but for the purposes of this article we are going to focus on the latest one from Stable Diffusion, SDXL 1.0 which is a replacement for SD 1.5. One of the many improvements of the SDXL 1.0 model compared to the SD 1.5 model is that it can do higher resolutions (1024×1024 vs 512×512).
To get the model, you can get it at Hugging Face by going to this page. All you need is the weighted model, sd_xl_base_1.0.safetensors, which is around 7 GB in size. You can also download the Lora which is a way to enhance the image that is created for even greater detail.
Once you download those files, you can place them in their correct locations. To start, you can cut the sd_xl_base_1.0.safetensors file and paste it in your stable-diffusion-webui\models\Stable-diffusion folder.
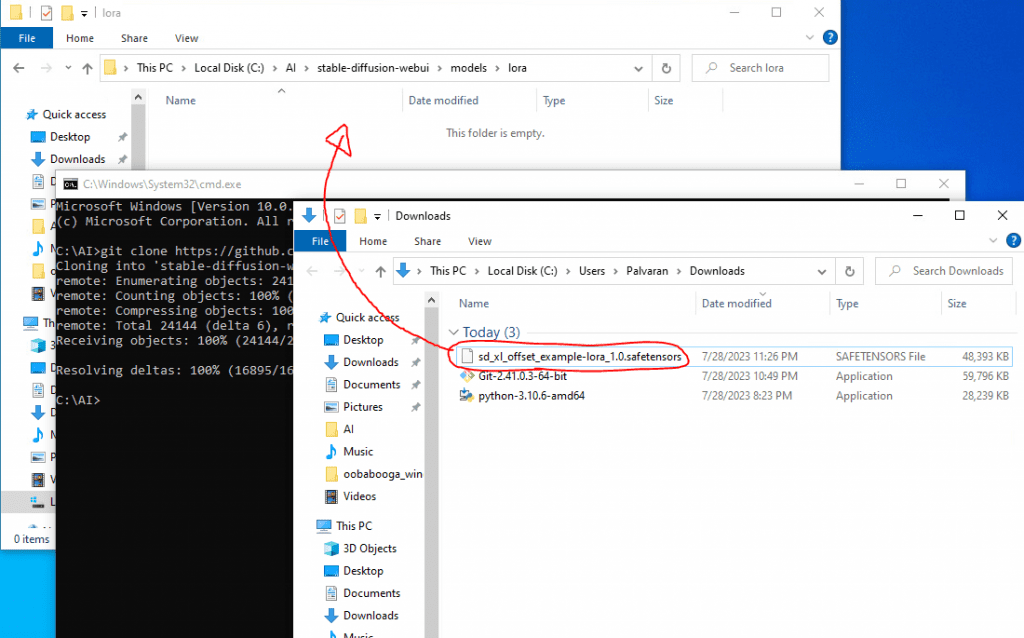
For the Lora, you might need to create a new directory called “lora” and place it inside the stable-diffusion-webui\models folder.

Now, just cut the lora model, sd_xl_offset_example-lora_1.0.safetensors, and paste it inside the stable-diffusion-webui\models\lora folder.
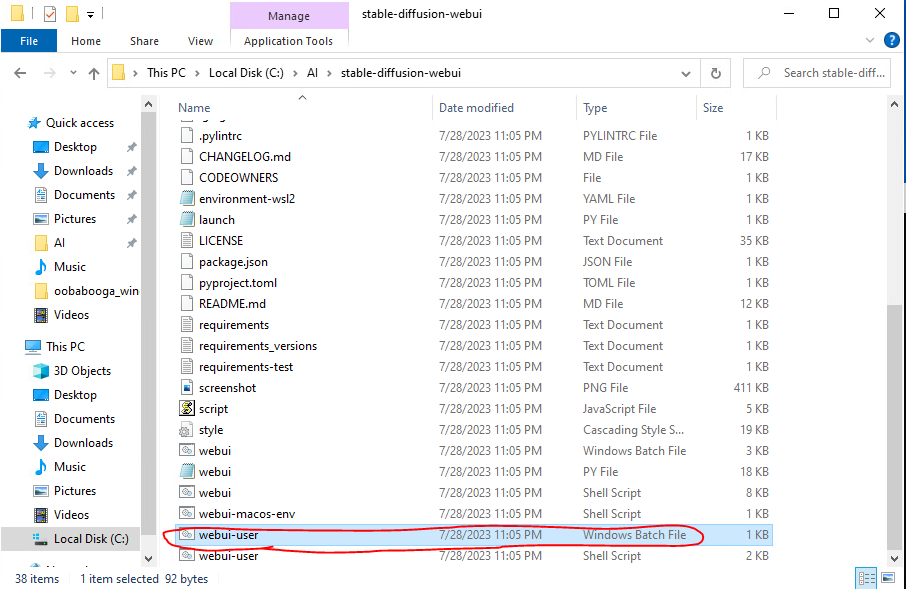
Lastly, let’s tweak the program to be a little faster and a little easier to use. To do that, navigate back to the stable-diffusion-webui folder and right click webui-user and choose edit. Note, you want to modify the Windows Batch File and NOT the Shell Script as that is for Linux computers.
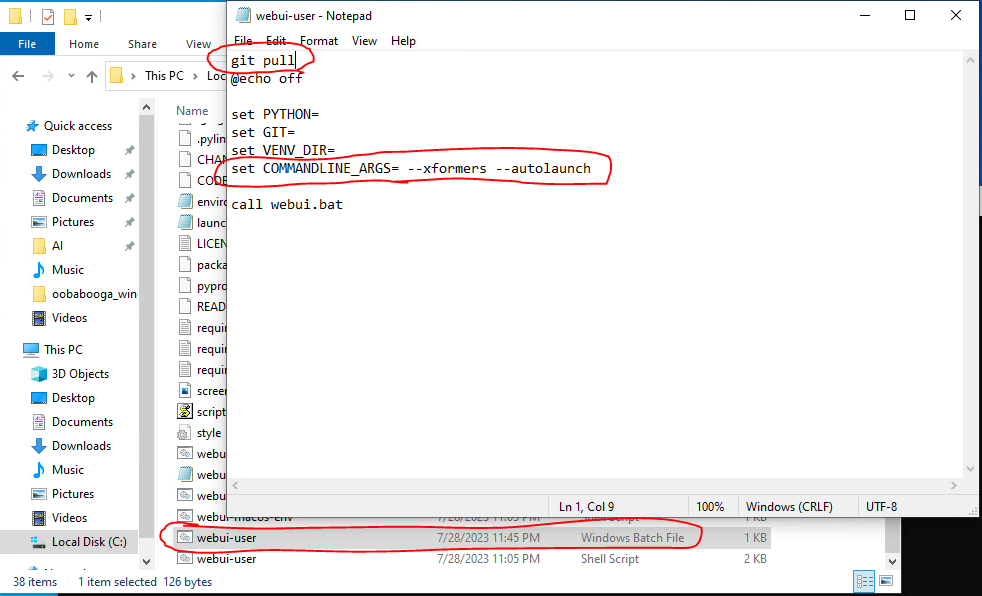
When you open it and edit it, I recommend the following options. First, add “git pull” to the top as that will check for the latest version of the stable-diffusion related files when you start it. Second, if you have an NVIDIA graphics card, modify the COMMANDLINE ARGS to have “–xformers” as it will speed up performance. Additionally, you can use the –autolaunch parameter so that it will open a browser window automatically to the Text to Image Generation webpage. Finally, Image Generation and AI in general is very memory hungry so if you get out of memory errors when generating images there are two other options you can use –med-vram and if that doesn’t work –low-vram.
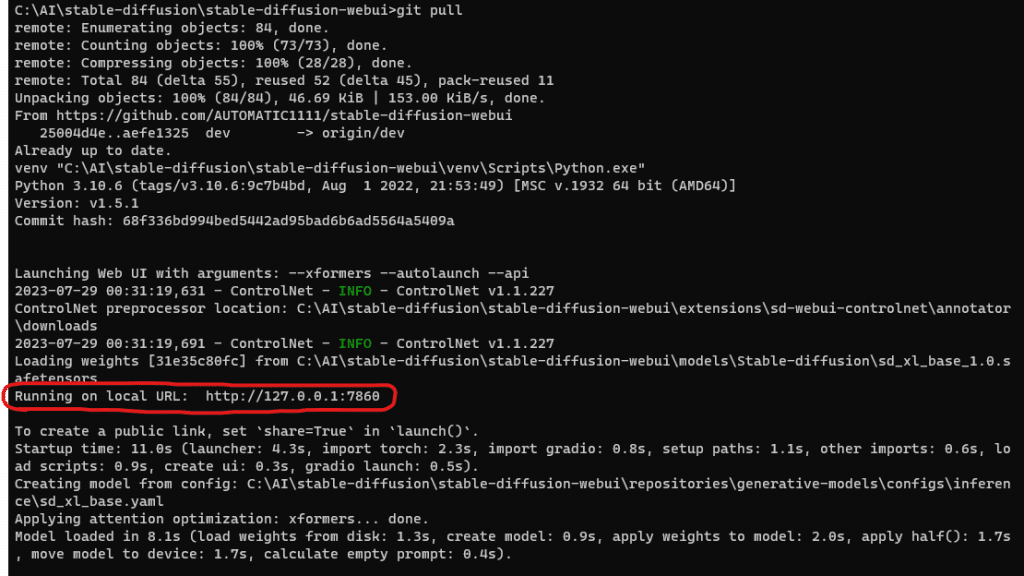
All of that done, now let’s fire it up and test that the program starts. To do that, just run the web-user.bat file we modified a moment ago.
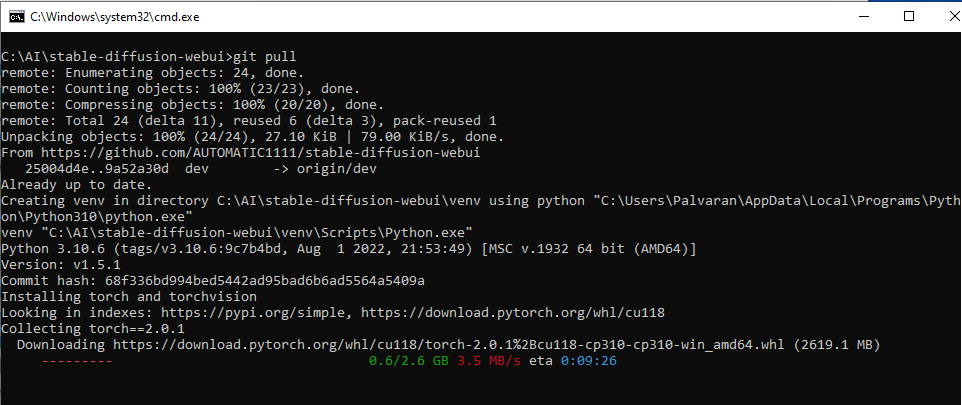
The first time you run the program it will try to download any additional or needed components. For example, if you set the –xformers parameter it will need PyTorch. Just let it run and check on it after the ETA.
Once it completes you will see it will show your URL that you can connect to, but it should also start your browser automatically and take you to the page too.
And that’s it. If you got to this part you should have a browser window open and ready to test.
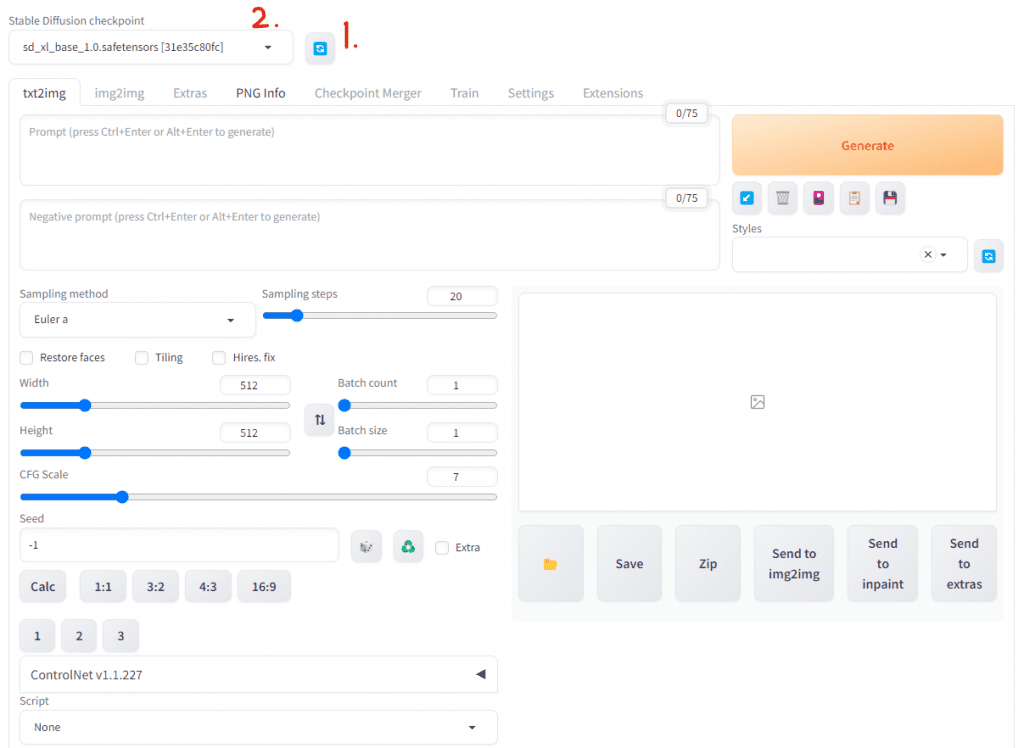
If your Stable Diffusion checkpoint is empty, hit the blue refresh icon to the right of it and then you can select your checkpoint.
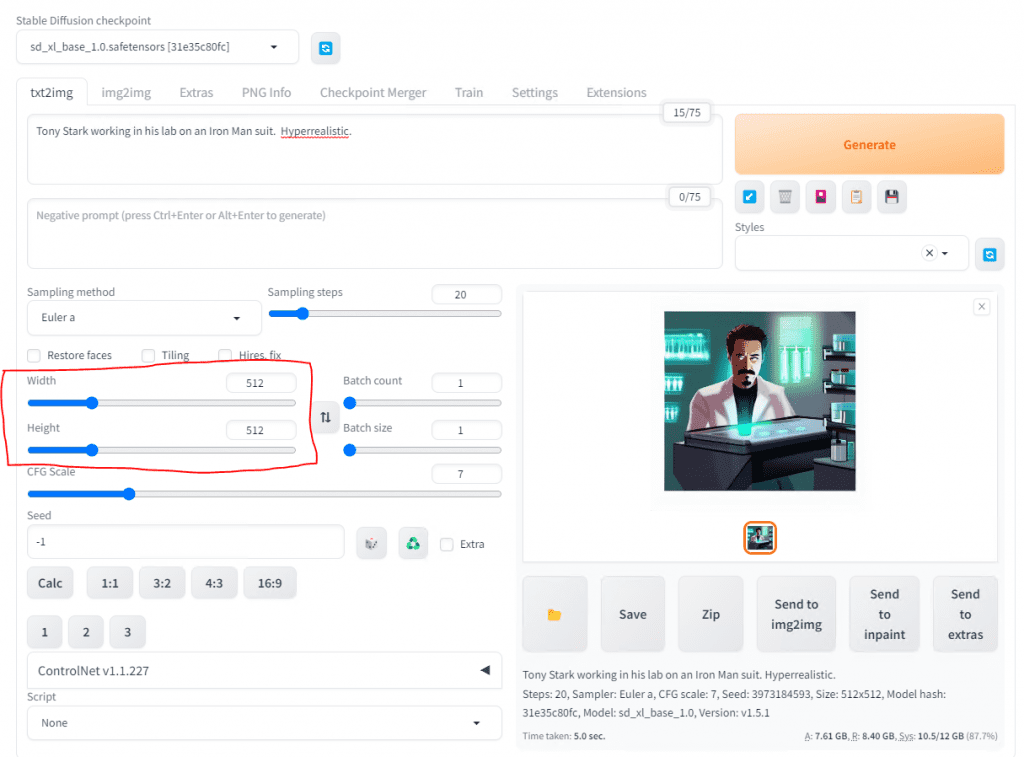
How do I use Text to Image Generation?
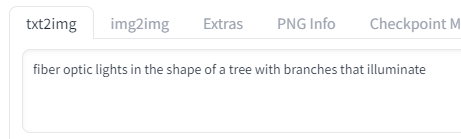
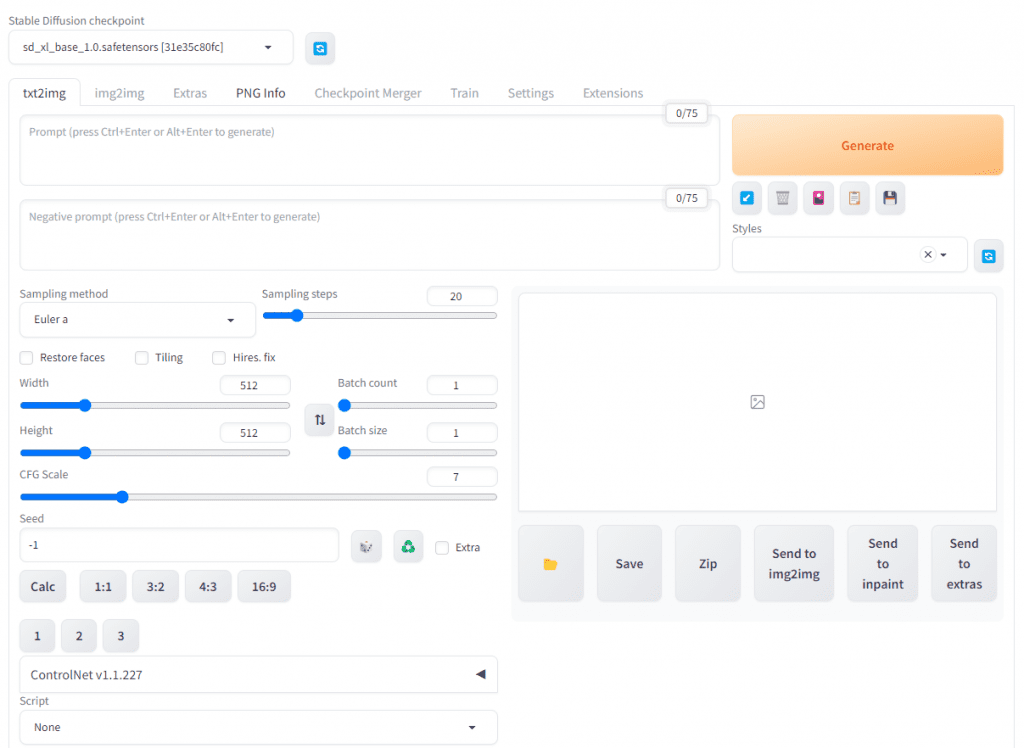
If you want to see it work just type something into the Positive prompt and hit Generate.

Now, let me explain some of the more notable functions.
Width and Height are the aspect ratio for the image that is generated. You can go up to 1024×1024 resolution with SDXL1 vs SD1.5 which was built for 512×512 resolution. Note, you can do different aspect ratios so you can do landscape at 1024×768 for example or a portrait at 768×1024.
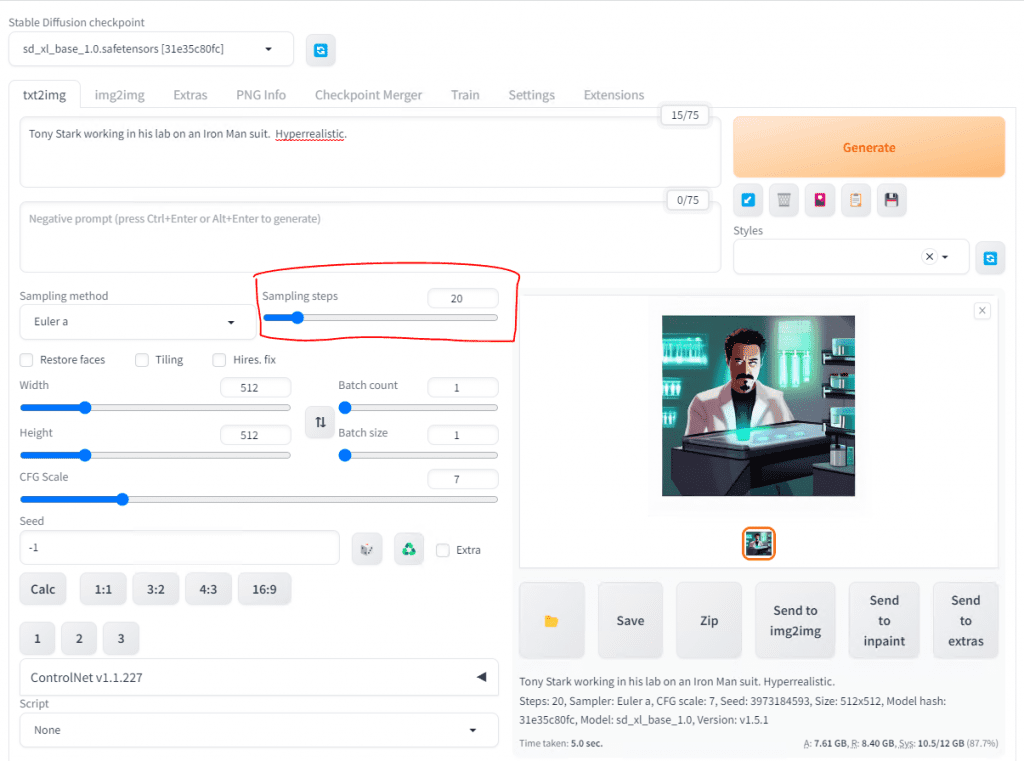
Sampling steps will help the image to be a little bit more detailed and cleaner. It is the number of passes that the image generation goes through.
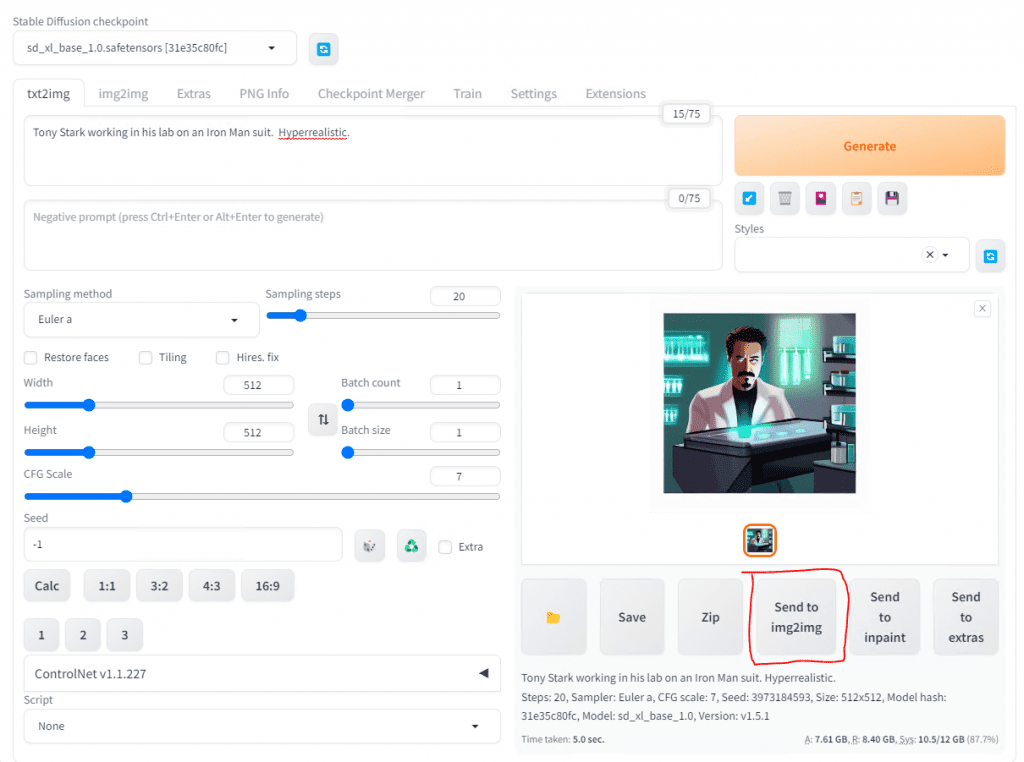
Send to img2img will allow you to refine the image further. We will go into that in a moment, but let’s first finish up this page.
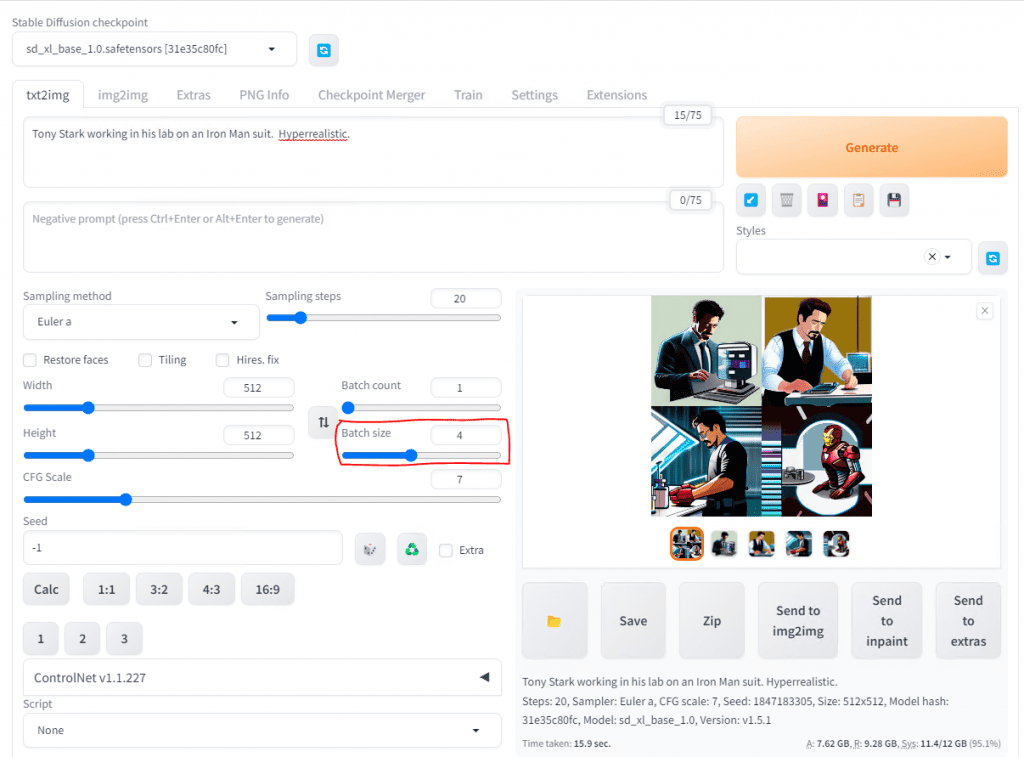
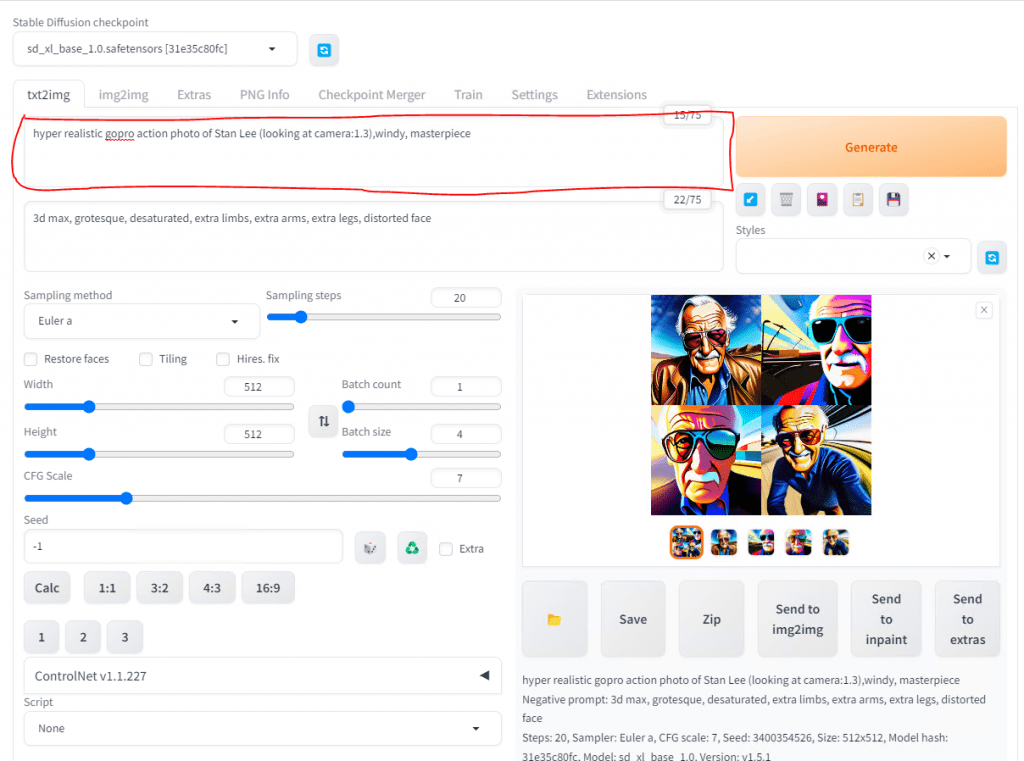
Instead of hitting Generate over and over, you can do a bigger order or rather a Batch size. This is an example of 4.
Another thing to consider to help refine your image is the idea of positive and negative prompts. Positive prompts are made up of things you want, but using words and descriptive elements. You can use adjective and styles to help that to be more accurate.
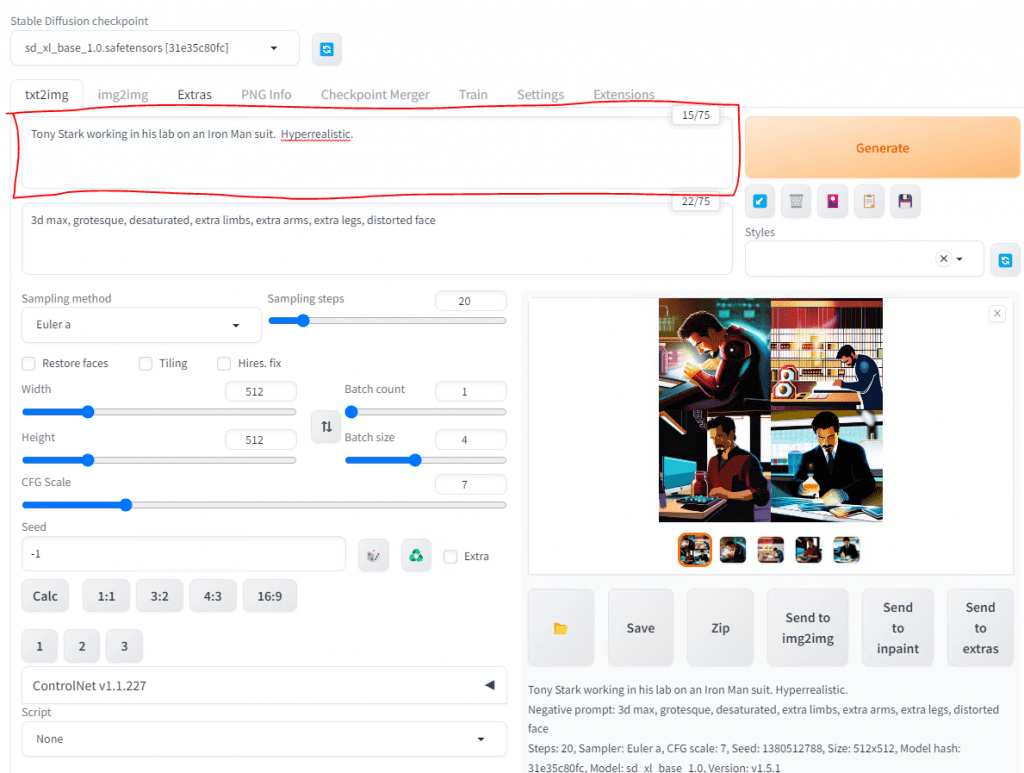
You can even use descriptions such as an art style or even note the position and type of camera or lens.
Negative prompts are things that you do not want. Remember when we did Interrogate and the AI told us what it saw? Well, during the sampling steps phase the AI will query the image as it is being built and it will remove the negative prompts or resample if necessary. Sometimes, AI can add extra limbs, fingers, or distort a face so I tend to add that to the Negative Prompt.
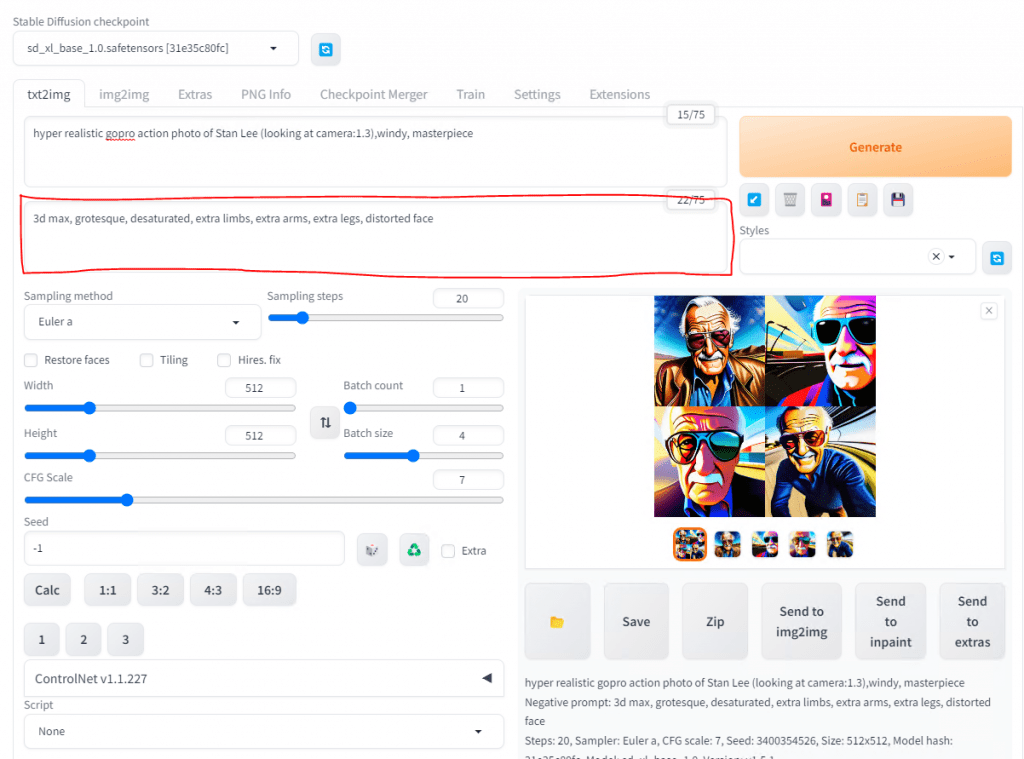
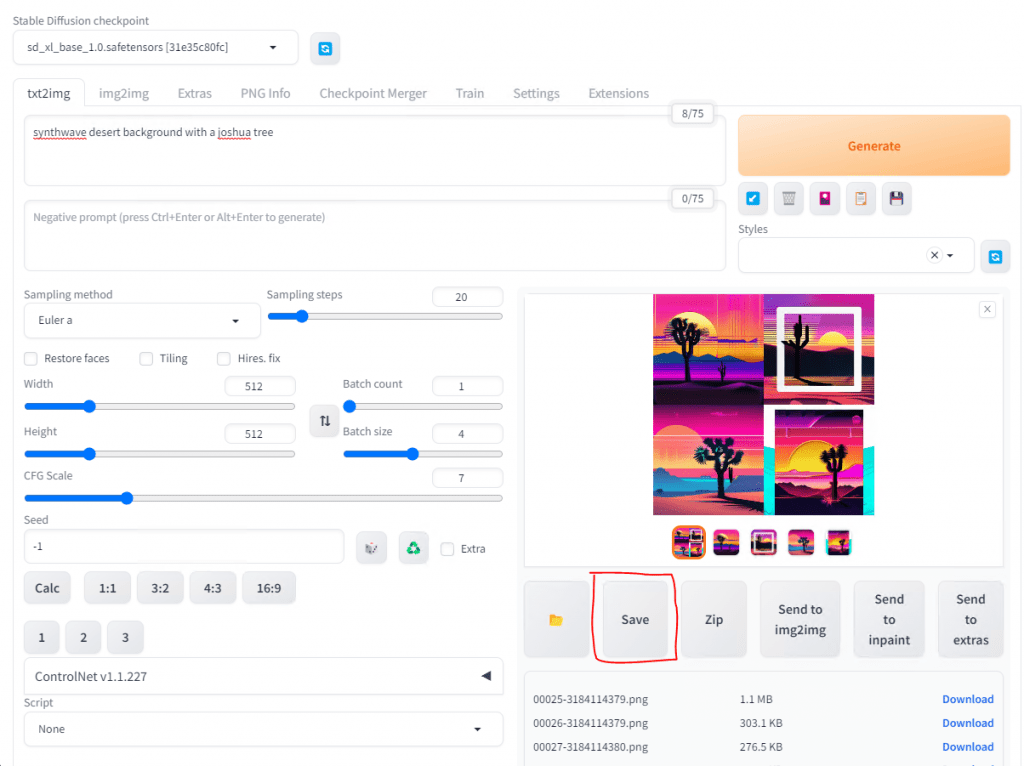
When you create an image you like, just hit Save.
So what is img2img? That is the feature that let’s you generate more images closer to the original one.
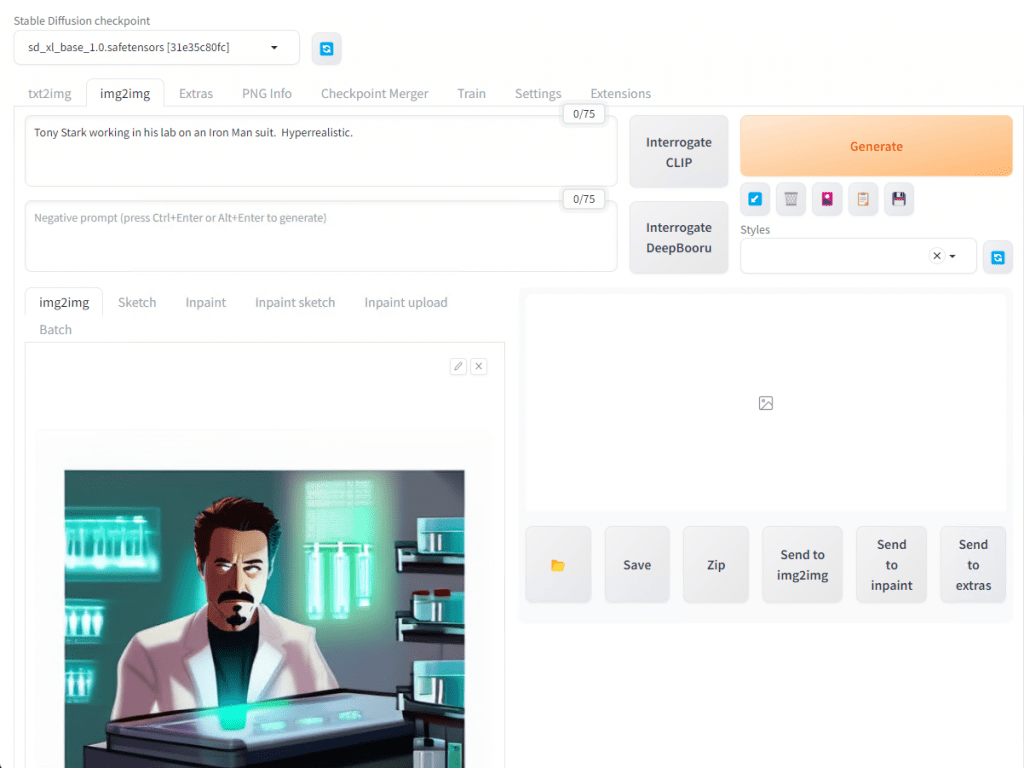
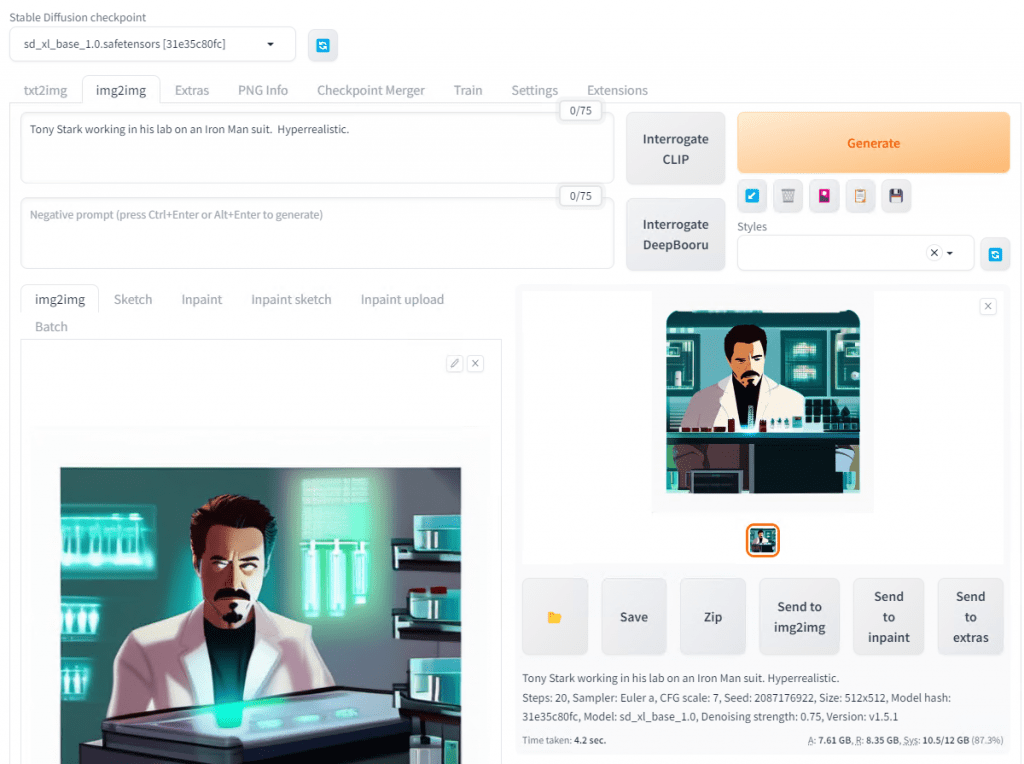
If you Generate another image on this screen, it will be similar.
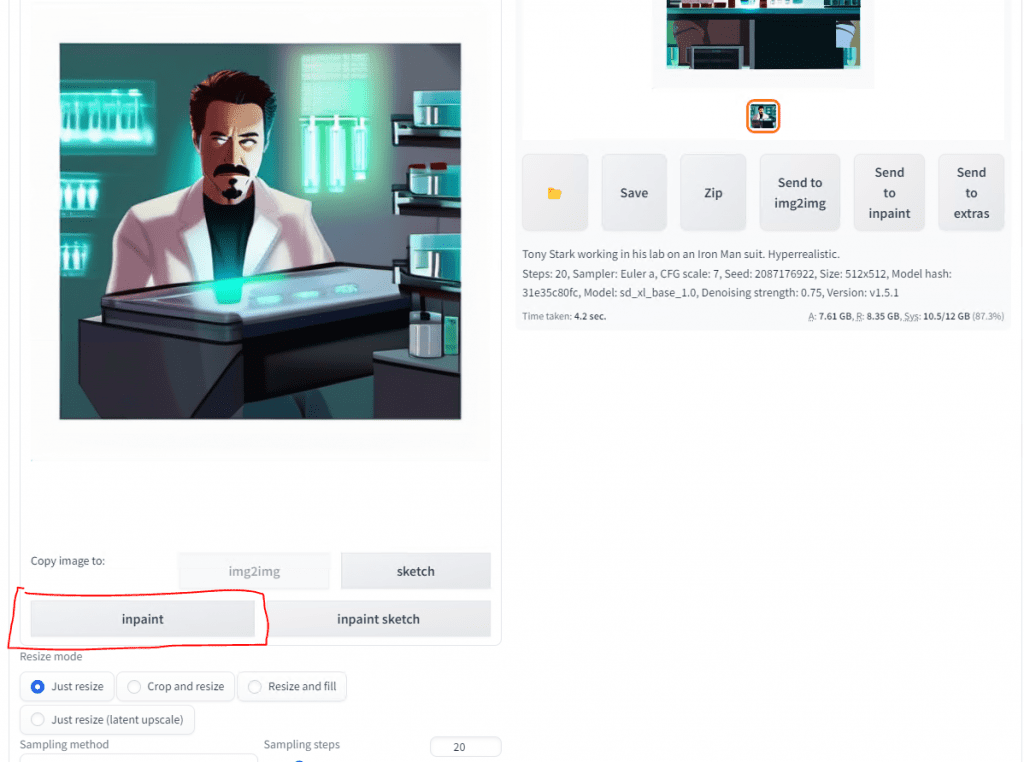
Let’s say we don’t like the eyes in the image so we want to add some cool shades that Tony would wear. How would we do that? The answer is Inpaint. Scroll down to hit it. Don’t use the button next to img2img.
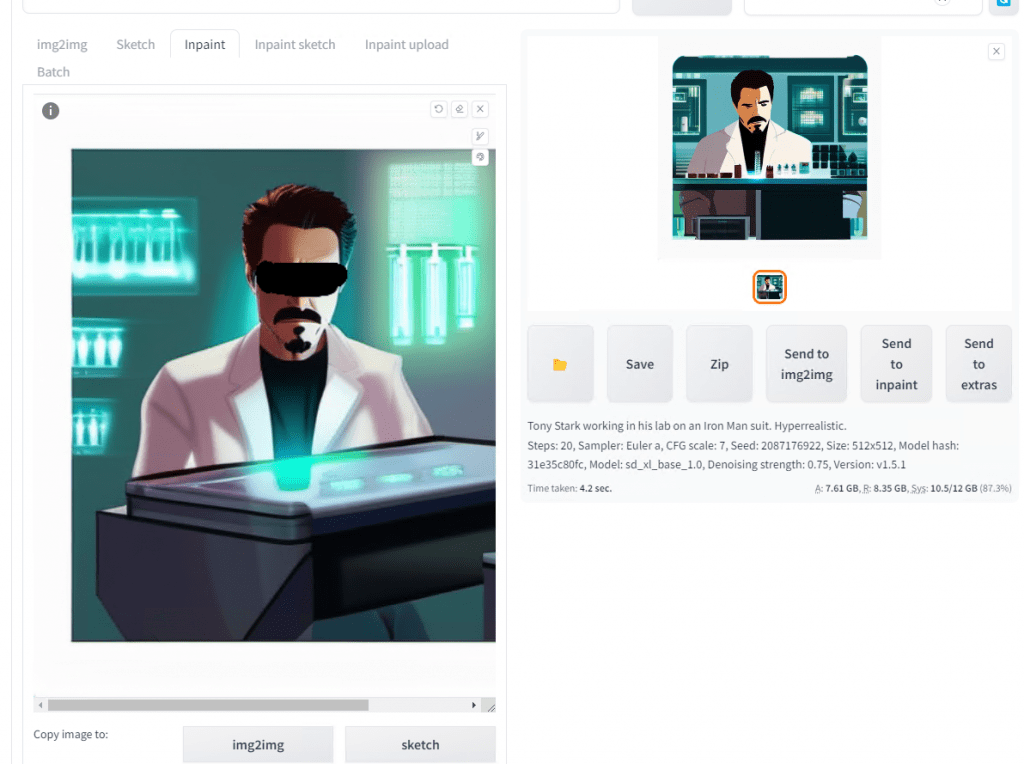
Now just color over the part you don’t like. We will use the text prompt to overwrite that. For shades let’s color over his eyes.
Next, make sure to scroll down and select fill. Also, change to Only masked. If you left it Whole picture the entire picture will be regenerated. We just want to regenerate the eye area.
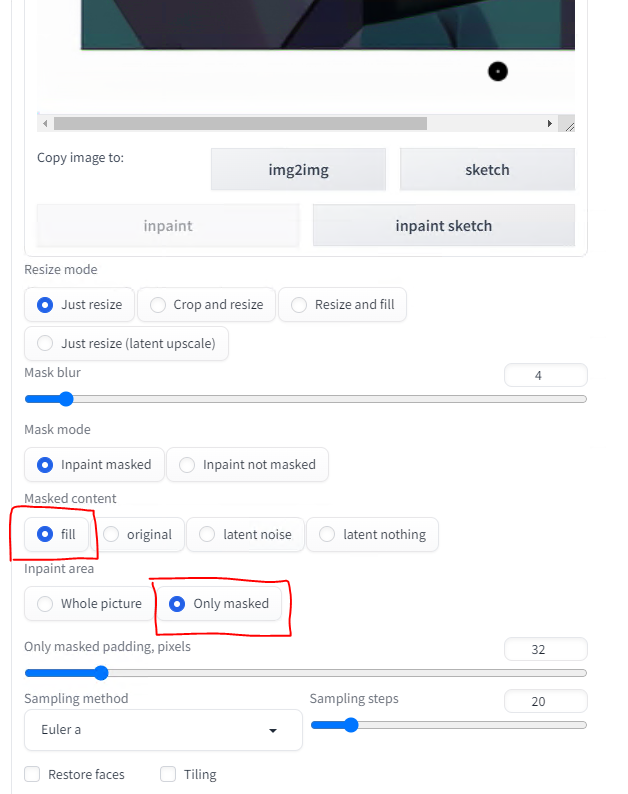
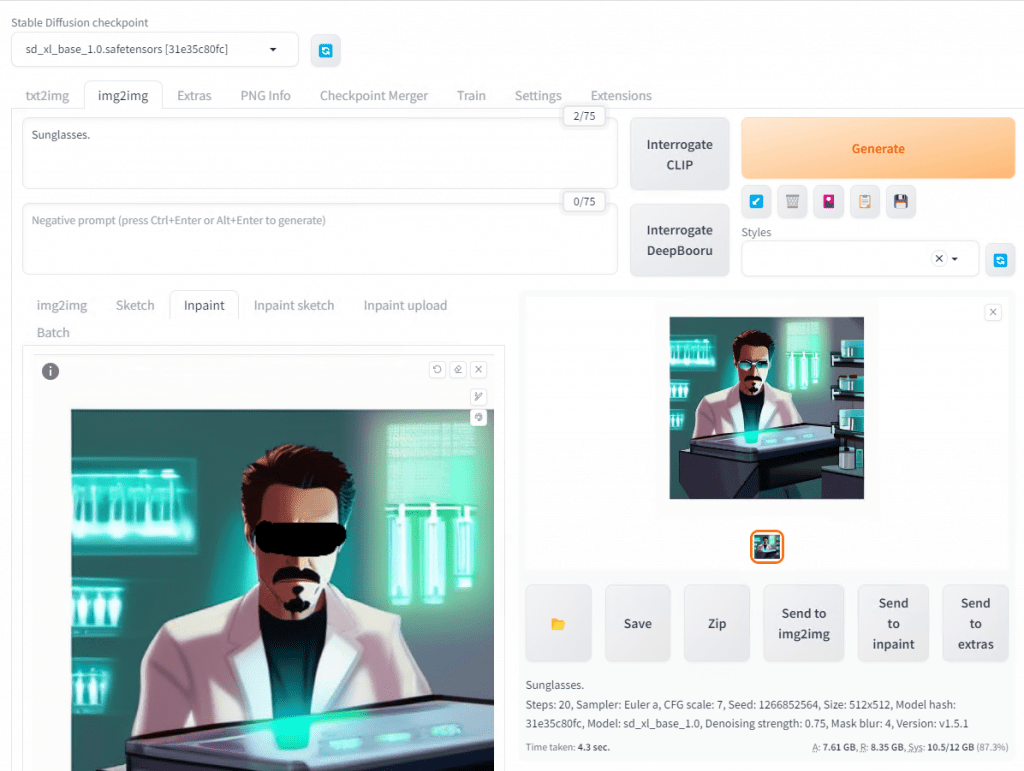
Now scroll back up and in the Positive prompt, type something like sunglasses and hit Generate.
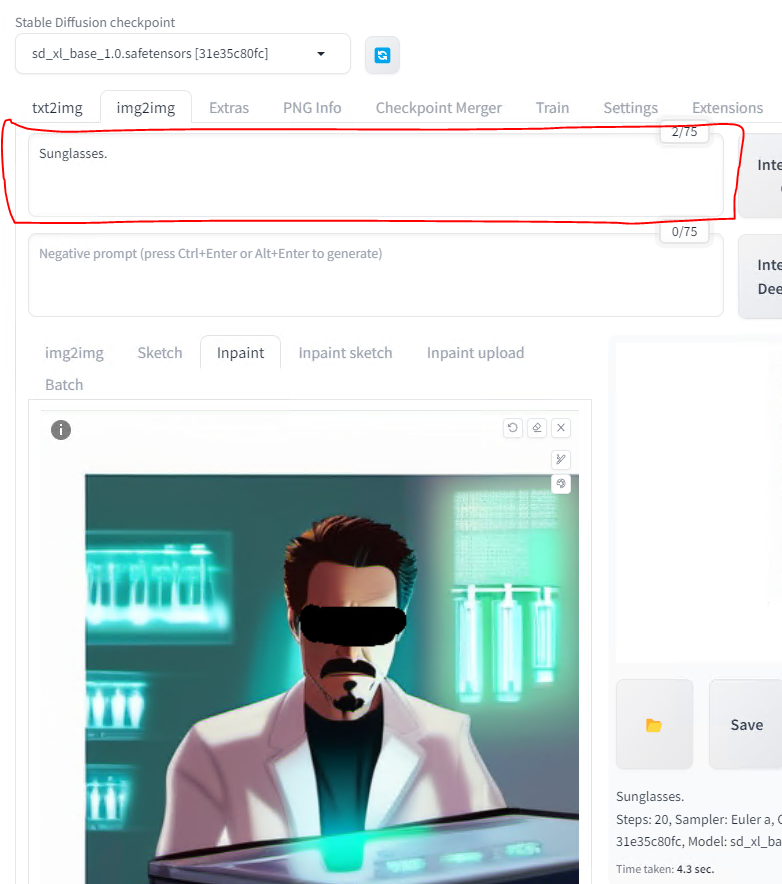
Presto Change-O, if you look to the right we have an image of a cool Tony Stark wearing some shades in the lab now. Nice.
There is a lot more you can do, but this should help get you started. There are more models to download, more loras to get, and more extensions to add. Gotta catch ’em all!
Bonus Round
If you followed my previous article on setting up your own local Chatbot, then you realize some of the potential already. Still, what if you could combine different AIs such as Stable Diffusion with a Chatbot such as LLaMa? Well guess what, you can.
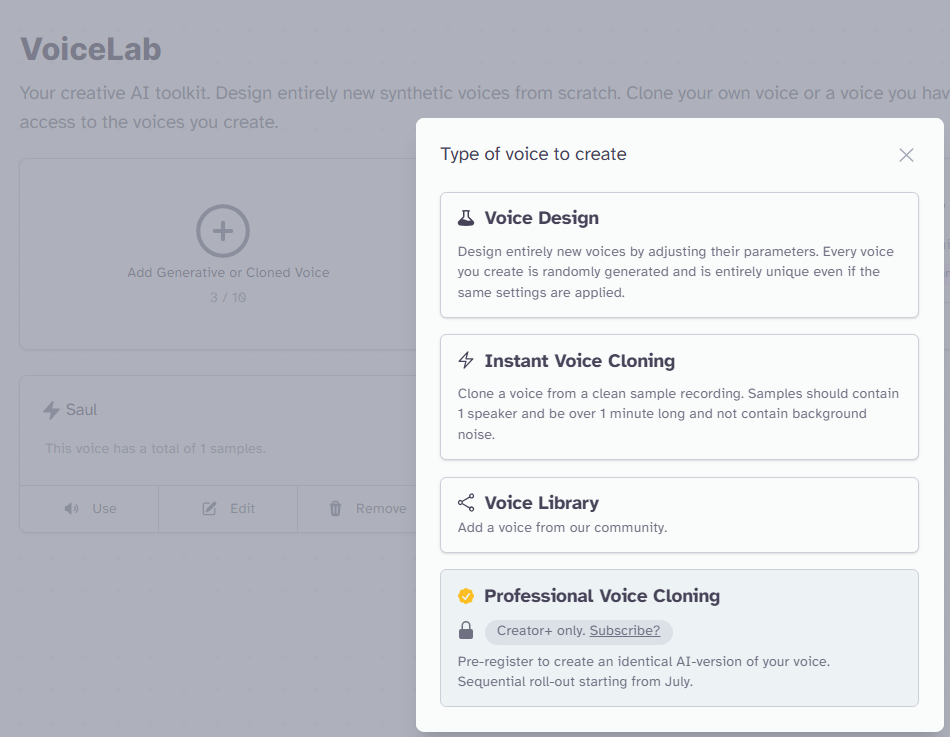
In this example, using APIs, I have connected Local LLaMa to both Stable Diffusion for picture generation as well as to ElevenLabs for generative voice AI.
To see what is possible, I took the video of the speech that Saul gave to the judge at the end of Better Call Saul and demultiplexed it so that it stripped out the video and left only the audio. I think edited it so that it only had Saul’s voice and finally fed that to ElevenLabs AI for Voice Training.
From there, it was pretty simple just linking the back using the API in the Text generation web UI. Whenever you see the play icon, that was his voice using the generated words.
Here is an example of some of my conversation.

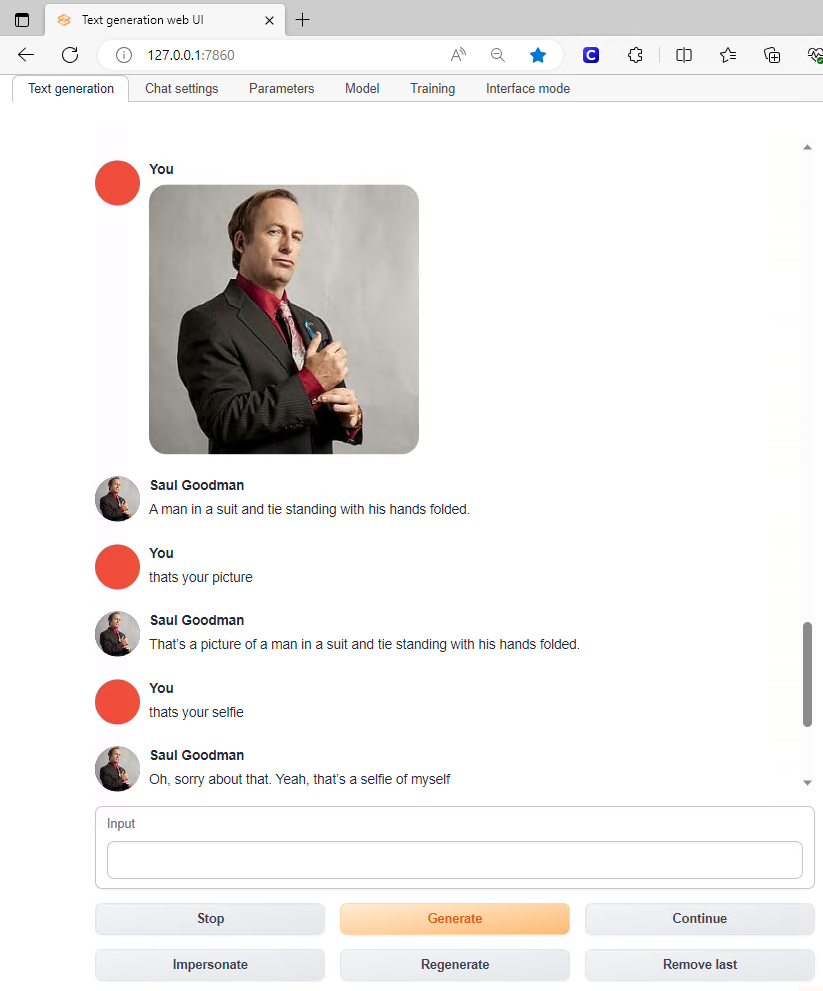
If you notice below, Saul can even send pictures to me using the Stable Diffusion API.
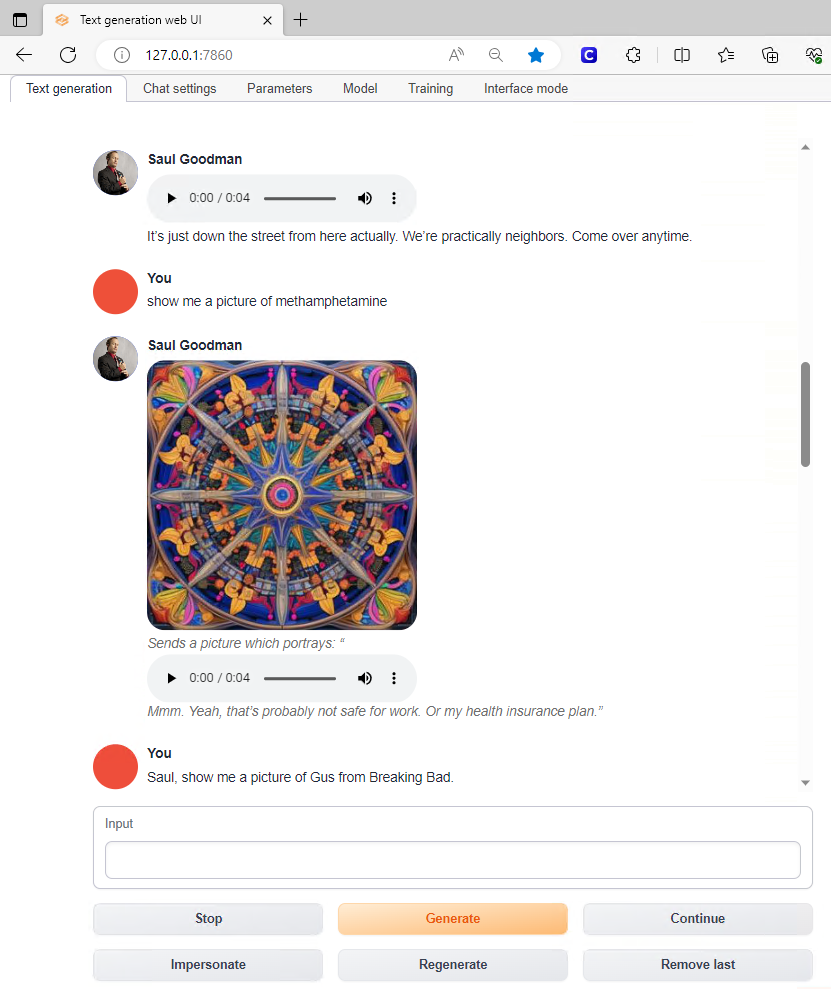

Additionally, Saul has the ability to Interrogate pictures that are sent to him as he does here and breaks the photo down to its elements.
However, I went ahead and made a YouTube video to show you rather than tell you what can happen when you combine different AI methods together. You can view it HERE and below.
Closing Thoughts
So yeah, there you have it. That’s the why, what, and how of a Text to Image Generation works. AI is changing many things, but if you start to combine the different AIs together you can get some very immersive experiences. Using Saul, we have sight and sound and eventually there will be even more senses.
While many people are not easily impressed by Chatbots or Text to Image Generation when you can shape the narration to tell a story, from the perspective of a character that has emotional resonance with that individual, you can help them to see the possibility.